Stand with one foot directly in front of the other, heel touching toe, and try to hold still for 10 seconds without grabbing something or stepping out of position. If that sounds easy, try it right now before reading further. Most people are surprised at how much their ankles wobble, how fast their eyes want to help, and how tempting it is to reach for a counter.
The tandem stance is one of the oldest and most widely used balance assessments in physical therapy and geriatric medicine. It’s not a party trick. It’s a real screening tool that clinicians use to gauge fall risk, and you can practice it at home to build the same stability it measures. This article walks through the exact setup, what your results actually mean, and how to progress the drill safely over time.
What the Tandem Stance Actually Measures
The tandem stance narrows your base of support down to roughly the width of one foot. That forces your ankle, hip, and core muscles to make constant micro-adjustments to keep you upright, the same kind of correction you need when walking on uneven sidewalks or stepping off a curb.
Clinicians often use tandem stance time as part of larger assessments like the Berg Balance Scale, because how long you can hold the position correlates with fall risk in research studies. Holding for less than 10 seconds is generally considered a marker worth paying attention to, though it’s only one data point among many. This test is not a standalone diagnosis of anything, and a short hold time doesn’t mean a fall is inevitable. It simply tells you where your static balance stands today, so you have a baseline to improve on.
If you want a broader picture beyond this single drill, our guide on how to test your balance at home covers several other self-checks that pair well with tandem stance.
Setting Up the Test Correctly
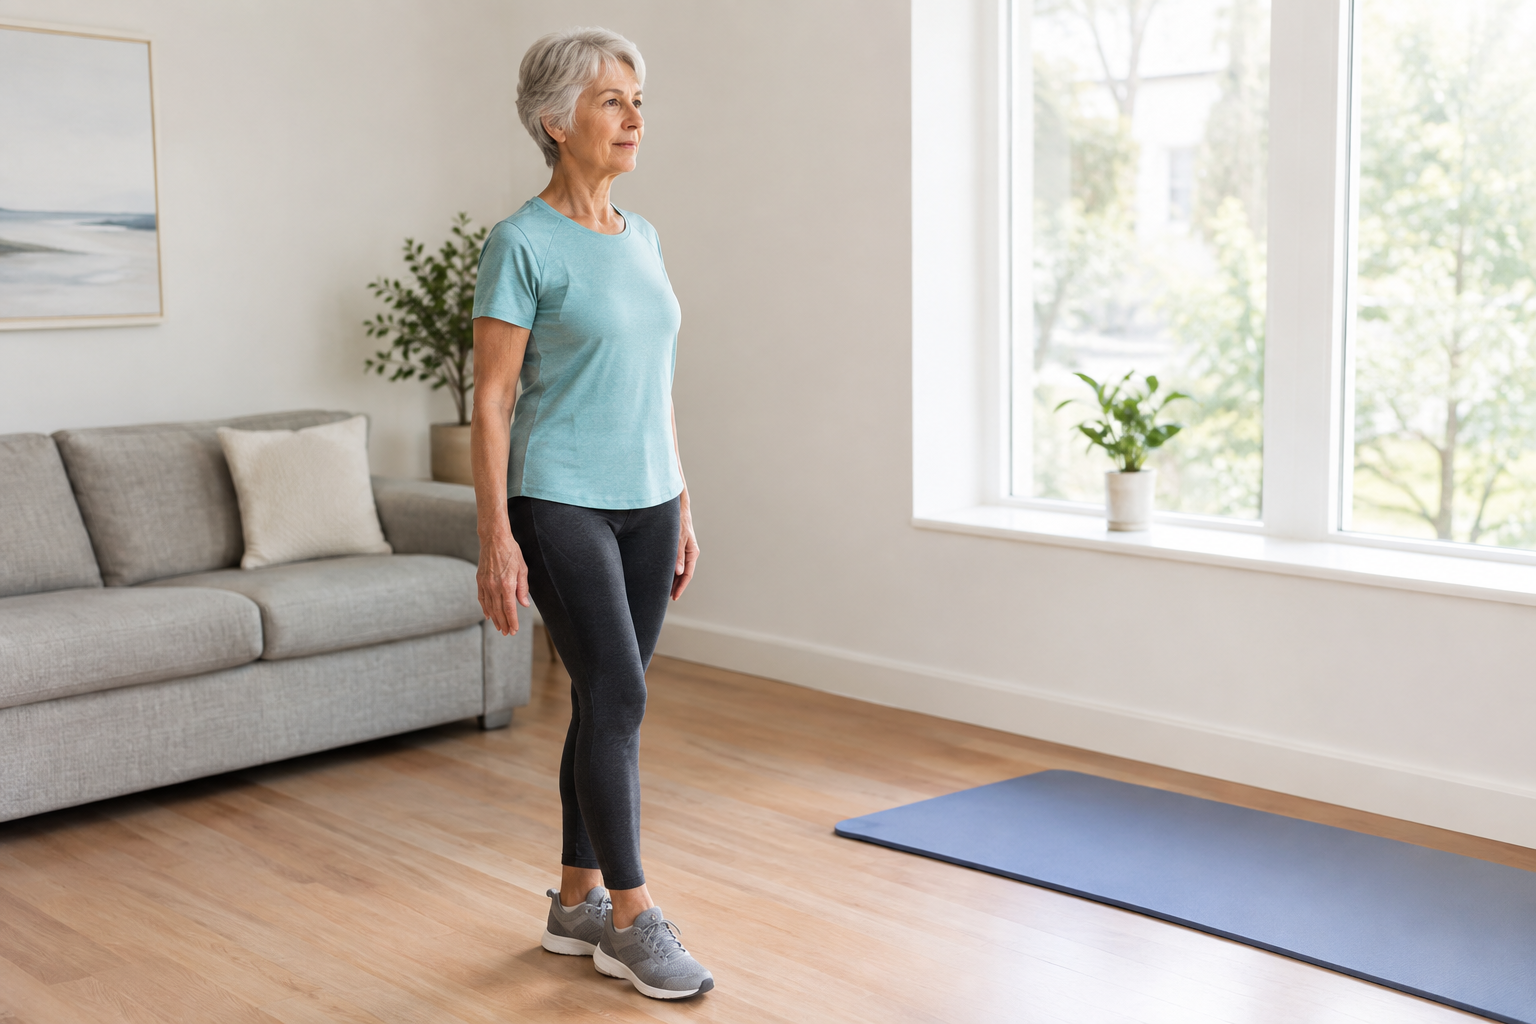
Setup matters more than people expect. A sloppy setup gives you a misleading result, so take an extra minute to do it right.
- Surface: Use a firm, flat floor. Carpet, tile, or hardwood all work. Avoid soft rugs or foam mats, since an unstable surface changes what you’re actually testing.
- Footwear: Test barefoot or in flat, thin-soled shoes. Thick cushioned sneakers can mask or distort ankle feedback. If you’re curious how shoe choice affects everyday stability, check out our breakdown of best walking shoes for seniors with arthritis.
- Positioning: Place one foot directly in front of the other, heel touching or nearly touching the toe of the back foot, arms relaxed at your sides or crossed over your chest.
- Eyes: Start with eyes open, focused on a fixed point ahead. Never close your eyes for this test unless you have something sturdy within arm’s reach and ideally someone nearby.
- Timing: Use a stopwatch or phone timer. Time yourself for up to 30 seconds and note when you break position, step apart, or touch something for support.
A basic kitchen timer or phone stopwatch works fine here. If you like tracking numbers over time, our post on best workout timers for seniors has some simple options that make repeat testing easier.
Support Options: Start Safe, Progress Gradually
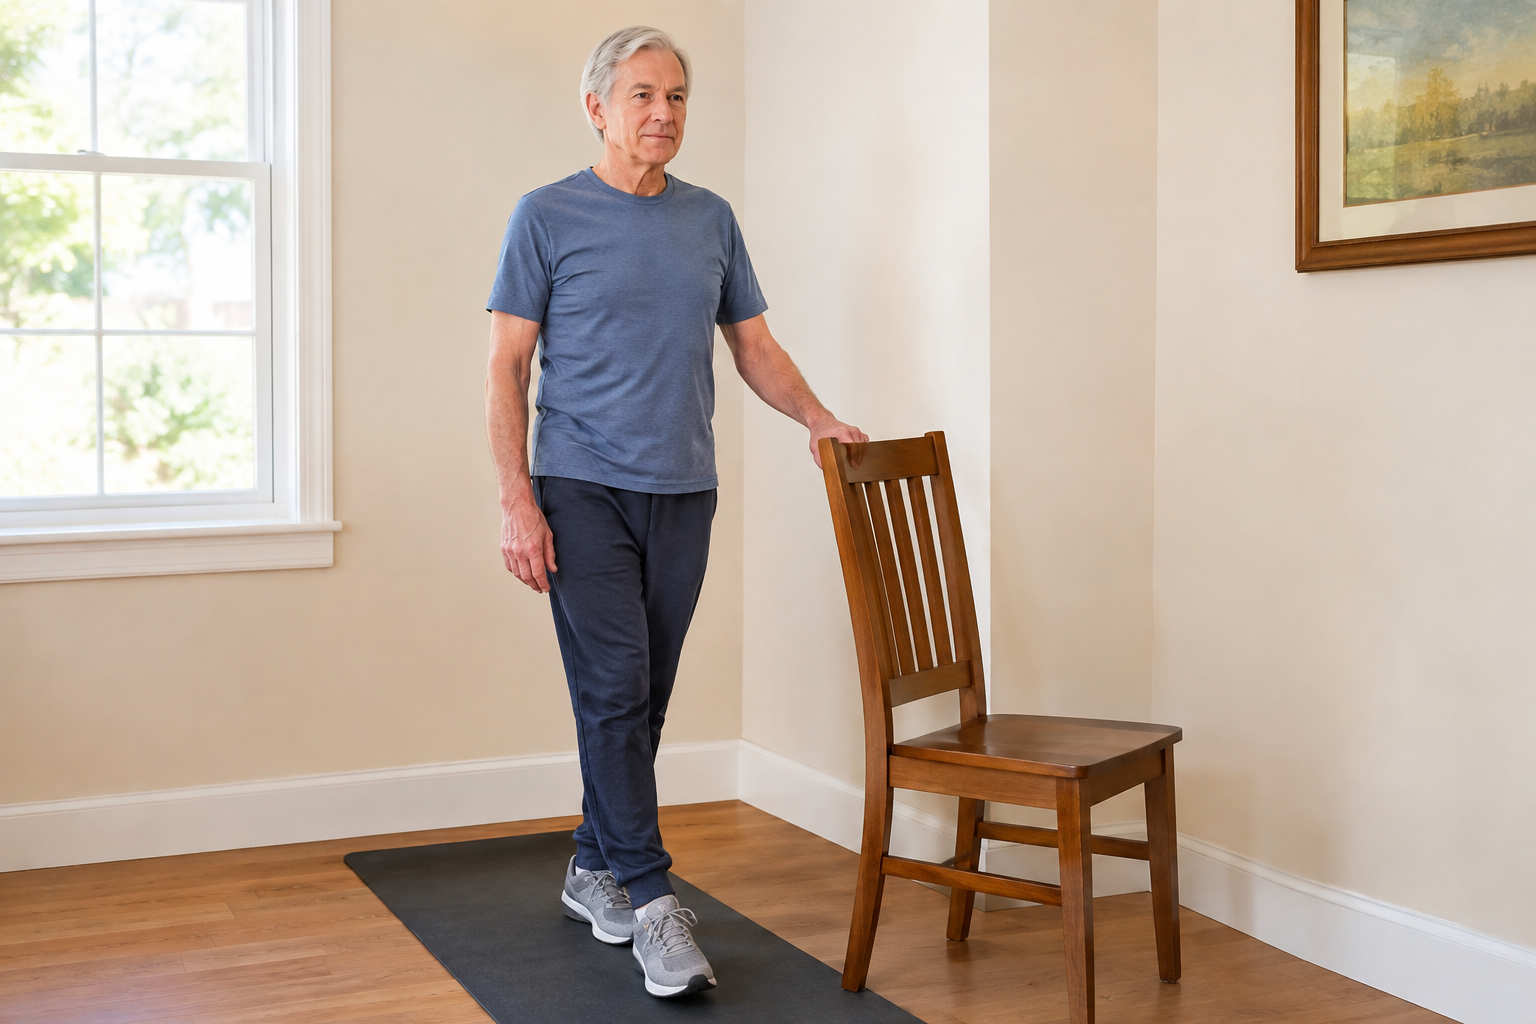
You don’t need to attempt an unsupported tandem stance on day one. Progressing through support levels lets you build confidence and strength without unnecessary risk.
Level 1: Wall or Counter Support
Stand next to a wall or kitchen counter with one hand lightly resting on it, not gripping. Get into the tandem position and practice shifting your weight while keeping that light contact available. This is the right starting point if you’ve had a fall in the past year or feel unsteady during normal daily activities.
Level 2: Fingertip Support
Same setup, but use just one or two fingertips on a sturdy surface instead of your whole hand. This reduces how much you’re actually leaning on support while keeping a safety net in place.
Level 3: Unsupported, Eyes Open
Stand in tandem position with no support nearby except a wall or sturdy chair within a single step’s reach. This is the version most closely matching the clinical test format.
Level 4: Unsupported, Eyes Closed
This is an advanced progression. Removing vision forces your inner ear and joint sensors to do all the work, which is a much harder task. Only attempt this with someone else in the room and a wall or countertop within immediate reach. If you struggle with dizziness in general, read our article on dizziness and balance exercises for seniors before adding this level.
Vision plays a bigger role in balance than most people realize, and even small changes in eyesight can throw off performance on this test. Our piece on how vision affects balance and fall risk explains why an annual eye exam is part of a real fall prevention plan, not just something for reading glasses.
What Your Time Actually Means
Here’s a rough way to interpret your results, though these are general benchmarks and not a substitute for a professional assessment:
- Under 10 seconds: This suggests balance deficits worth addressing through regular practice, and it’s a reasonable trigger to mention at your next doctor’s visit.
- 10 to 20 seconds: Average range for many older adults. Room for improvement, but not alarming on its own.
- 20 to 30 seconds or longer: Solid static balance. You can likely progress to the eyes-closed variation or move toward more dynamic drills.
Once you’re comfortable holding tandem stance for a full 30 seconds unsupported, the natural next step is adding movement. Our guide to heel-to-toe walking takes the same heel-to-toe positioning and turns it into a moving drill, which challenges balance in a way that’s closer to real walking demands.
When Supervision or Medical Evaluation Makes Sense
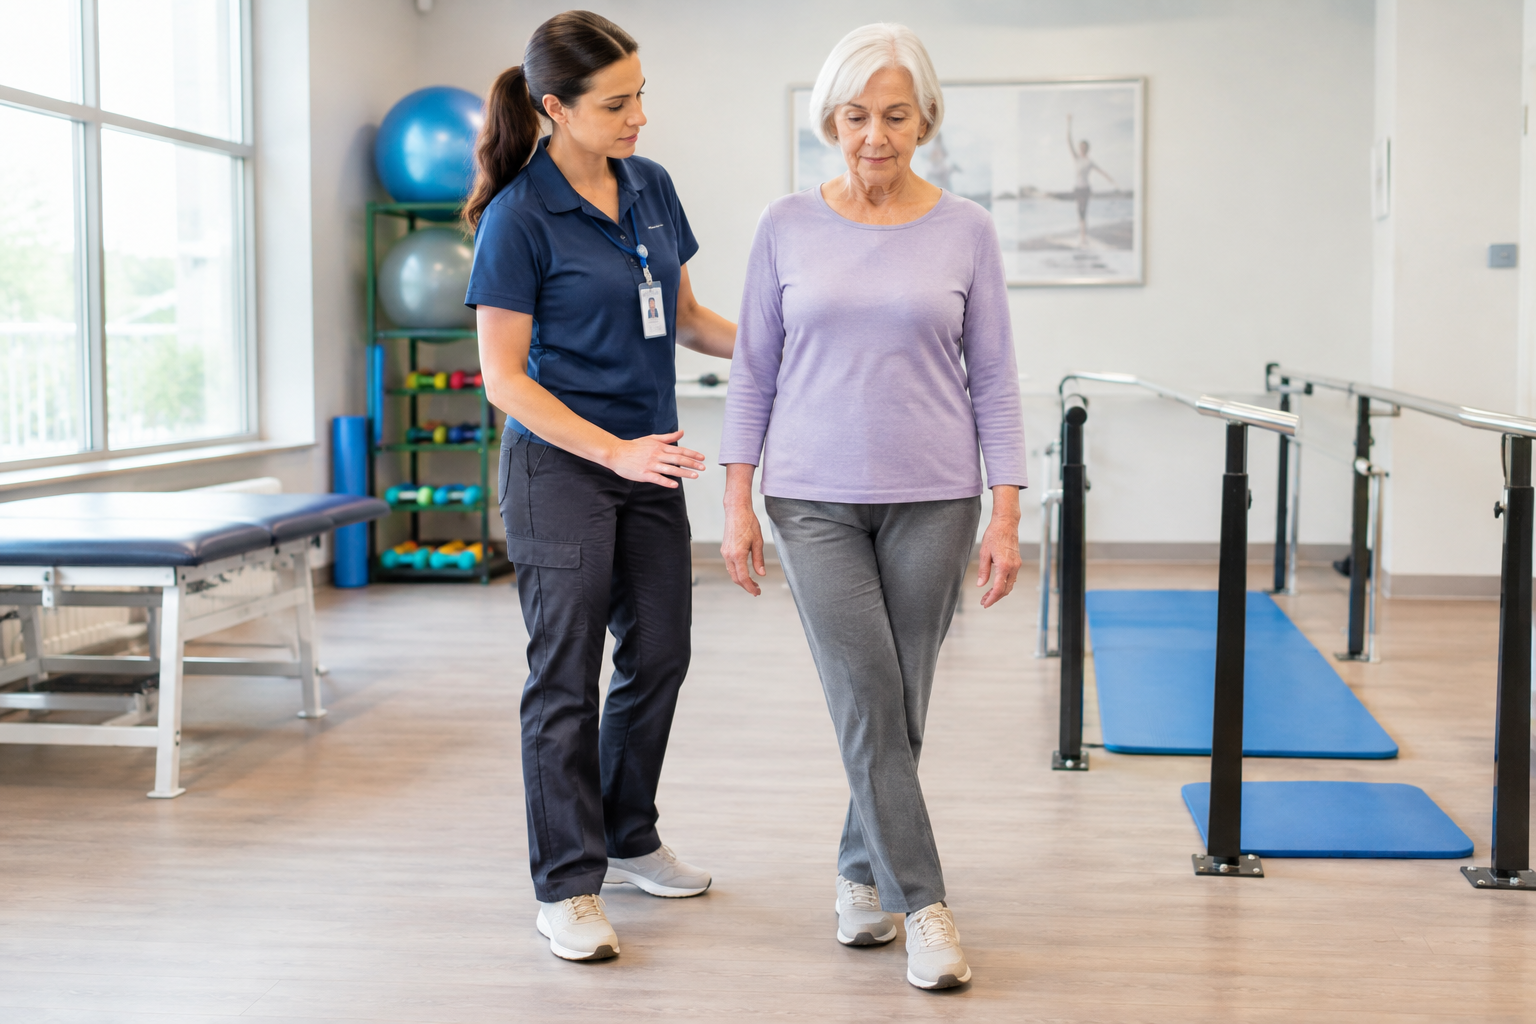
Practice this test with someone else present if you have a history of falls, use a cane or walker regularly, or feel unsteady during ordinary daily tasks. Having someone spot you costs nothing and removes the guesswork about whether you’ll have support if you tip.
Installing grab bars in high-risk areas like the bathroom is another low-cost way to build a safety net into your home, even outside of formal testing. Our guides on best grab bars for bathroom safety and grab bar installation walk through options and placement.
See a doctor before continuing balance testing on your own if you experience new or worsening dizziness, fainting, sudden weakness on one side, or repeated unexplained falls. These symptoms can point to underlying medical issues that a home balance drill won’t reveal, and they deserve proper evaluation rather than continued self-testing.
Strengthening the muscles that support tandem stance also matters. Weak ankles, hips, and glutes make any balance test harder than it needs to be. Our article on 5 critical muscles that prevent falls in seniors breaks down which muscle groups deserve the most attention if you want your tandem stance time to actually improve over weeks of practice.
Frequently Asked Questions
How often should I practice the tandem stance?
Two to three times a week is enough to see improvement without overdoing it. Balance training responds well to frequent short sessions, so even a couple of minutes before or after your regular workout counts. Pair it with strength work using the guidance in our post on rest days between strength workouts if you’re building it into a broader routine.
Which foot should go in front?
Test both sides. Most people find one leg feels noticeably more stable than the other, and that asymmetry itself is useful information. Practice both positions equally rather than favoring your stronger side.
Can I do this test if I use a walker or cane normally?
You can, but only with a sturdy support surface within reach and ideally someone else present. If you rely on a mobility aid for daily walking, talk to a physical therapist before attempting the unsupported versions of this test, since they can guide you through a safer progression tailored to your situation.
