Weak muscles are the strongest modifiable risk factor for falls in seniors. When your ankle can’t generate a quick corrective step, when your hip can’t stabilize your pelvis during a stumble, when your quads can’t power you back upright after a misstep, you fall.
Balance training gets most of the fall prevention attention, but the muscles that execute the balance corrections are equally important. Without adequate strength, the best balance reflexes in the world can’t save you because the muscles can’t respond fast enough or forcefully enough to prevent the fall.
The numbers tell the story. Research shows that leg muscle strength predicts fall risk more accurately than balance scores in community-dwelling older adults. One study found that participants in the lowest quartile for quadriceps strength had 4.4 times the fall risk of those in the highest quartile.
Another study measured ankle strength and found that each 10-newton decrease in dorsiflexion strength increased fall risk by 16%. These aren’t abstract correlations. They’re measurements of the force your muscles can generate when you need them most.
Before starting any new exercise program, talk with your doctor, especially if you have a history of falls, balance problems, joint replacements, or cardiovascular conditions. The exercises below are generally safe for healthy older adults, but your individual circumstances may require modifications or supervision.
The 5 Muscles That Prevent Falls
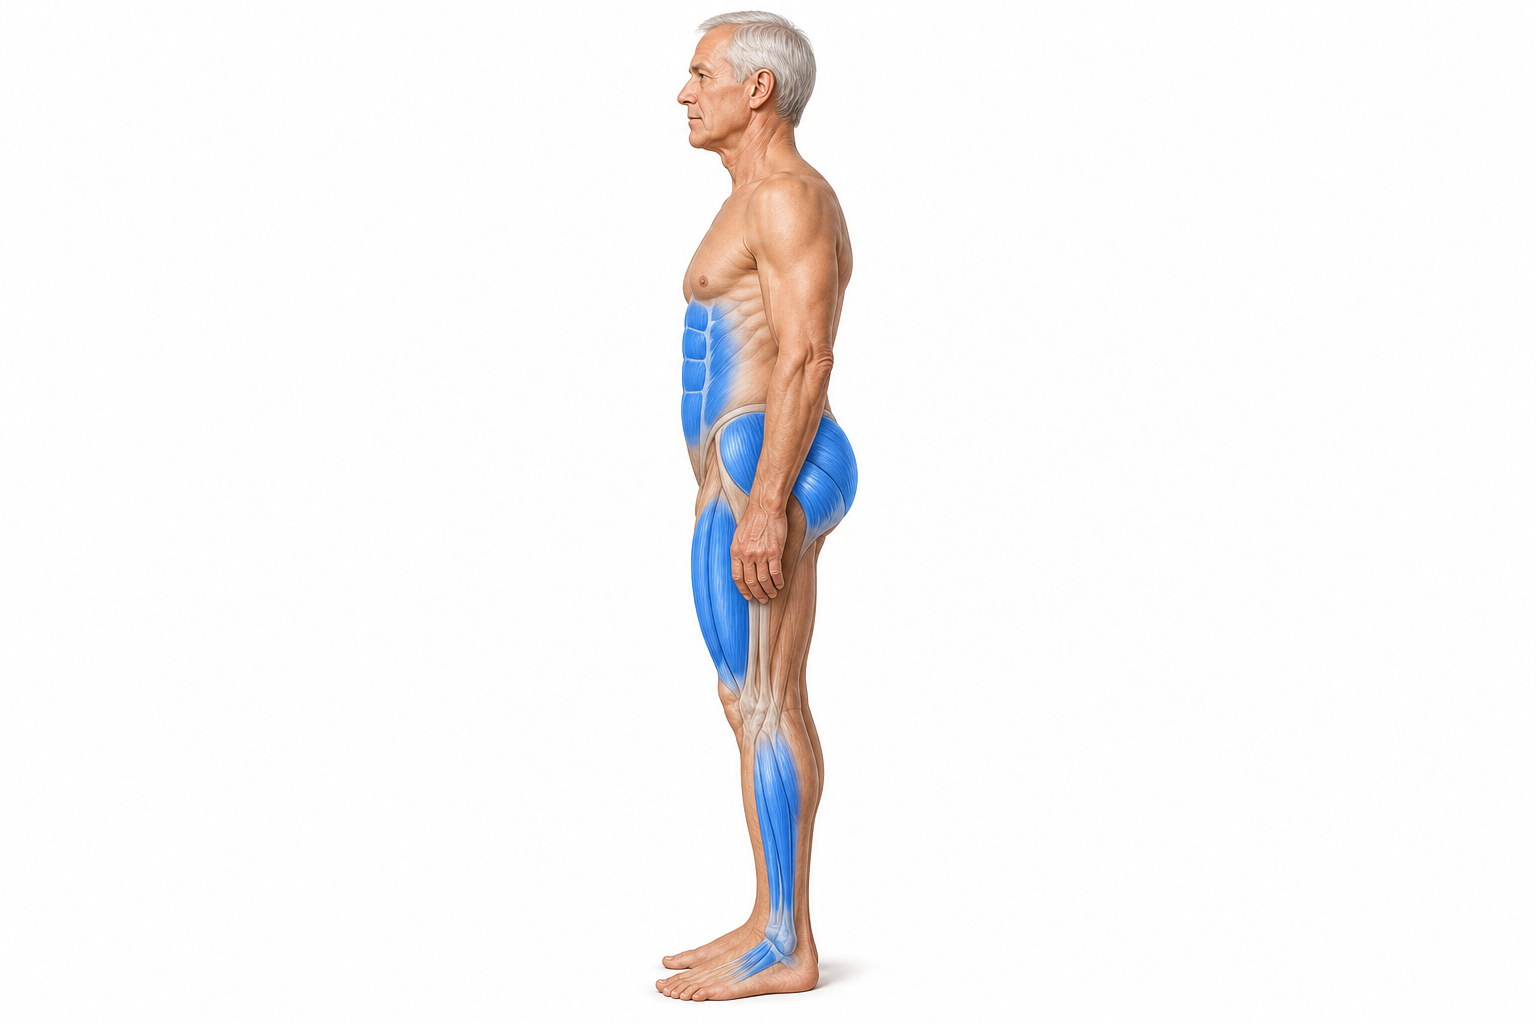
1. Ankle Dorsiflexors (Tibialis Anterior)
Why they matter: These muscles lift your toes during walking. Weak dorsiflexors cause foot drop (your toes drag on the ground), which is one of the most common trip mechanisms. Tripping on a rug edge, a door threshold, or an uneven sidewalk crack happens because your foot doesn’t clear the obstacle by the fraction of an inch that strong dorsiflexors provide.
The dorsiflexors also control the rate at which your forefoot contacts the ground after heel strike. When they’re strong, you place your foot smoothly. When they’re weak, your foot slaps down, which reduces stability and increases the jarring impact on your joints.
Over time, this contributes to knee and hip pain that further limits mobility.
Foot drop isn’t always obvious. You might notice you’re catching your toe more often, shuffling your feet instead of taking clear steps, or looking down at the ground constantly while walking. These are adaptation patterns your body develops to compensate for weak dorsiflexors, and they increase fall risk because you’re not looking ahead at potential hazards.
Exercise: Toe raises. Sit or stand with feet flat. Lift the front of both feet (toes and balls) off the floor while keeping heels down. Hold 3 seconds. Lower. 3 sets of 15. Progress to single-leg toe raises.
If you find this difficult at first, start by simply flexing your foot upward as much as you can, even if it’s only a small movement. Strength will build. You can also perform toe raises while seated during commercial breaks, waiting for coffee to brew, or any other moment when you’re stationary.
2. Calf Muscles (Gastrocnemius and Soleus)
Why they matter: Calves provide the push-off power during walking and the quick ankle correction during forward sway. When you start tipping forward, strong calves push your body back to vertical through the ankle. Weak calves can’t generate this correction, and a forward tip becomes a forward fall.
The calf complex is actually two muscles working together. The gastrocnemius is the visible bulge of the calf and works primarily when your knee is straight. The soleus sits underneath and works when your knee is bent. Both need strength because you use them in different positions throughout daily activities.
Calf strength also determines your walking speed. Multiple studies have found that older adults with stronger calves walk faster and with more confidence. Walking speed, in turn, predicts health outcomes across almost every measure.
Strengthening your calves isn’t just about preventing falls. It’s about maintaining independence and the ability to move through your environment with authority.
Exercise: Calf raises. Stand holding a counter. Rise on your toes as high as possible, hold 3 seconds, lower slowly (3 seconds down). 3 sets of 15. Progress by adding weight (hold dumbbells) and performing on one leg at a time.
The lowering phase (eccentric contraction) is just as important as the lifting phase. Control your descent. This builds strength and trains the muscle to handle the forces of walking downhill and descending stairs, which are common fall situations.
To target the soleus specifically, perform calf raises with your knees slightly bent. This shifts more load to the deeper muscle and builds strength for activities like standing from a seated position.
3. Quadriceps
Why they matter: Quads are the primary muscles for standing from a chair, climbing stairs, and recovering from a stumble by stepping forward quickly. A strong quad generates the explosive force needed to take a large, fast corrective step. Weak quads mean your corrective step is too slow and too short to catch your shifting center of gravity.
Quadriceps strength declines faster than almost any other muscle group with age. Some research suggests quad strength can decrease by 3% per year after age 60 without resistance training. This decline is accelerated by sedentary behavior. Every hour spent sitting weakens the quads through disuse.
The connection between quad strength and fall-related hip fractures is direct. When you fall forward, a strong quad allows you to catch yourself with a large step and recover your balance. Weak quads mean you land on your hands and knees or pitch forward completely, outcomes that often result in wrist fractures or facial injuries.
Exercise: Chair squats. Stand in front of a chair. Lower until your buttocks touch the seat (don’t fully sit), stand back up. 3 sets of 10. Progress by slowing the descent (4 seconds down), using a lower surface, and holding light dumbbells.
Focus on keeping your weight in your heels. If you feel pressure in your knees or your knees move forward past your toes, sit back further like you’re reaching for a chair that’s slightly behind you. The movement should feel like a controlled sit and stand, not a forward lean.
If chair squats are too challenging at first, start with sit-to-stands where you do fully sit and then stand. Use your hands on the armrests for assistance. As you get stronger, use less hand support until you’re standing with leg power alone. This same motion also comes into play when getting out of a car, which many seniors find increasingly difficult as leg strength declines.
4. Hip Abductors (Gluteus Medius)
Why they matter: The gluteus medius stabilizes your pelvis during single-leg stance (which occurs with every step of walking). Weak hip abductors allow the pelvis to drop on the unsupported side (Trendelenburg gait), which shifts your center of gravity laterally and increases the risk of sideways falls. Lateral falls are the most likely to cause hip fractures.
The gluteus medius is one of the most commonly weak muscles in older adults, partly because we don’t use it much during daily activities unless we’re specifically moving sideways. Sit-to-stand, walking straight ahead, climbing stairs, these motions don’t challenge the hip abductors the way they challenge the quads and calves. The muscle weakens through neglect.
You can test your own hip abductor strength by standing in front of a mirror and lifting one leg. Watch your hips. If the non-standing side drops noticeably, your standing leg’s hip abductors are weak. That hip drop is the mechanism that turns a minor balance disturbance into a sideways fall.
Exercise: Standing hip abduction. Hold a counter. Lift one leg to the side (keeping the toe pointing forward, not outward). Hold 2 seconds. Lower slowly. 3 sets of 12 per leg. Progress with a mini loop band around the ankles.
Common mistake: leaning your torso toward the standing leg as you lift the other leg. This defeats the purpose. Keep your torso upright and lift the leg purely through hip motion. The movement should be small and controlled, not a dramatic swing.
Side-lying hip abduction is an easier variation if standing is too difficult. Lie on your side and lift your top leg toward the ceiling. This removes the balance challenge and allows you to focus purely on strengthening the muscle.
5. Core Muscles (Transverse Abdominis, Obliques)
Why they matter: Your core connects your upper body to your lower body. During a balance perturbation (a push, a trip, a slip), your core muscles must fire instantly to keep your torso aligned over your base of support. A weak core allows your upper body to sway uncontrollably, amplifying the perturbation into a fall.
Core strength isn’t about visible abs. It’s about the deep muscles that stabilize your spine and transfer force between your upper and lower body. These muscles work constantly during standing and walking, making hundreds of micro-adjustments to keep you upright.
When they’re weak, your body compensates with less efficient movement patterns that increase fall risk and cause pain.
The core also protects your spine during a fall. A strong core allows you to control your trunk position as you’re falling, which may help you land in a less injurious position. Weak core muscles mean your trunk collapses or twists uncontrollably.
Exercise: Bird dogs. On hands and knees, extend one arm and the opposite leg. Hold 5 seconds. 3 sets of 8 per side. Bridges: lie on back, knees bent, lift hips. Hold 5 seconds. 3 sets of 10. Pallof press with a light resistance band: press the handle away from your chest against the band’s rotational pull. 2 sets of 8 per side.
For bird dogs, the goal is to keep your hips and shoulders level as you extend the arm and leg. Don’t let your body rotate. This stability against rotation is exactly what your core does during real-world balance challenges.
If getting down to the floor is difficult, you can perform standing core exercises. Standing marches (lift one knee, then the other, while maintaining an upright posture) work the core without requiring you to get on hands and knees. Wall planks (hands on a wall, body straight, hold the position) build core endurance without lying down.
The Fall-Prevention Strength Routine
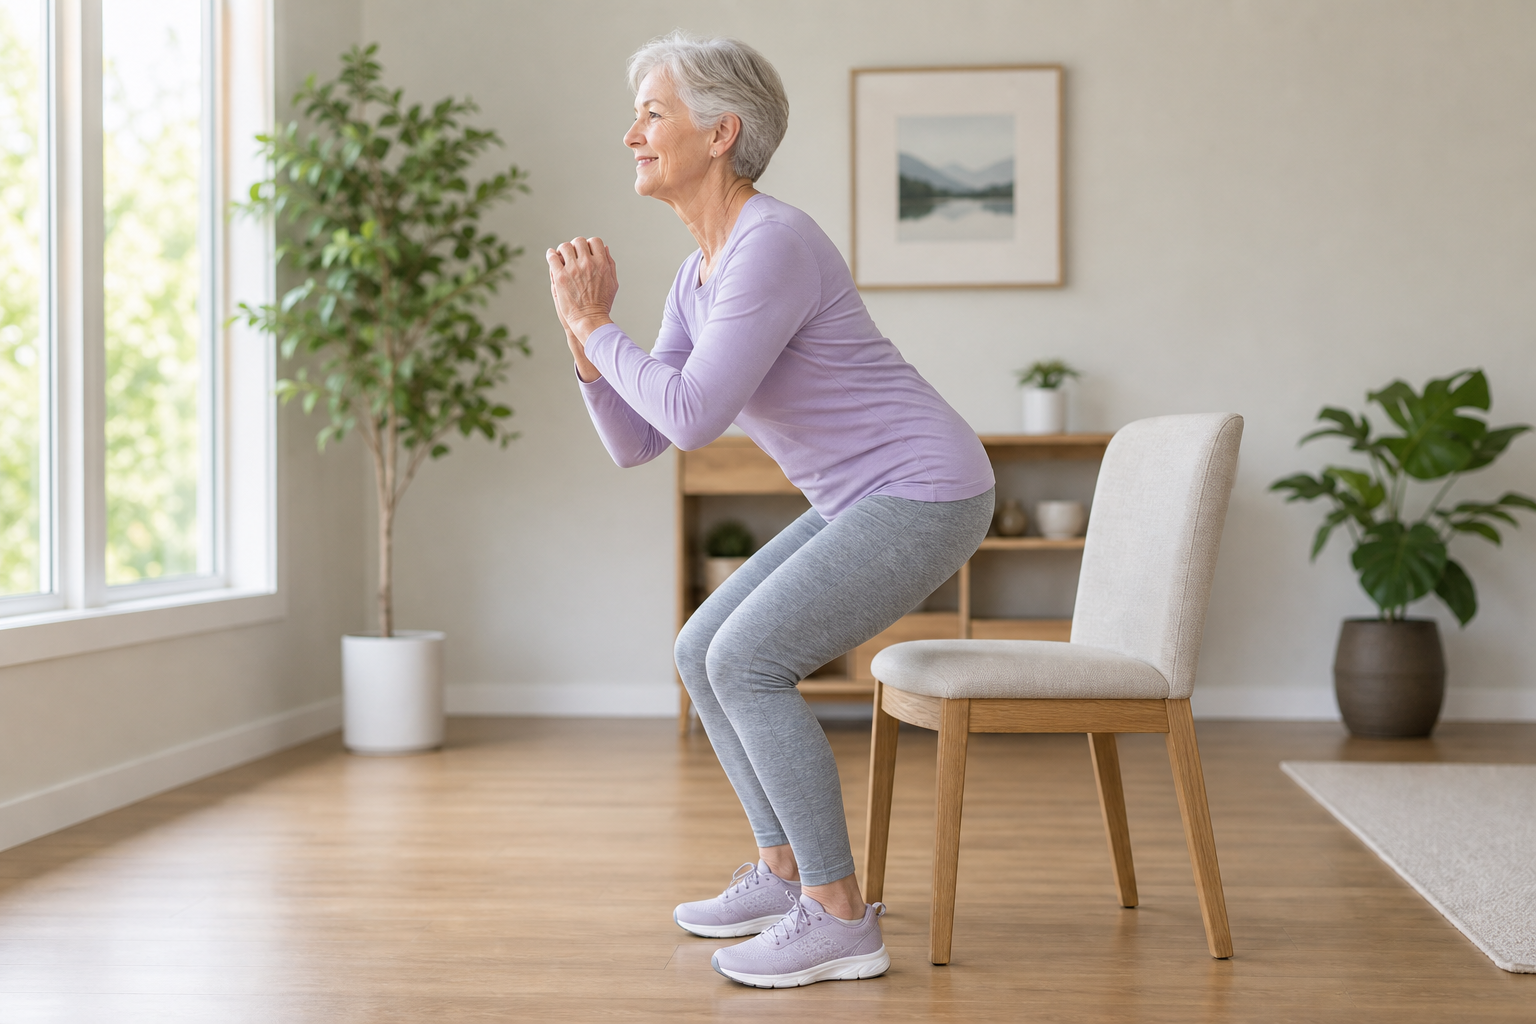
Perform 3 times per week with at least one rest day between sessions. Total time: 20-25 minutes. Consistency matters more than intensity. Three workouts per week done at moderate effort for six months will produce better results than sporadic intense workouts.
- Warm-up: 3 minutes of walking and joint circles
- Chair squats: 3×10
- Calf raises: 3×15
- Toe raises: 3×15
- Standing hip abduction: 3×12 per leg
- Bird dogs: 3×8 per side
- Bridges: 3×10
- Cool-down stretch: 3 minutes
This sequence orders exercises from largest muscle groups (quads) to smaller groups (ankles) to core. The logic: fatigue the big muscles first while you’re fresh, then work the smaller muscles, then finish with core stability work.
Rest 30-60 seconds between sets. Use this time to walk around, shake out your muscles, and prepare for the next set. Don’t rush. Adequate rest allows you to maintain good form, which is more important than finishing quickly.
Track your progress. Write down how many reps you complete, whether you used support, and how the exercise felt. This record helps you see improvement and informs your progression decisions.
Adding Speed for Reactive Strength
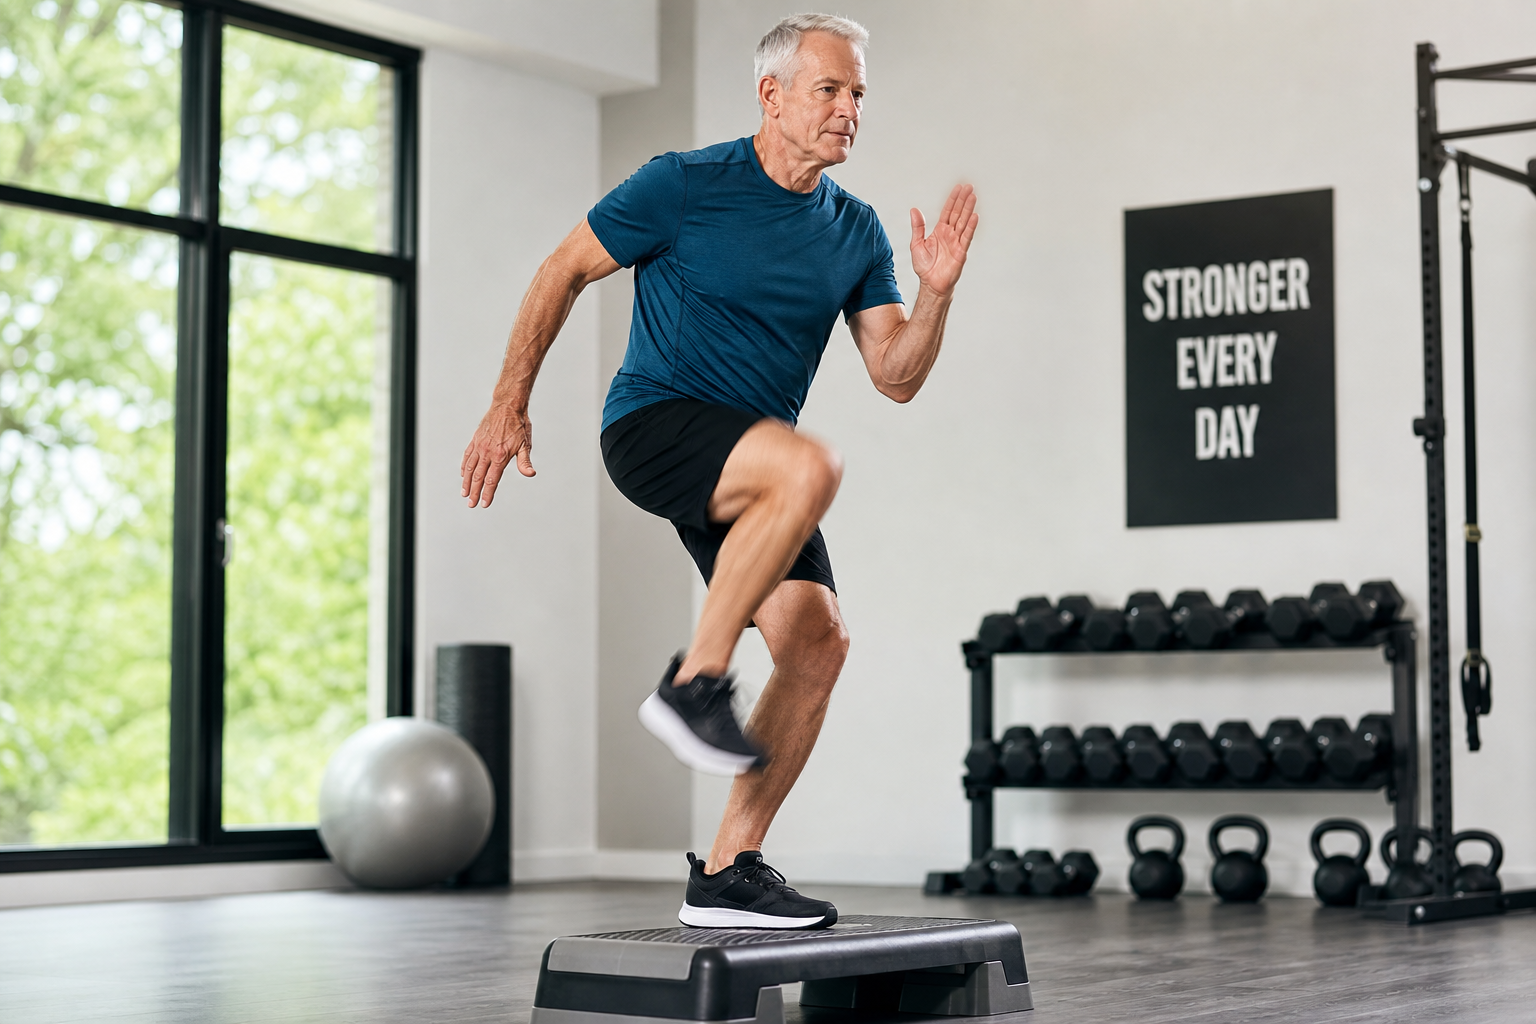
Falls happen fast. Your muscles need to respond in milliseconds. Once you’ve built baseline strength (4-6 weeks of the routine above), add speed to some exercises: quick chair stands (stand as fast as you can), rapid calf raises (up fast, down slow), and quick lateral steps (step to the side as quickly as you can and return).
Speed training activates the fast-twitch muscle fibers that real-world fall recovery demands.
Power (the combination of strength and speed) declines even faster than strength alone with aging. Fast-twitch muscle fibers atrophy more rapidly than slow-twitch fibers. This is why older adults can often generate decent force if given enough time, but struggle to produce force quickly.
Training for power doesn’t mean training recklessly. Start by performing just the lifting phase quickly while still controlling the lowering phase. For chair stands, stand up explosively but sit back down slowly and with control. This develops power while minimizing injury risk.
Add power work to one or two exercises per session, not all of them. Your body needs time to adapt to the increased demand. Perform 2-3 sets of 6-8 rapid reps with full rest between sets. Power work is neurologically demanding. Quality matters more than volume.
When to Progress
Progression is what drives continued strength gains. Once an exercise becomes easy (you can complete all sets with good form and could do more), make it harder. Add resistance, increase reps, slow the tempo, or remove support.
For most exercises, progress when you can complete all prescribed sets and reps for two consecutive workouts. This ensures the adaptation is stable, not a one-time fluke.
Don’t progress all exercises simultaneously. Change one variable at a time so you can monitor how your
