Balance doesn’t improve from thinking about it. It improves from practicing it, consistently, every single day. The 30-day plan below takes just 10-15 minutes daily and progresses from simple static holds to dynamic movements that challenge your stability in real-world scenarios.
By day 30, you’ll stand more confidently, walk more securely, and feel noticeably steadier on your feet.
Before starting any new exercise program, talk to your doctor, especially if you have a history of falls, vertigo, neuropathy, or conditions affecting your joints or cardiovascular system. This plan is designed for generally healthy older adults who can stand independently but want to improve their stability and confidence. If you have conditions that affect your blood pressure, you should also be mindful of monitoring your blood pressure during exercise to ensure you’re staying within safe parameters.
All you need is a sturdy chair, a clear hallway, and 10-15 minutes of your time. Every exercise includes a safety position: always work near a counter, wall, or chair you can grab if you lose your balance.
Never practice balance exercises in socks on slippery floors. Wear supportive athletic shoes or go barefoot on a non-slip surface.
Week 1: Foundation (Days 1-7)
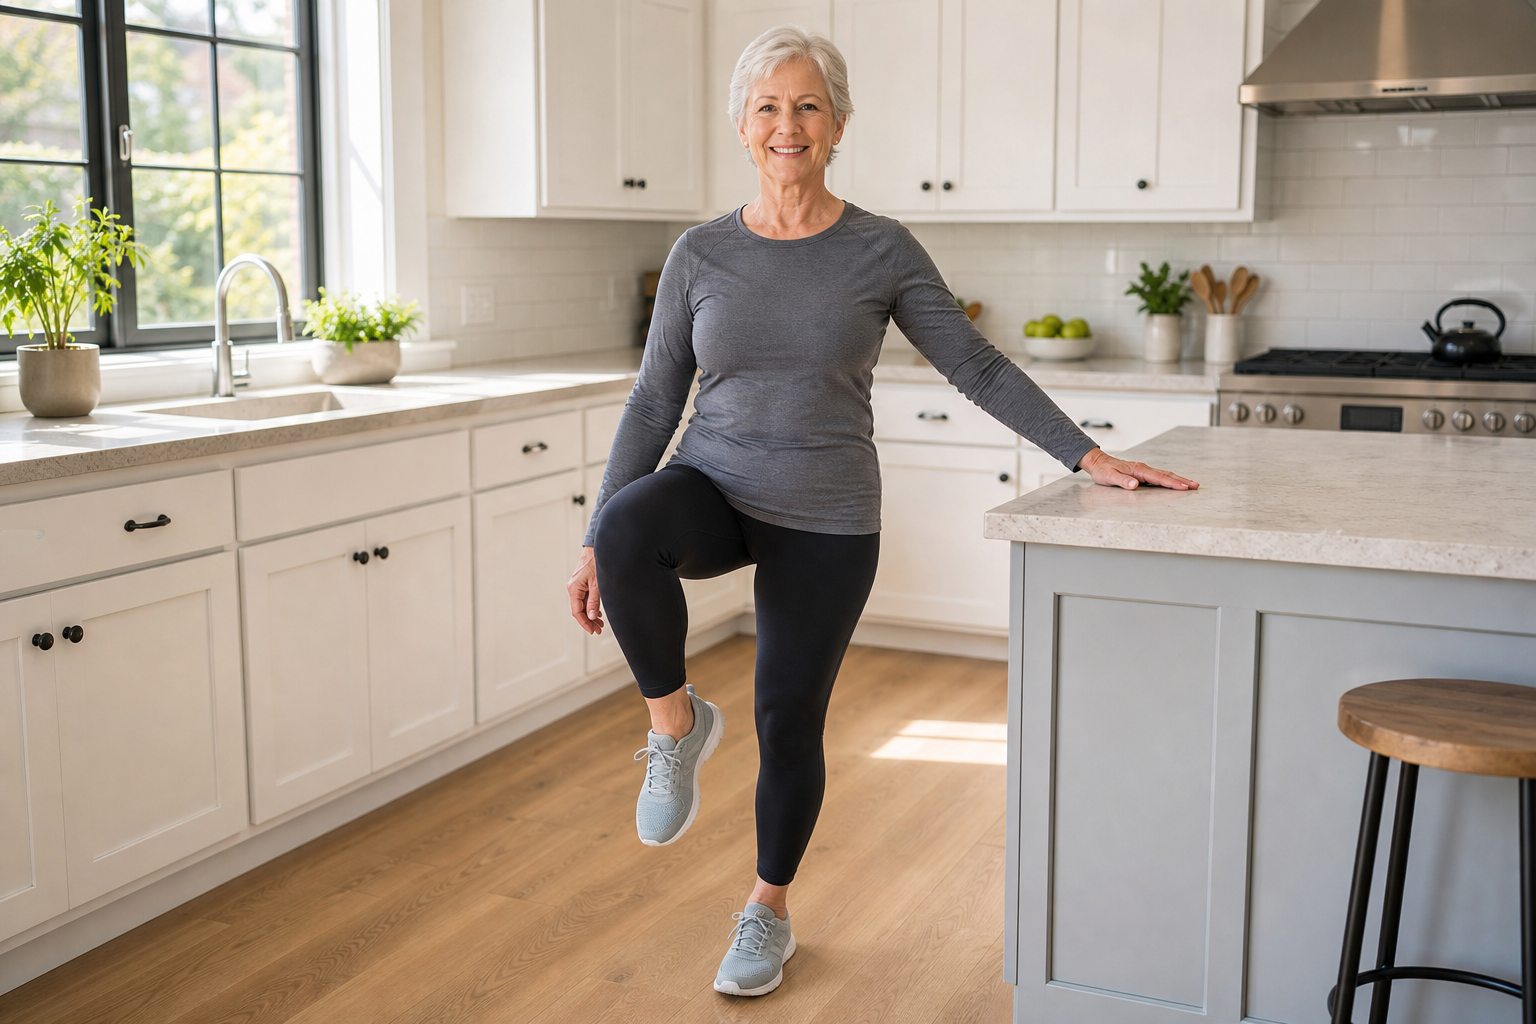
This week builds the baseline strength and body awareness your balance system needs. Every exercise is done with a handhold nearby. Don’t rush. The goal is control, not speed.
Your balance system relies on three inputs: vision (what you see), proprioception (what your muscles and joints sense), and the vestibular system in your inner ear (which detects head position and movement). Week 1 trains the proprioceptive system by making your ankles, hips, and core work to hold you upright.
Daily Routine (10 Minutes)
Chair-supported single-leg stand: Hold the back of a chair with one hand. Lift one foot 2 inches off the floor. Hold for 15 seconds, switch legs. Repeat 3 times per leg.
By day 7, aim for 20-second holds. If 15 seconds is too long initially, start with 10. Your standing leg should feel engaged but not shaky. If you’re wobbling excessively, grip the chair more firmly and reduce the hold time.
Heel raises: Hold the chair back. Rise up on your toes, hold 3 seconds, lower slowly. 2 sets of 10.
The slow lowering phase strengthens your calves and trains your ankles to control your body weight. If you have arthritis in your big toes or forefoot pain, reduce the height of the rise or skip this exercise and substitute extra weight shifts.
Weight shifts: Feet hip-width apart, holding the chair. Shift your weight to the right foot until the left barely lifts. Hold 5 seconds. Shift left. 10 per side.
This teaches your hips and core to stabilize over one leg without actually lifting the foot off the ground. It’s a gentler precursor to the single-leg stand.
Seated ankle circles: Sit and circle each ankle 10 times clockwise, 10 counterclockwise. This warms up ankle proprioceptors. Move slowly through the full range of motion.
If your ankles are stiff, this will feel awkward at first. That stiffness is part of what limits your balance, and it will improve with daily practice.
Common mistake: Holding your breath during balance exercises. Breathe normally. Tension in your chest and shoulders makes balancing harder.
Self-Assessment
Time your single-leg stand (without holding anything) on each leg. Write down both times. This is your baseline.
Most people can hold 10-20 seconds on their stronger leg and 5-15 on their weaker leg. If you can’t manage 5 seconds, that’s fine. It will improve.
Week 2: Reducing Support (Days 8-14)
This week reduces your reliance on the chair. You’re training your muscles and nervous system to work independently. The chair is still there for safety, but you’ll use it less.
Many people notice their weaker leg improving faster than their stronger leg during this week. That’s normal. The weaker side has more room for gains.
Daily Routine (12 Minutes)
Fingertip single-leg stand: Same exercise as week 1, but only touch the chair with your fingertips instead of gripping. Aim for 20-second holds, 3 per leg.
Your fingertips are there for reassurance and quick support if you start to tip, but they shouldn’t bear weight. If this feels too unstable, alternate: one set with fingertips, one with a light grip.
Tandem stance: Place one foot directly in front of the other, heel to toe, like standing on a tightrope. Hold the chair with one hand. Hold 20 seconds, switch which foot is in front. 3 holds per position.
This is harder than it looks. Your hips and core have to work constantly to keep you from tipping sideways. If 20 seconds is too long, start with 10.
Heel-to-toe walking: Walk along a hallway placing the heel of one foot directly in front of the toes of the other. Use the wall for guidance but try to minimize contact. Take 15 steps, turn carefully, and walk back. Repeat twice.
Look straight ahead, not down at your feet. This replicates the neurological test doctors use to assess balance and coordination. It’s completely normal to wobble or step out of the line occasionally.
Marching in place: Stand near the chair. March with high knees (lift each knee to hip height) for 30 seconds. This challenges single-leg balance dynamically. If you prefer seated options that still provide cardiovascular benefits, chair-based cardio exercises can complement your balance work while being gentler on your joints.
If hip-height feels too high, lift your knees as high as comfortable. The point is to spend time on one foot while the other is moving.
Modification for hip or knee issues: If high knees aggravate your joints, march with lower lifts or substitute slow, controlled stepping in place. Similar to post-hip replacement exercises, you’ll need to respect your body’s current limitations while still challenging yourself.
Self-Assessment
Repeat the single-leg stand test. Compare to your day 1 baseline. Expect a 5-10 second improvement on each leg.
If you’re not seeing progress, check your form: are you standing tall with your shoulders back, or are you hunching forward? Posture affects balance significantly.
Week 3: Adding Movement (Days 15-21)
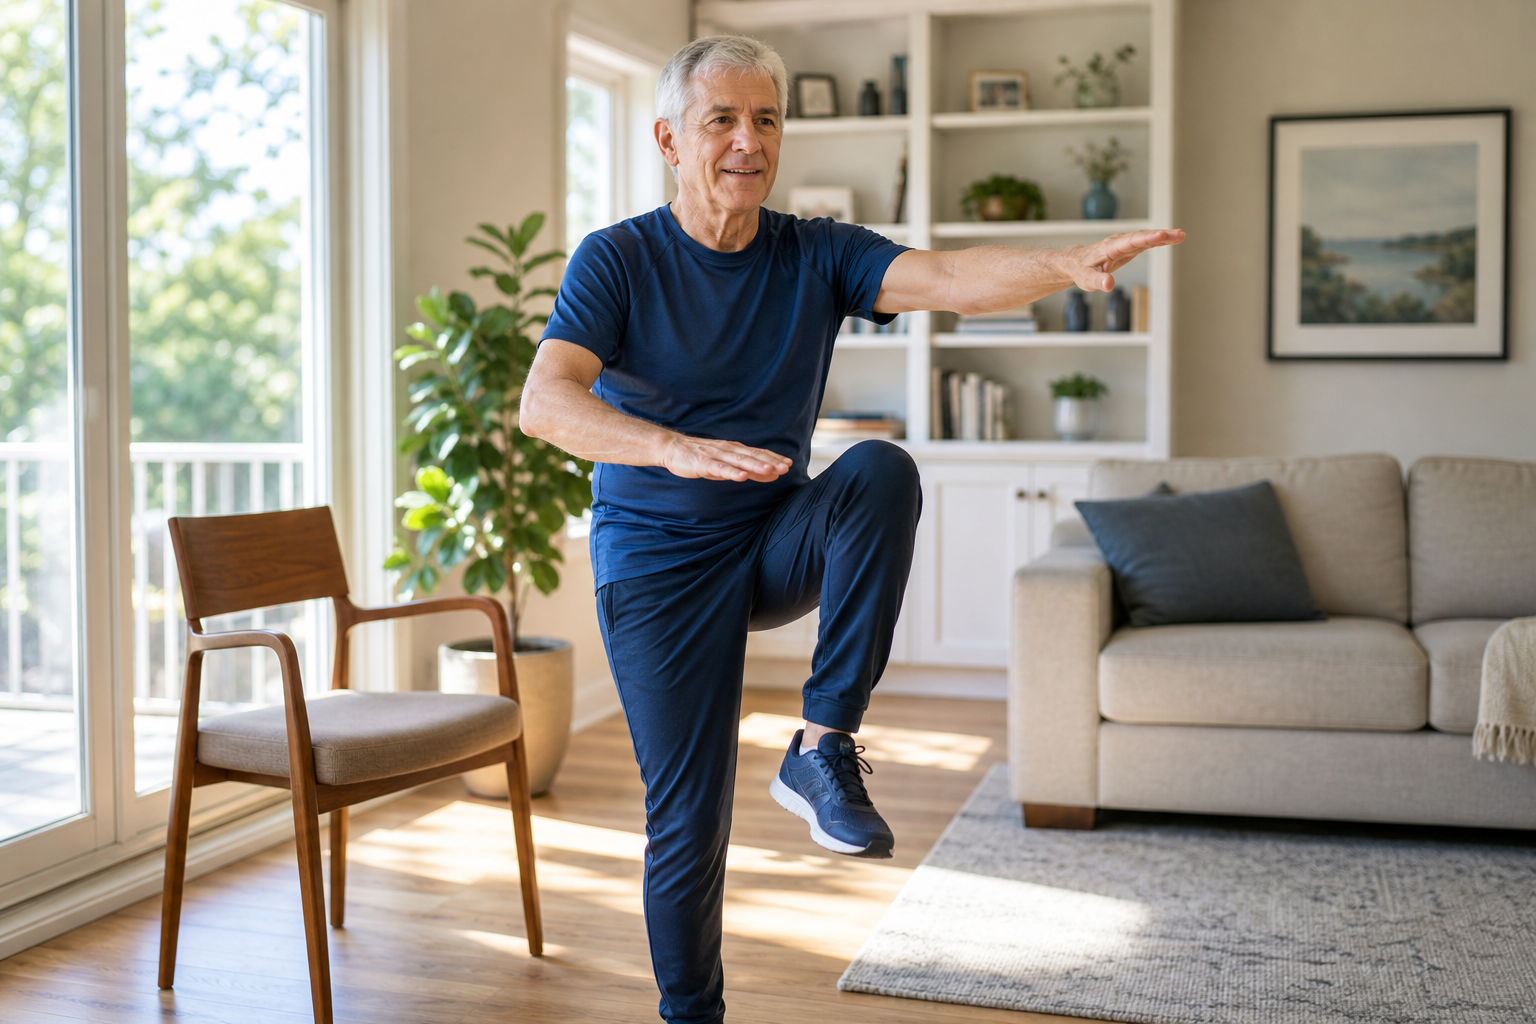
Static holds build a foundation, but real-world balance requires stability during movement. This week adds head turns, reaches, and direction changes. These exercises train your vestibular system and your ability to maintain balance when your center of gravity shifts.
Head turns are particularly important. Many falls happen when someone turns their head quickly to look at something while walking. This week makes that movement safer.
Daily Routine (12 Minutes)
Single-leg stand with head turns: Stand on one leg (fingertips on chair). Slowly turn your head to look left, center, right. Each direction is 5 seconds. This challenges your vestibular system. 2 sets per leg.
Move your head slowly and smoothly. Jerky movements can trigger dizziness. If you feel dizzy, slow down the head turn or reduce the range of motion. Mild dizziness that resolves within a few seconds is normal and means your vestibular system is adapting. Persistent dizziness is a reason to stop and consult your doctor.
Reach and balance: Stand on one leg near a counter. Reach forward with the free hand as if picking something off a shelf. Reach to the side. Reach across your body. 5 reaches in each direction per leg.
Extend your arm fully but don’t overreach to the point of losing your balance. This simulates reaching for a can in the pantry or a towel on a rack.
Sideways walking: Take 10 steps sideways to the right along the kitchen counter, then 10 steps back left. Keep your toes pointing forward. This strengthens the hip abductors critical for lateral stability.
Don’t cross your feet. Step out to the side, bring the trailing foot to meet it, step out again. Lateral movement is unfamiliar to most people and will feel awkward at first.
Step-ups: Using a 4-6 inch step (bottom stair or a low step platform), step up with your right foot, bring the left foot up, step down right, step down left. 8 per leading leg.
Step-ups build single-leg strength and train the controlled lowering motion that prevents stumbles on stairs. If you don’t have a low step, use a thick book or sturdy box. Don’t use anything higher than 6 inches or anything that might slide.
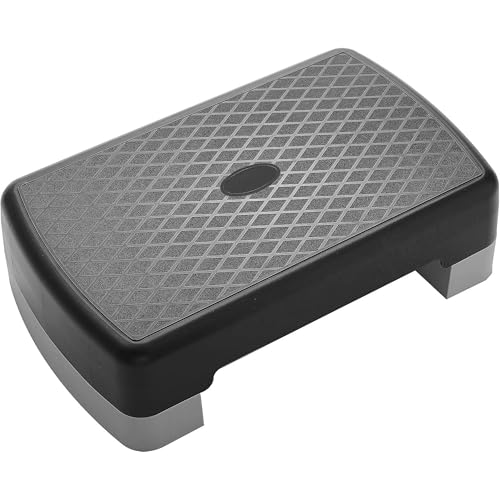
Aerobic Step Platform
Look for adjustable models that start at 4 inches for safe step-up practice
Progression Note
By the end of this week, try one or two single-leg stands without touching the chair at all. Just stand near it. Even 5 seconds unsupported is progress. Once you’ve mastered these exercises, you can incorporate them into a daily 10-minute balance routine that keeps your progress consistent without requiring excessive time commitment.
Week 4: Real-World Challenges (Days 22-30)
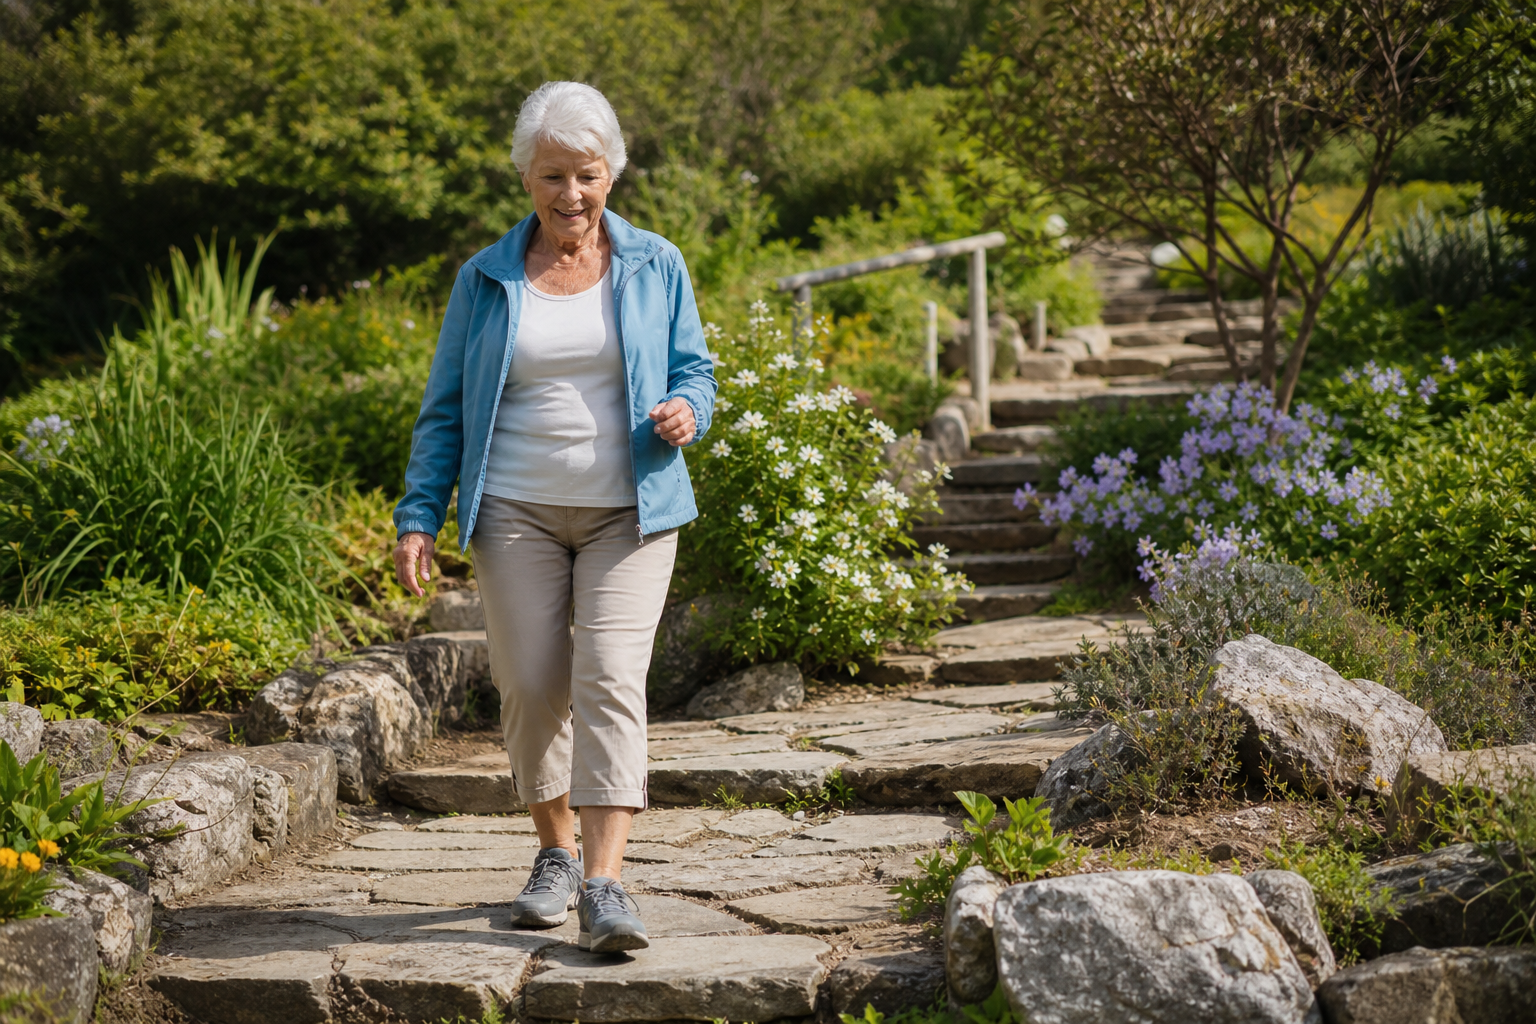
This week simulates the balance challenges you encounter in daily life: turning, carrying things, and navigating uneven surfaces. These exercises replicate the situations where falls most often occur.
The goal isn’t perfection. The goal is to train your body to recover from small balance disruptions before they become falls.
Daily Routine (15 Minutes)
Tandem walking with head turns: Walk heel-to-toe while slowly turning your head side to side with each step. This replicates looking around while walking in a store or parking lot. Use the hallway wall for safety. 15 steps forward and back, twice.
Turn your head to look at something specific (a picture on the wall, a doorway) rather than just rotating randomly. This trains the coordination between head movement and walking.
Single-leg stand on a folded towel: Place a folded bath towel on the floor. Stand on it with one foot (fingertips on counter). The soft surface challenges your ankle stabilizers. Hold 15-20 seconds, 3 per leg.
Fold the towel into a pad about 2 inches thick. Your ankle will constantly make small adjustments to keep you upright, which is exactly what it needs to do when you step on uneven ground, carpet, or grass.
Carry and walk: Hold a light object (a book, a water bottle) in one hand. Walk a straight line for 20 steps. The asymmetric load forces your core to work harder. Switch hands and repeat.
This mirrors carrying a bag of groceries or a purse. If 20 steps feels easy, add a second object in the other hand or increase the weight slightly.
180-degree turns: Walk forward 10 steps, then turn completely around and walk back. Practice turning both directions. Controlled turning is where many seniors lose their balance in real life.
Turn slowly, planting your feet deliberately. Don’t pivot on the ball of one foot. Take small steps to complete the turn.
Clock reaches: Stand on one leg. Imagine you’re in the center of a clock. Reach your free foot to 12 o’clock (forward), 3 o’clock (side), and 6 o’clock (behind). Touch the floor lightly at each position. 3 sets per leg.
This is the most advanced exercise in the program. It challenges your hip stability