You can fix your posture without getting on the floor, investing in a gym membership, or buying expensive equipment. A sturdy chair and 15 minutes provide everything you need to strengthen the muscles that hold you upright, stretch the muscles that pull you forward, and retrain the movement patterns that have gradually hunched your spine over the years.
These seated exercises specifically target the muscle imbalances behind poor posture: weak upper back, tight chest, weak deep neck flexors, and an inactive core. The exercises work because they address the root cause, not just the visible symptom. Your rounded shoulders and forward head aren’t a posture choice; they’re the physical manifestation of muscles that have adapted to how you spend your time.
Before starting any new exercise program, talk to your doctor, especially if you have osteoporosis, a history of spinal injuries, balance issues, or chronic neck or shoulder pain. These exercises are low-impact and designed for older adults, but individual circumstances vary.
8 Seated Posture Exercises
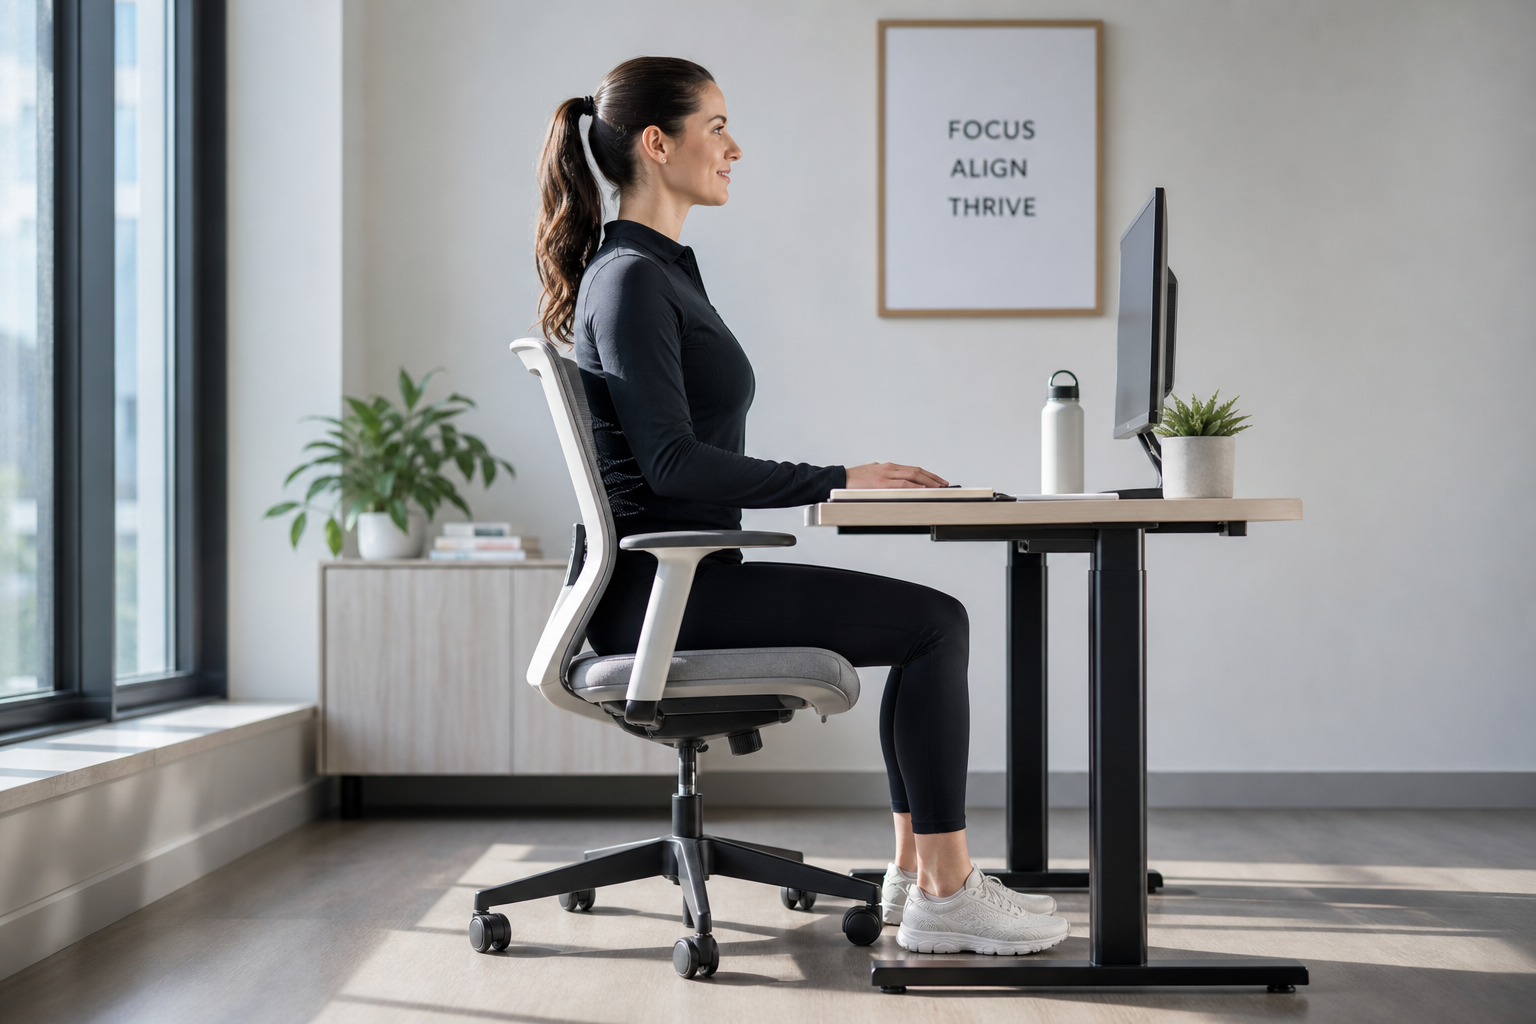
1. Seated Chin Tucks
Sit tall in your chair. Pull your chin straight back (creating a double chin) without tilting your head up or down. Hold 5 seconds, relax. Repeat 10 times.
This is the most important exercise for reversing forward head posture. Your deep neck flexors activate during the retraction, strengthening the muscles that hold your head over your shoulders. Forward head posture adds roughly 10 pounds of effective weight to your skull for every inch it juts forward. Chin tucks reverse this mechanical disadvantage by retraining the muscles that counteract gravity’s pull on your head.
Common mistake: Tilting the head up or down instead of pulling straight back. The movement is small and feels awkward at first. You should feel gentle tension in the front of your neck, not strain in the back.
Modification: If you can’t feel the movement, place two fingers on your chin and gently push straight back to guide the motion. Remove your hand once you understand the movement pattern.
2. Seated Shoulder Blade Squeezes
Sit with your hands on your thighs. Squeeze your shoulder blades together as if trying to hold a pencil between them. Hold 5 seconds, relax. Repeat 15 times.
This directly strengthens the rhomboids and middle trapezius that pull your shoulders back from their rounded position. These muscles stretch and weaken from years of forward-reaching activities: computer work, reading, driving, cooking. Shoulder blade squeezes rebuild the strength needed to hold your shoulders in proper alignment without conscious effort.
What you should feel: A gentle squeezing sensation between your shoulder blades. Your chest should naturally open as your shoulders move back. You should not feel pain in your neck or upper traps.
Progression: Once 15 repetitions feel easy, add a 10-second hold on the final squeeze of each set.
3. Seated Chest Opener
Clasp your hands behind your back (or hold a towel between your hands if reaching behind is difficult). Gently lift your arms while squeezing your shoulder blades together and opening your chest. Hold for 15-20 seconds. Repeat 3 times.
This stretches the pectoralis muscles that shorten from forward-shoulder posture and seated activities. Tight chest muscles physically pull your shoulders forward. Stretching them removes one of the forces fighting against good posture.
Breathing: Breathe normally during the stretch. Many people hold their breath. Don’t. Deep breathing actually enhances the stretch by expanding the rib cage against the shortened chest muscles.
Modification: If you can’t clasp your hands behind your back, hold a towel, belt, or resistance band between your hands with arms wide. Focus on the chest-opening sensation, not on forcing your hands together.
4. Seated Row with Band
Sit in the chair and loop a resistance band around the soles of your feet. Hold the band ends and pull toward your torso, squeezing your shoulder blades together at the end of the pull. Slowly release. 3 sets of 12.

Resistance Band for Seniors
Light to medium resistance bands are perfect for building upper back strength without straining your shoulders
This strengthens the entire posterior chain of your upper body, which is the muscular framework that supports upright posture. The rowing motion replicates the shoulder blade retraction from exercise 2 while adding resistance, building functional strength that translates directly to maintaining posture during daily activities.
Band selection: Start with a light or medium resistance band. You should be able to complete all 12 repetitions with good form. If your shoulders shrug up toward your ears on the last few reps, the band is too heavy.
Form check: Keep your elbows close to your body. Pull toward your lower ribs, not your chest. The movement should feel like you’re starting a lawnmower, not doing a high row. Your torso stays upright throughout; don’t lean back to generate momentum.
Without a band: Perform the rowing motion with no resistance, focusing on the shoulder blade squeeze at the end of each rep. You’ll still activate the target muscles, though strength gains will be slower.
5. Seated External Rotation
Hold a resistance band between your hands at chest level, elbows bent at 90 degrees and pinned to your sides. Pull the band apart by rotating your forearms outward while keeping your elbows against your body. Slowly return. 3 sets of 15.
This strengthens the external rotators of the shoulder, counteracting the internal rotation that accompanies rounded shoulders. Your rotator cuff muscles do more than prevent injury; they also position the shoulder joint properly in its socket. When internal rotators dominate, your shoulders roll forward. External rotation exercises restore the balance.
Elbow position: Your elbows must stay pinned to your sides. If they drift away from your body, you’re using larger muscles and missing the target. Think of your elbows as hinges that don’t move.
Range of motion: Pull until your forearms are roughly 45 degrees out from your torso. Don’t force a larger range if it causes shoulder pinching. Smaller, controlled movements with good form beat larger, sloppy ones.
Without a band: Press your palms together in front of your chest, then push outward against your own resistance. It won’t build as much strength as band work, but it maintains the movement pattern and some activation.
6. Seated Cat-Cow
Place your hands on your knees. On the inhale, arch your back, open your chest, and look slightly upward (cow). On the exhale, round your spine, tuck your chin, and push your upper back toward the ceiling (cat). Alternate for 10 slow repetitions.
This mobilizes your thoracic spine segment by segment, which is critical because thoracic stiffness is one of the primary drivers of poor posture after 60. Your thoracic spine (mid-back) is designed to extend and flex. When it loses that ability, your body compensates by overextending the neck and lower back, creating the exaggerated curves that define poor posture.
Pace: Move slowly. Each phase should take 3-4 seconds. This is mobility work, not cardio. Fast, jerky movements don’t give the spinal segments time to move independently.
Sensation: You should feel gentle movement through your entire spine. If you only feel it in your lower back, you’re overextending the lumbar spine and not reaching the thoracic region. Focus on pushing the upper back toward the ceiling during the cat phase.
7. Seated Trunk Rotation
Cross your arms over your chest. Keeping your hips facing forward, rotate your upper body to the left as far as comfortable. Hold 5 seconds. Rotate to the right. 10 per side.
This maintains and improves the rotational mobility of your thoracic spine, which stiffens with age and contributes to the rigid, hunched posture common in older adults. Rotation requires individual spinal segments to move independently. When they can’t, your entire torso moves as one stiff block, forcing your neck and lower back to absorb movements they weren’t designed to handle.
Hip check: Your hips and knees should stay facing forward throughout the rotation. If they turn with your torso, you’re rotating from the hips, not the spine. Plant your feet firmly and imagine your pelvis is glued to the chair.
Head position: Let your head follow your torso naturally. Don’t lead with your head or force your chin to your shoulder. The rotation comes from the spine, and the head goes along for the ride.
8. Seated Core Activation (Lean-Back)
Sit at the front edge of the chair with arms crossed over your chest. Slowly lean your torso backward 20-30 degrees (the chair back serves as a safety stop). Pause 3 seconds, return to upright. 3 sets of 8.
This activates the abdominal muscles that support the lower spine and pelvis in a neutral position. A strong core prevents the excessive lower back arch and forward pelvic tilt that throw off upper body posture. Your abs don’t just flatten your stomach; they anchor the bottom of your rib cage and stabilize your pelvis, creating the stable foundation your upper body needs to stack properly.
Angle: 20-30 degrees is a small lean. You’re not reclining dramatically. If the chair back catches you before you feel your abs engage, scoot forward slightly on the seat.
Breathing: Breathe out as you lean back. This naturally engages the deep abdominal muscles. Breathe in as you return upright.
Safety note: If you have balance concerns, keep one hand on the armrest or seat edge until you’re confident in the movement. The exercise is controlled and slow, but the lean-back can feel unstable the first few times.
A Daily 15-Minute Posture Routine
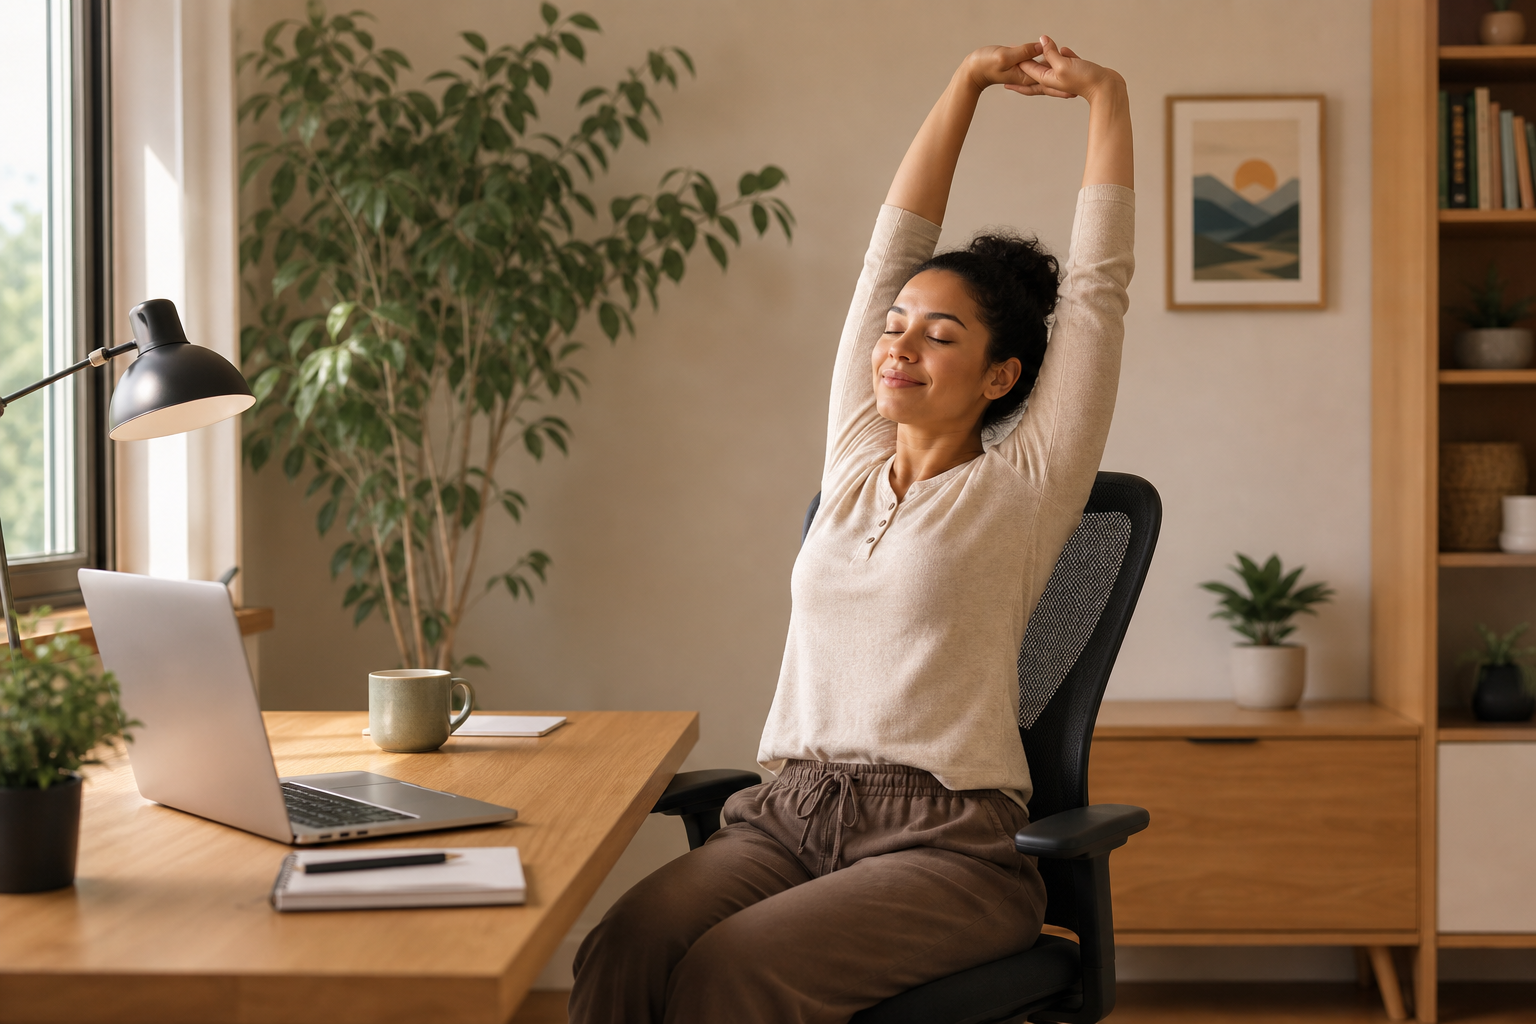
Perform all 8 exercises in sequence. The routine takes about 15 minutes and covers strengthening (exercises 1, 2, 4, 5, 8), stretching (exercise 3), and mobility (exercises 6, 7).
Order matters: The sequence is deliberate. You warm up with chin tucks, move into shoulder blade work, stretch the chest before strengthening the back (stretched muscles contract more effectively), perform the rowing and rotation exercises when you’re warmed up, and finish with core work.
Schedule: Perform daily for the first 4 weeks to establish the habit and produce visible posture changes. After 4 weeks, 3-4 sessions per week maintains the improvements. Supplement with hourly posture checks throughout the day (5 chin tucks + 5 shoulder blade squeezes, taking 30 seconds).
Daily practice in the first month rewires the neuromuscular patterns that govern your posture. Your brain needs consistent, repeated signals to override years of hunched positioning. Once the new pattern is established, less frequent sessions maintain it.
Best time of day: Morning sessions set your posture for the day. Evening sessions counteract the day’s accumulated slouching. Mid-day sessions break up prolonged sitting. All work; pick what fits your schedule. Consistency beats timing.
For more ideas on maintaining your exercise routine while traveling, check out our travel workout routines for active seniors.
Posture Checkpoints
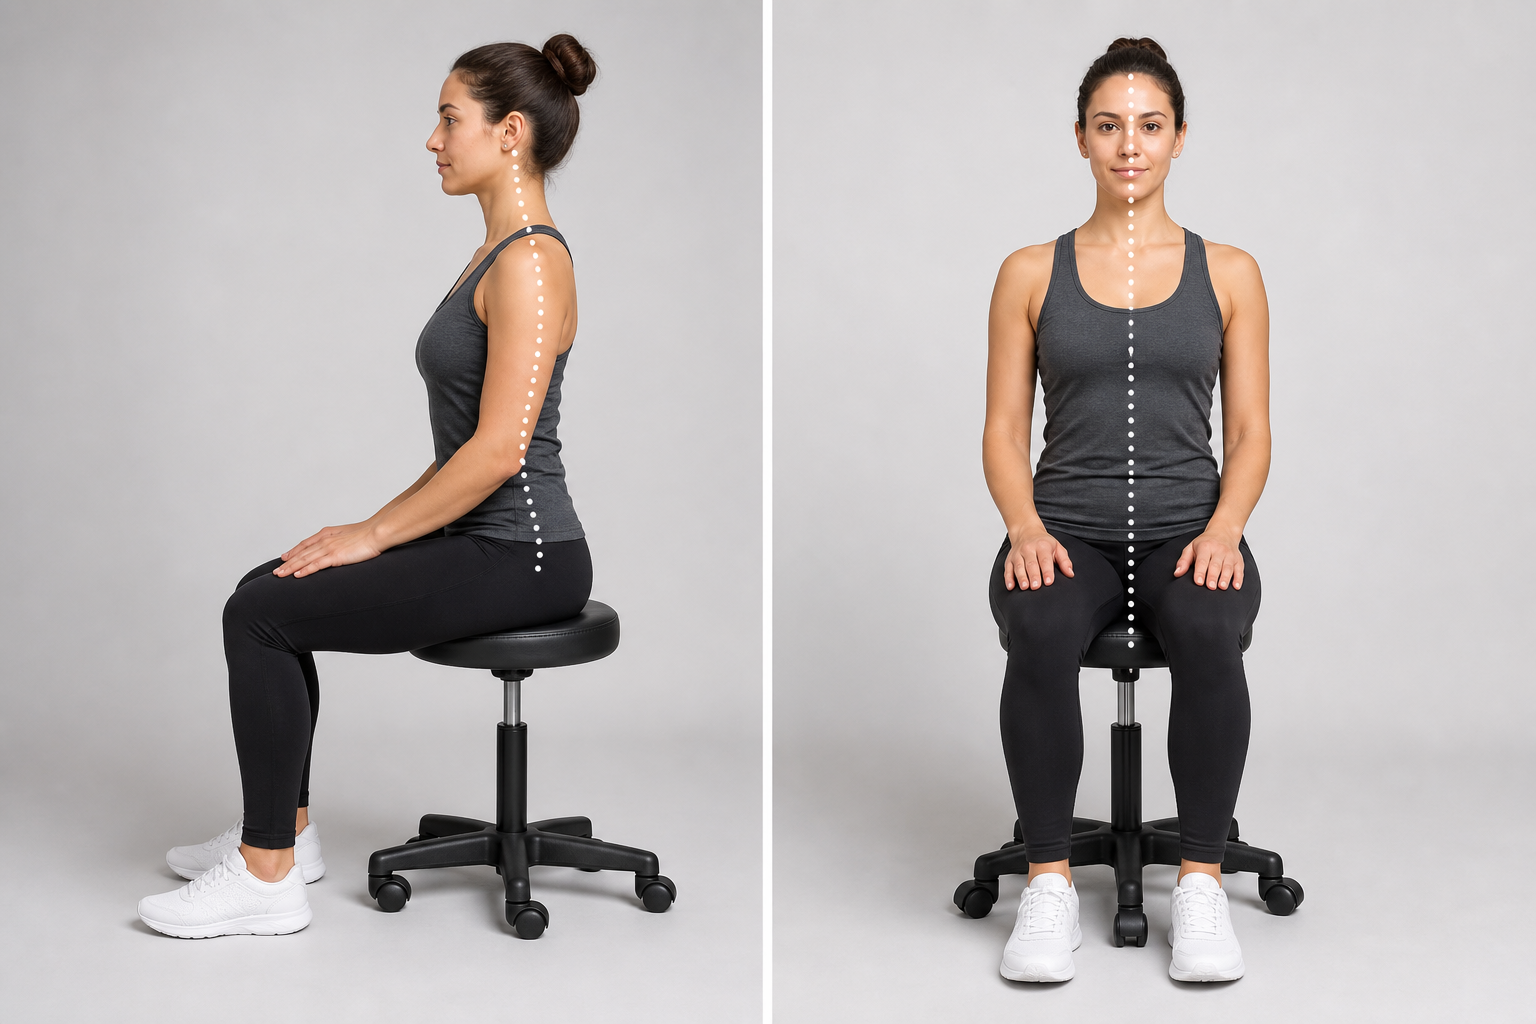
Use these cues throughout the day to maintain the gains from your exercise sessions:
- Head: Crown of head reaching toward the ceiling. Chin level, not jutting forward. Imagine a string attached to the top of your skull, gently pulling you upward.
- Shoulders: Rolled back and down, away from ears. Chest open. Your shoulders should feel relaxed, not pulled into a rigid military stance.
- Spine: Tall through the crown of the head. Natural curves present (not exaggerated or flattened). Your spine has three curves; good posture maintains all three, not just the lower back.
- Pelvis: Neutral (not tilted forward or backward). Sit bones evenly weighted. You should feel your weight distributed evenly across both sitting bones, not shifted to one side or rolled onto your tailbone.
Setting reminders: Use your phone, a kitchen timer, or visual cues (a sticky note on your computer monitor) to prompt hourly posture checks. The exercises change your capacity; the checkpoints change your habits.
When to Involve a Professional
These exercises are designed for general postural improvement, but some situations benefit from professional guidance. Consider seeing a physical therapist if you experience pain during any exercise, if you have a history of spinal fractures or surgery, if you’ve been diagnosed with significant scoliosis or kyphosis, or if your posture hasn’t improved after 8 weeks of consistent practice. A physical therapist can assess your specific situation and modify exercises accordingly.
If you have osteoporosis, you’ll need modifications to avoid spinal flexion exercises. The cat-cow and trunk rotation may need adjustment depending on bone density. Your doctor or physical therapist can advise.
For additional information about exercises tailored to specific conditions, see our guides on strength training for osteoporosis and maintaining bone density after 65.
Frequently Asked Questions
How long before I see posture improvement?
Most people notice reduced end-of-day neck and shoulder tension within 2 weeks. Others begin commenting on your improved posture within 4-6 weeks. Full habit change (maintaining better posture automatically, without conscious effort) takes 8-12 weeks of daily practice. The exercises change your body; the posture checks change your habits. Both are needed.
The speed of visible change depends partly on how long you’ve had poor posture. Someone who’s been hunched for decades will see slower improvement than someone addressing a more recent change. Both will improve, but realistic expectations matter.
Can chair exercises fix a rounded upper back?
If the rounding is muscular (weak upper back, tight chest, habitual slouching), chair exercises can significantly improve it. If the rounding is structural (vertebral compression fractures from osteoporosis, fused spinal segments), exercises can improve the muscular component but can’t change the bone structure. Even with structural limitations, strengthening the surrounding muscles produces noticeable postural improvement within those constraints.
Many older adults have a combination: some structural change plus significant muscular compensation. The exercises address the muscular component, which often accounts for more of the visible rounding than people realize.
Should I do these exercises at my desk?
Absolutely. Most of these exercises can be performed in an office chair, at a kitchen table, or in a recliner (though a firm, armless chair is ideal). The beauty of chair posture exercises is that they fit into the very environment where your posture suffers most: prolonged sitting.
Desk-based sessions work best as short, frequent interventions. Perform 3-4 exercises every couple of hours rather than the full 15-minute routine at your desk. Save the complete sequence for