Yoga is one of the best activities for seniors, building flexibility, balance, and strength all at once. But many standard yoga poses put your knees in positions they simply can’t handle after 60, especially if you’re dealing with arthritis, meniscus wear, or a previous knee injury.
Quitting yoga entirely because of knee pain is unnecessary when nearly every problematic pose has a safe, effective modification.
These 15 substitutions let you stay in class (or follow along with videos at home) without aggravating your knees. Each modification preserves the original pose’s benefits while removing the knee stress.
Before starting any new exercise routine, including modified yoga, talk to your doctor. This is especially important if you have diagnosed arthritis, prior knee surgery, or balance concerns. Your doctor or physical therapist can identify which modifications suit your specific knee condition.
Props You’ll Need
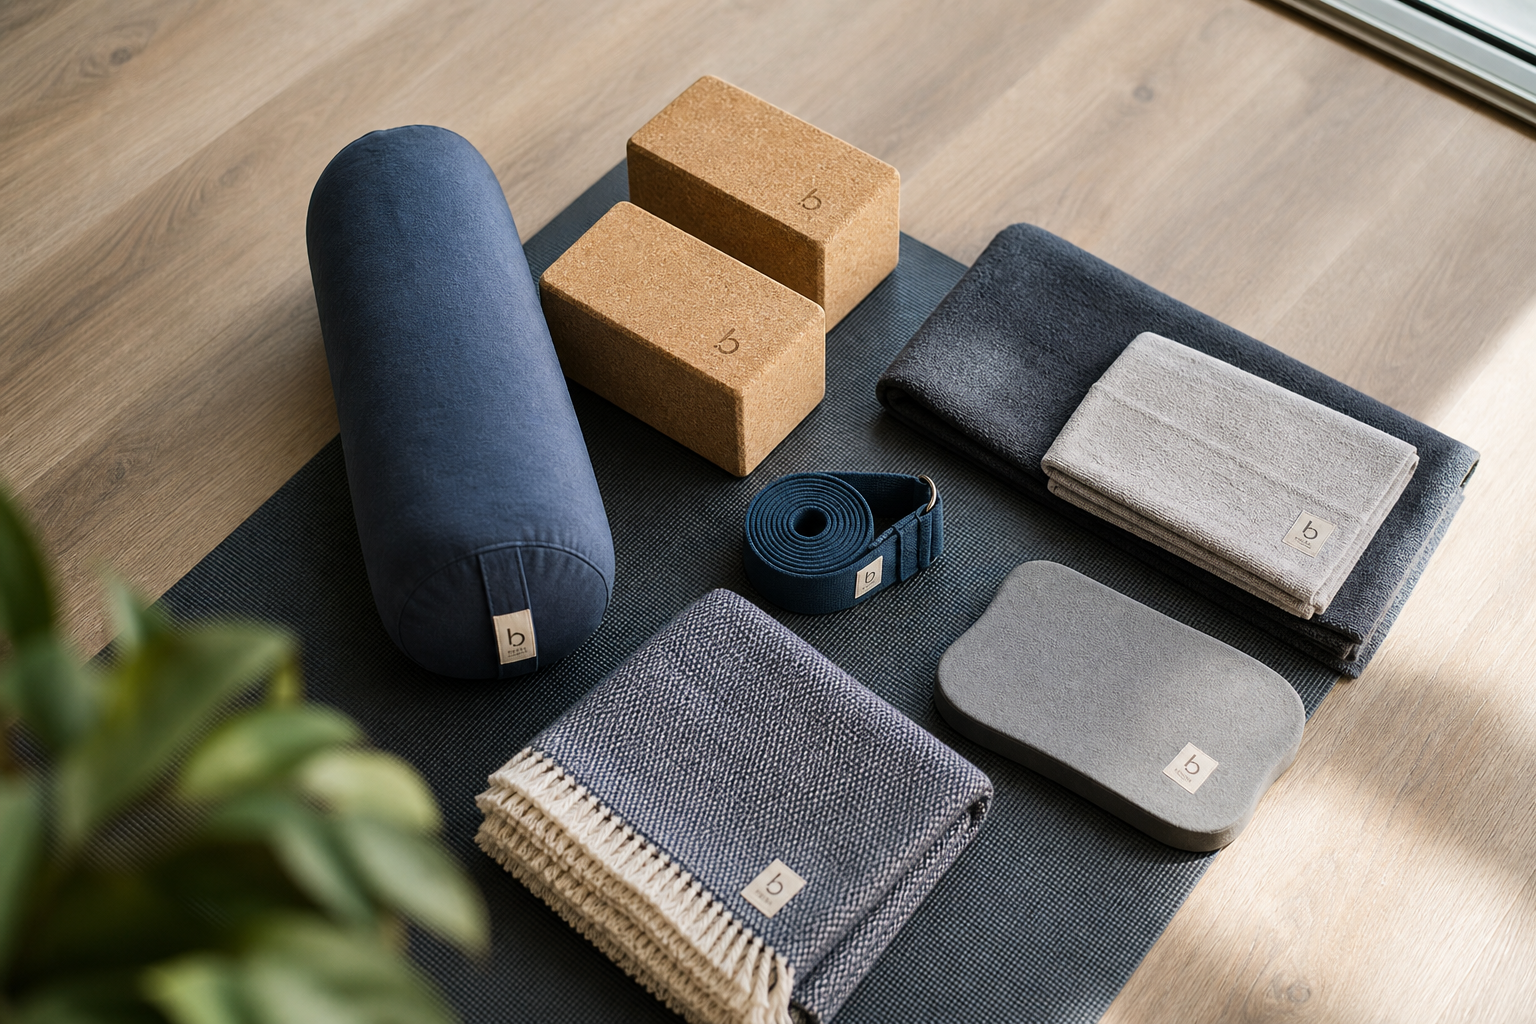
Keep these items within arm’s reach during practice:
- A sturdy yoga block set (two blocks is ideal)
- A yoga strap (a bathrobe belt works too)
- A folded blanket or thick towel for knee cushioning
- A sturdy chair for supported standing poses

Foam Yoga Blocks Set of 2
Foam blocks work better than cork for seniors because they’re lighter and provide more cushioning if you lose balance
Foam blocks work better than cork for seniors because they’re lighter and provide more cushioning if you lose balance. The 4-inch width is standard. An 8-foot strap gives you enough length for most stretches without being unwieldy.
Don’t skip the blanket. A single yoga mat provides about 3-5mm of padding. Folding a blanket into thirds gives you roughly an inch of cushioning, which makes a measurable difference for kneeling poses. Bath towels work, but blankets stay put better.
Understanding Knee Pain During Yoga
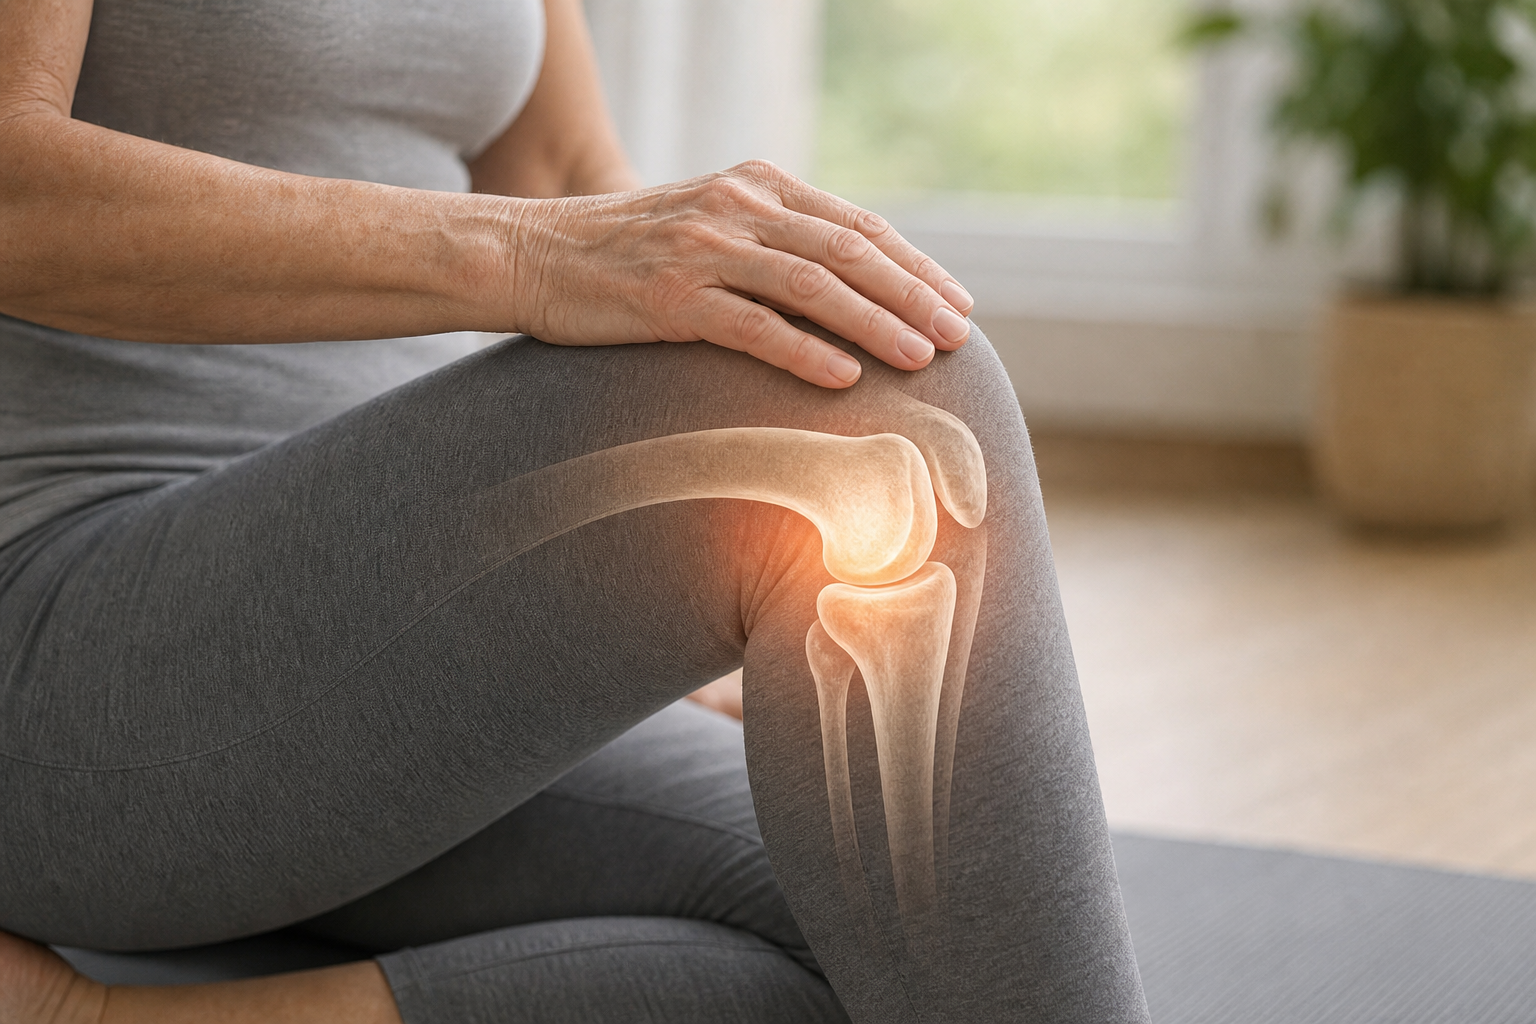
Your knees hurt during yoga for three main reasons: compression (too much weight or pressure on the joint), excessive flexion (bending past your comfortable range), or torque (twisting forces the knee isn’t built to handle).
Healthy knees hinge forward and back. They tolerate very little side-to-side movement or rotation. When a yoga pose asks your knee to rotate while also bearing weight and bending deeply, you’re combining three stress types at once.
Pain during a pose is always a stop signal. “Good” stretch sensations happen in muscles. Joint pain means something is being compressed, stretched, or twisted beyond its design limits. If a modification still hurts, skip that pose entirely. Yoga shouldn’t hurt.
The 15 Modifications
1. Warrior I (Virabhadrasana I)
Problem: Deep front knee bend compresses the kneecap.
Modification: Reduce the depth of your front knee bend. Your front knee should never pass beyond your ankle. Shorten your stance by bringing your back foot closer. A 90-degree bend is not required; a 45-degree bend still provides the hip flexor stretch and leg strengthening.
Watch for knee drift. Your front knee should track directly over your second toe, not collapsing inward. If your knee wants to cave in, that’s a sign you’re either going too deep or your stance is too wide for your current hip strength. Narrow the stance by another 6 inches.
The back foot angle matters too. Turning your back foot in at 45 degrees (rather than facing it forward) reduces the rotational stress on your back knee and makes the pose more stable.
2. Warrior II (Virabhadrasana II)
Problem: Same deep bend issue, plus the wide stance stresses the inner knee ligaments.
Modification: Narrow your stance by about 12 inches compared to the standard position. Bend your front knee only as far as comfortable. If knee pain persists, do this pose seated in a chair with your legs in a wide straddle position, turning your torso to the side.
In the chair version, you still get the side body stretch and the hip opening. Extend your arms in the same T-position. Turn your head to gaze over your front hand. The leg strengthening component is reduced, but you maintain the flexibility and balance benefits without knee stress. This approach works well as part of a chair yoga practice for beginners.
Some instructors teach a “long stance” warrior II where your feet are four to five feet apart. That’s too wide for most people over 60. Three feet is plenty.
3. Pigeon Pose (Eka Pada Rajakapotasana)
Problem: Extreme external rotation of the front hip combined with a deeply flexed knee. This is the most knee-dangerous pose in standard yoga.
Modification: Replace entirely with a supine figure-4 stretch. Lie on your back, cross one ankle over the opposite knee, and gently pull the bottom thigh toward your chest. This provides the identical hip stretch with zero knee stress.
For tighter hips, use your strap. Loop it around the bottom thigh and hold both ends of the strap to pull the leg toward you. You control the intensity precisely this way.
If lying on the floor is difficult, do the figure-4 seated in a chair. Cross one ankle over the opposite knee and gently lean forward from your hips. You’ll feel the stretch in your outer hip and glute.
Pigeon pose injures more knees than any other common yoga posture. The angle puts torque on the knee joint while the joint is also maximally flexed. There’s no safe modification of traditional pigeon for compromised knees. Just skip it.
4. Lotus Pose (Padmasana)
Problem: Requires extreme external rotation at the hip and can torque the knee joint if hip flexibility is insufficient.
Modification: Sit cross-legged (easy seat) or in a chair. Place a folded blanket under your hips to tilt your pelvis forward. If cross-legged sitting causes any knee discomfort, switch to a chair immediately.
Half lotus (one foot up, one down) is not a safer middle ground. It still torques the knee of the elevated leg.
The blanket or block under your hips is not optional. When your hips are elevated 3-4 inches above your knees, your pelvis can tilt forward naturally. This takes pressure off your knees and lower back. Without that elevation, your knees often end up higher than your hips, which strains the joint and compresses the meniscus.
5. Child’s Pose (Balasana)
Problem: Full knee flexion compresses the back of the knee and can irritate Baker’s cysts or meniscus tears.
Modification: Place a rolled blanket or bolster between your calves and thighs to limit knee flexion. This reduces compression while still providing the resting position. Alternatively, sit in a chair and fold forward over your thighs for a similar spinal stretch.
The rolled blanket sits in the crease at the back of your knee. It prevents your knee from closing completely. Even with arthritis, most people can comfortably flex their knees to about 90 degrees. The blanket keeps you in that range.
A yoga bolster (a firm cylindrical pillow) works even better than a rolled blanket because it’s firmer and stays in place. A couch cushion or bed pillow works in a pinch.
6. Hero Pose (Virasana)
Problem: Sitting on your heels with knees fully flexed is one of the highest-load positions for the kneecap.
Modification: Sit on a yoga block (or stack of two) placed between your feet. This raises your hips and dramatically reduces knee flexion. If any knee discomfort remains, sit on a chair instead.
Start with two blocks stacked. That’s about 8 inches of height. If that’s comfortable after 30 seconds, you can try one block next time. But there’s no prize for sitting lower. The height that feels good is the right height.
Your feet should frame the block, not be under it. Toes point straight back. If your inner ankle bones press painfully against the block, place a folded towel on top of the block first.
7. Low Lunge (Anjaneyasana)
Problem: The back knee pressing into the floor and the front knee in deep flexion.
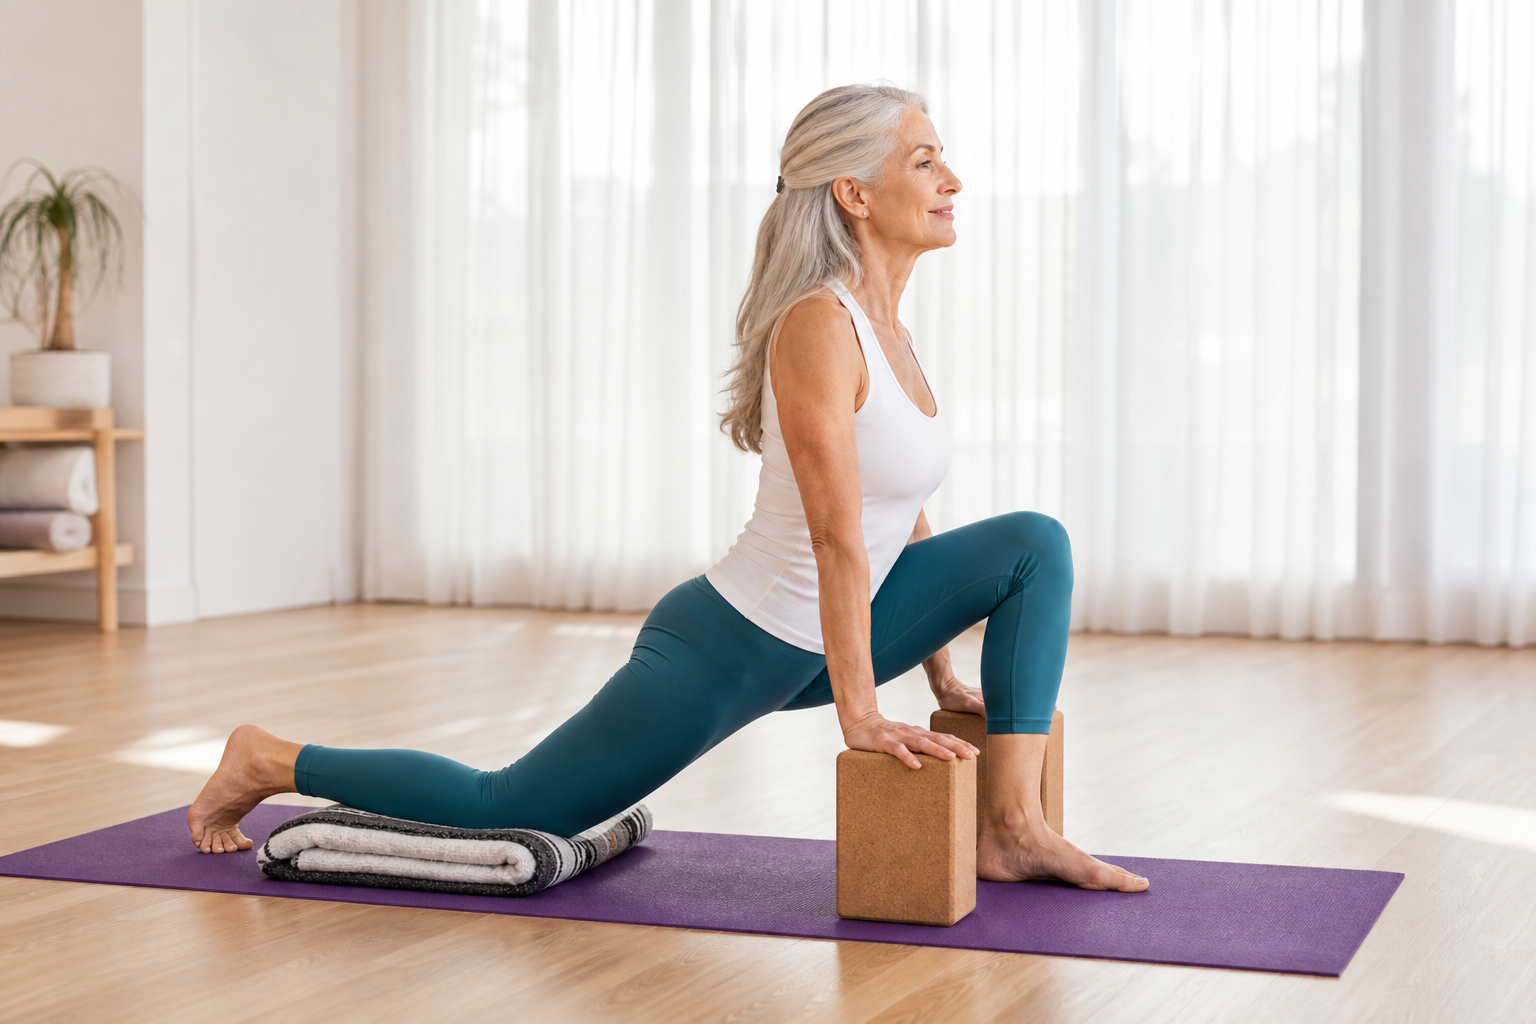
Modification: Place a thick folded blanket under the back knee for cushioning. Keep the front knee behind the ankle. Reduce the depth of the lunge. For severe knee issues, do a standing lunge holding a chair, with a much shallower range of motion.
Fold the blanket into fourths for maximum padding under that back knee. Even with cushioning, don’t stay in this pose longer than 20-30 seconds per side. Prolonged kneeling compresses the kneecap against the femur regardless of padding.
In the standing chair-supported version, you’re essentially doing a modified Warrior I with your hands on the chair back for balance. Your back heel stays down. You control the depth. This version is also better for balance-challenged individuals since you have a stable support right in front of you. These standing chair yoga poses offer excellent alternatives for maintaining strength safely.
8. Crescent Lunge (High Lunge)
Problem: Deep front knee bend under full body weight.
Modification: Shorten your stance significantly and keep the front knee bend shallow (45 degrees or less). Place your hands on blocks on either side of your front foot to reduce the load on your legs.
The blocks shift some of your upper body weight off your legs and onto your arms. Use the tallest height on the blocks (about 9 inches). This also reduces how much forward flexibility you need to reach the floor.
If balance is a concern, do this next to a wall. Your outer hand presses against the wall for stability. You lose the full arm extension upward, but you gain confidence and safety.
9. Chair Pose (Utkatasana)
Problem: Deep squat position stresses the kneecap and surrounding tendons.
Modification: Reduce the squat depth to just a slight knee bend (20-30 degrees). Alternatively, stand with your back against a wall and slide down to a comfortable depth. The wall supports your back and lets you control exactly how much knee bend you use.
With the wall version, your feet should be about 12 inches from the wall base. This prevents your knees from shooting forward past your toes as you lower. Keep your weight in your heels.
Don’t expect to lower very far. Even dropping 6 inches provides a meaningful quad workout for the knee muscles that need strengthening. A shallow chair pose done correctly works better than a deep chair pose with poor alignment. For additional ways to strengthen the muscles around your knees, consider incorporating gentle chair-based knee exercises into your routine.
Arms can stay at your sides or in prayer position at your chest. Raising your arms overhead increases the balance challenge. Add that later if desired.
10. Triangle Pose (Trikonasana)
Problem: Hyperextending (locking) the front knee.
Modification: Keep a micro-bend in the front knee throughout the pose. Use a block under your lower hand to avoid reaching too far and forcing the knee into hyperextension. This small change protects the ligaments on the back of the knee.
The micro-bend is subtle. Your leg still looks mostly straight. You’re keeping just enough muscle engagement that your knee doesn’t sag backward into hyperextension.
Hyperextension stretches the ligaments at the back of your knee. Unlike muscles, ligaments don’t bounce back easily when overstretched. This is particularly risky for anyone with “loose” or hypermobile joints.