Tracking time and repetitions during exercise shouldn’t require a degree in computer science. Many seniors avoid using workout timers because the tiny buttons, confusing displays, and complicated setup of fitness apps and digital devices create more frustration than they’re worth. The best workout timers for seniors are the simplest: large displays, one or two buttons, and zero learning curve.
This isn’t about technology resistance. It’s about practicality. When you’re holding a plank or timing interval walks, you need a device that does exactly one thing well: tells you when time is up. The fewer features, the better. A timer that requires scrolling through menus, downloading updates, or reading a 20-page manual defeats the purpose of making exercise easier.
The tools below require minimal setup, work reliably, and don’t demand perfect vision or dexterity. Most are budget-friendly. Some you already own.
Best Options for Timing Exercises
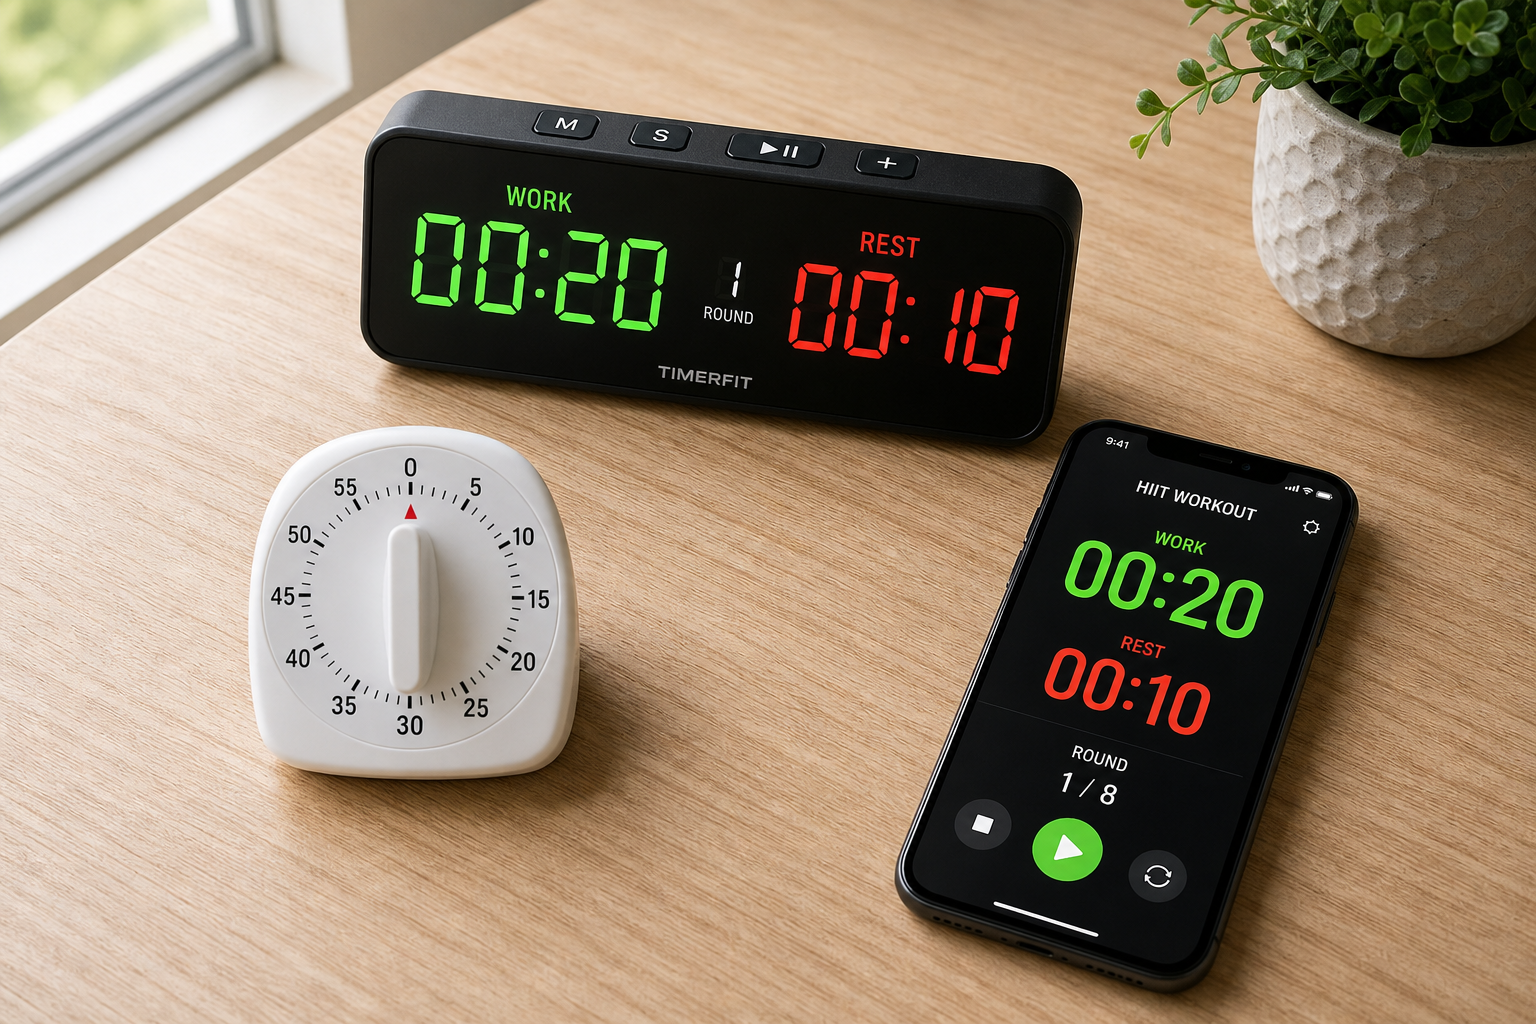
Kitchen Timer
A standard kitchen timer with a large display and a loud alarm is the simplest exercise timer available. Set the time, press start, exercise until it beeps. One button operation. Large numbers visible from across the room. No accounts, no apps, no Wi-Fi. Use it for timed walking sessions, stretch holds, and overall workout duration.

Large Display Kitchen Timer
Simple one-button operation with numbers readable from 10 feet away and a loud alarm you can actually hear
Look for models with numbers at least half an inch tall. The display should be readable from 10 feet away without squinting. A magnetic back lets you stick the timer to a metal shelf or refrigerator in your exercise area so it’s always visible and within reach.
The alarm needs to be loud enough to hear over background noise (TV, air conditioning, traffic outside). Check product reviews for volume complaints. If multiple reviewers say “can’t hear it,” skip that model. Many kitchen timers also include a flashing light when the alarm sounds, which helps if you have hearing loss.
Battery life matters. Standard kitchen timers run on AAA batteries and last months between changes. Avoid rechargeable models unless you want to manage yet another charging cable. The whole point is simplicity.
Vibrating Interval Timer Watch
A vibrating timer watch worn on your wrist alerts you with a buzz (not a beep) when it’s time to change exercises, switch from walking to brisk intervals, or end a stretch hold. The vibration is felt even if you can’t hear an audible alarm. Most models allow you to set repeating intervals (30 seconds on, 30 seconds off) that automate circuit training timing.
These watches excel at outdoor walks where carrying a separate timer is inconvenient. Set a vibrating alarm every five minutes to alternate between brisk and normal walking pace. The watch does the thinking so you can focus on form and breathing. This pairs well with structured cold weather walking routines or summer outdoor exercise.
Repeating interval function (also called “loop mode”) means you set it once and it cycles automatically. Walk fast for one minute, recover for two minutes, repeat six times. The watch handles the countdown and alerts. No need to restart the timer manually after each interval.
Band adjustability is critical. Many vibrating timer watches come with standard watch bands that don’t fit larger wrists or thin wrists well. Check the specs for wrist circumference range. If you have arthritis in your hands, look for Velcro closures instead of buckles.
Waterproof ratings (listed as “IP67” or “5ATM”) mean the watch survives sweat and rain but not swimming. If you do water aerobics, verify the watch is rated for submersion, not just splashes.
Wall Clock with Second Hand
The simplest option of all: a wall clock with a visible second hand, placed where you can see it from your exercise area. Time your stretches (hold until the second hand completes half a revolution = 30 seconds). Count your walking intervals by the minute hand. Track your total workout by the hour hand. Zero technology, zero batteries, zero confusion.
This works best in a dedicated exercise space (spare bedroom, corner of the living room, garage). The clock needs to be large enough that you can read it from your workout mat or standing position. Numbers should be at least one inch tall. High-contrast faces (black numbers on white background or vice versa) are easier to read than decorative fonts or low-contrast colors.
Silent sweep second hands eliminate the ticking noise that drives some people up the wall during quiet stretching sessions. Standard quartz clocks with ticking second hands work fine if noise doesn’t bother you.
Mount the clock at eye level when standing. Tilting your head back or bending forward to check the time mid-exercise throws off your form. If your workout includes floor exercises, make sure the clock is also visible from a seated or lying position.
Phone Timer (Voice-Activated)
If you have a smartphone, saying “Hey Siri, set a timer for 30 seconds” or “OK Google, set a timer for 2 minutes” requires zero button pressing and zero screen navigation. Voice-activated timers are hands-free, which matters when you’re mid-exercise and can’t touch a device.
This assumes your phone’s voice assistant is already set up and responds reliably. If you’ve never used voice commands before, practice a few times before your workout. Say the wake phrase clearly and pause before giving the command. “Hey Siri [pause] set a timer for five minutes” works better than running the words together.
Place your phone on a stable surface (chair, bookshelf, windowsill) within earshot but not underfoot. Speaker volume needs to be loud enough to hear the alarm over your movement and breathing. Test it before you start exercising. Many people realize mid-workout that their phone is on silent mode and the alarm never made a sound.
Voice timers announce remaining time when asked. “Hey Google, how much time is left?” gets an immediate answer without stopping your exercise to look at a screen. This matters when you’re holding a plank and wondering if you still have 10 seconds or 40 seconds left.
Multiple timers can run simultaneously. “Set a timer for 30 seconds” for a stretch hold, then “set a timer for 20 minutes” for total workout duration. Both countdowns run independently. The phone announces which timer is finished when it goes off.
Counting Repetitions
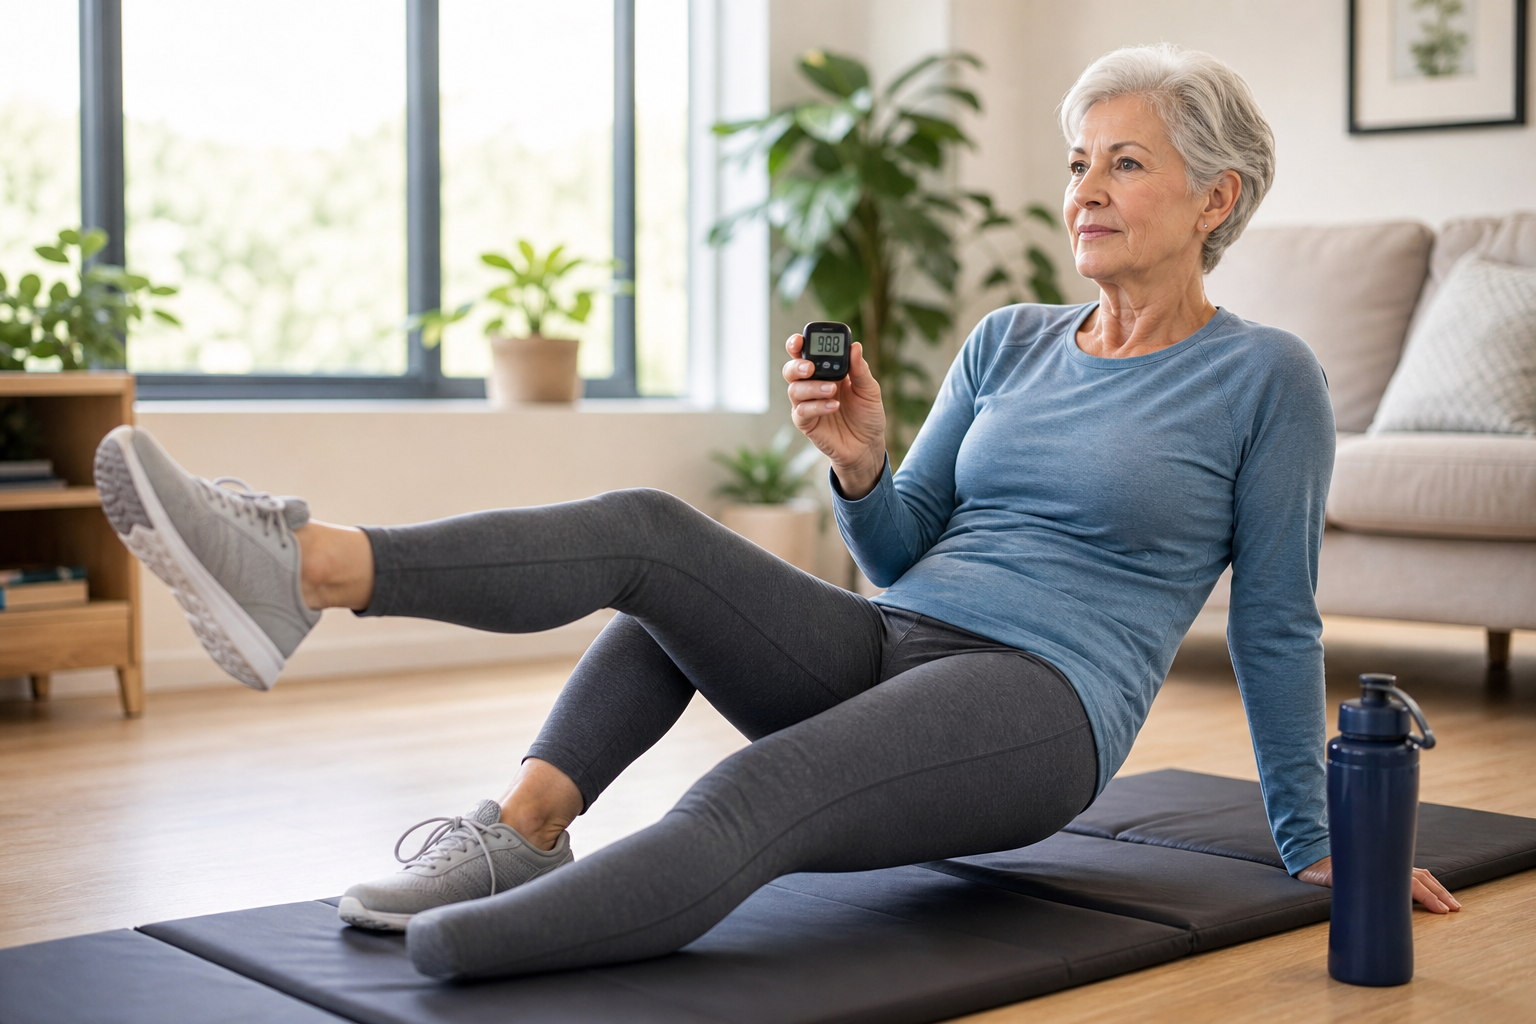
Timers handle duration. Reps need a different solution. Losing count mid-set is common when your attention is split between form, breathing, and the number. These methods keep the count accurate without mental effort.
Tally Counter
A handheld tally counter (click for each rep) eliminates the need to count in your head, which frees your attention for form and breathing. Mechanical tally counters have a thumb button on top that advances the count by one with each press. The display shows total reps completed. At the end of the set, reset the counter to zero with a side button or dial.

Hand Tally Counter
Click once per rep to keep accurate counts without mental effort, leaving your focus for proper form
These work best for exercises where one hand is free (standing leg lifts, seated arm raises, calf raises). They don’t work well for exercises that occupy both hands (pushups, rows with dumbbells). In those cases, count out loud or use visual markers (coins moved from one pile to another, one per rep).
Tally counters with a ring attachment fit on your finger, which means you don’t have to grip the device. This works if pressing the button with your thumb doesn’t interfere with the exercise. Test it first. Some people find the counter distracting or awkward during movement.
Count Out Loud
Speaking each rep number reinforces the count and coordinates with breathing (exhale on the effort, say the number). Hearing yourself say “seven” makes it harder to forget whether you just did six or eight. The vocal reinforcement creates a second memory track beyond just thinking the number silently.
This method works anywhere, costs nothing, and doubles as a breathing cue. If you can’t say the number clearly, you’re probably holding your breath. Forced exhalation on each rep prevents the Valsalva effect (breath-holding that spikes blood pressure during exertion).
Count out loud for exercises that don’t require concentration on balance. It’s fine for bicep curls, seated knee extensions, or supine bridges. It’s not ideal for single-leg stands or balance drills where your attention needs to stay on stability, not vocalizing numbers.
Count Down, Not Up
Counting from 10 to 1 (instead of 1 to 10) psychologically feels easier because you’re always getting closer to zero. Ten feels like a long way from the start. Nine sounds closer. Eight, even closer. By the time you hit three, the end is in sight. The descending count reduces the mental barrier that makes the last few reps feel harder than they are.
This trick is purely psychological but reliably effective. The reps are the same difficulty whether you count up or down. Your brain just interprets the countdown as “almost done” instead of “still have this many left to go.”
Use descending counts for exercises where the last few reps are the hardest (planks, wall sits, arm raises with light weights). The countdown reinforces that you’re close to finishing right when your muscles are asking if they can quit early.
Visual Markers
Move physical objects to track reps when you can’t hold a counter or vocalize clearly. Put 10 coins in your left pocket, move one to your right pocket after each rep. Or line up 10 small objects (buttons, marbles, checkers) on a table and move one to the side after each rep. When all the markers have moved, the set is done.
This method is slower than counting or clicking a tally counter but eliminates any possibility of losing track. It works well for exercises that include a natural pause (step-ups onto a platform, sit-to-stands from a chair) where you have a moment to move a marker between reps.
Visual markers are useful if you have cognitive changes that make counting unreliable or if you get easily distracted mid-set. Seeing the physical progress (the pile of moved objects getting larger) provides concrete feedback that you’re advancing toward the goal.
When Simple Isn’t Enough
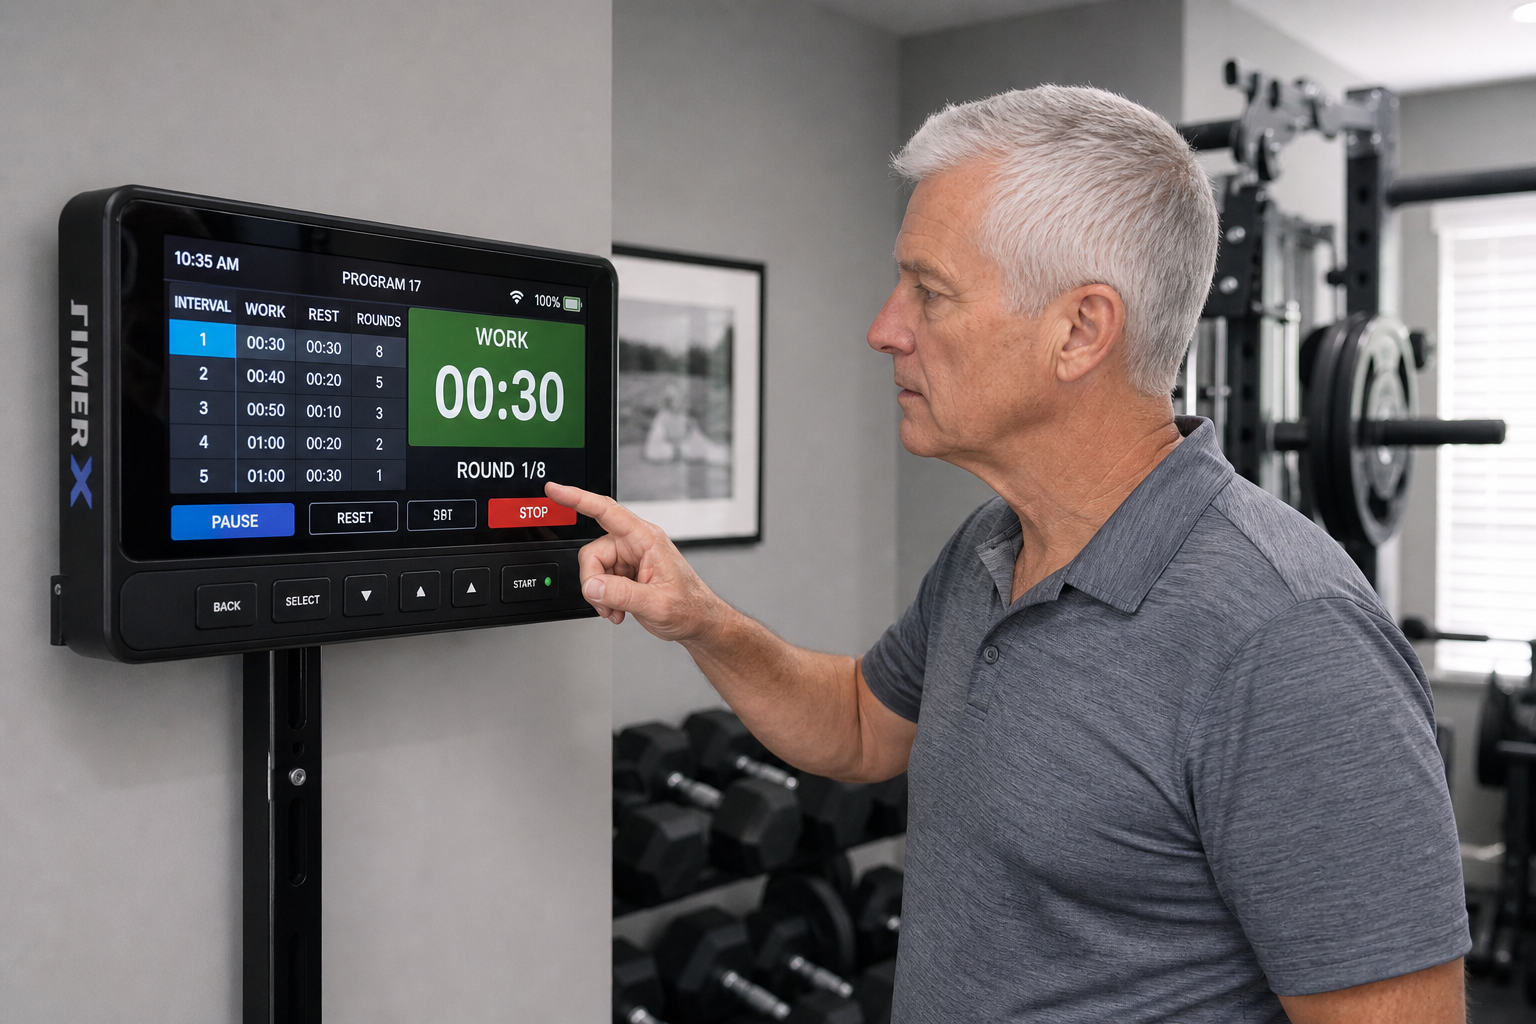
Some exercise programs require more precision than these basic tools provide. If you’re following a structured interval program with multiple timed phases (warm-up, work, recovery, cooldown), a dedicated fitness tracking app may be worth the learning curve. If you’re tracking progressive overload (increasing reps or time each week), a written log or simple spreadsheet captures that data better than memory alone.
But for most daily exercise routines, the tools listed here handle the job. You don’t need a GPS watch to time a 20-minute walk or a fitness app subscription to count 10 reps of chair squats. Start with the simplest tool that gets the job done, then add complexity only if a specific need justifies it.
Frequently Asked Questions
Do I really need a timer for exercise?
Timers ensure you hold stretches long enough (20-30 seconds minimum for benefit), walk long enough (achieving your target duration), and rest the right amount between exercises (too short means poor recovery, too long means lost momentum). Without a timer, most people underestimate exercise duration and overestimate stretch hold times. A timer provides the objective structure that “winging it” lacks.
Research on stretch effectiveness shows that holds under 15 seconds provide minimal flexibility gains. Most people who guess at stretch duration stop around 10 seconds, thinking they’ve held for 20 or 30. A timer eliminates the guessing. It also prevents over-stretching. Holding a stretch for two or three minutes (which some people do when they lose track of time) increases injury risk without additional benefit.
Rest intervals matter for strength work, whether you’re following a progressive resistance program or doing basic exercises. Sixty to ninety seconds between sets allows muscles to partially recover without cooling down completely. Resting less than 45 seconds means your next set will be compromised because your muscles haven’t cleared metabolic byproducts. Resting more than two minutes means you lose the conditioning effect of working while slightly fatigued. A timer keeps rest consistent, which makes workouts more effective and repeatable week to week.
Can I use my microwave timer?
Yes. If your microwave is visible from your exercise area and has a timer function, it works perfectly. Set the time, press start, exercise until it beeps. It’s the kitchen timer you already own.
Microwave timers typically have large, backlit displays that are readable from across the room. The alarm is loud (designed to be heard from other rooms in the house). The controls are familiar if you use your microwave regularly. No need to learn a new device.
The main limitation is portability. The microwave doesn’t follow you outside for a walk or upstairs to a bedroom exercise space. It works well for stationary workouts in or near the kitchen. Many people do their morning stretches, core work, or strength exercises in the kitchen or adjacent living area specifically because the microwave timer is there.
What’s the simplest way to time interval walks?
Use landmarks instead of timers: “walk briskly from this mailbox to the next stop sign, then walk normally to the next mailbox.” Landmark-based intervals eliminate the need for any timing device and naturally create intervals that vary slightly in duration, which is fine for fitness benefit.
Pick landmarks that are roughly 30 seconds to two minutes apart at your normal walking pace. Street signs, driveways, telephone poles, park benches, parked cars, trees. The specific distance doesn’t need to be exact. The goal is alternating effort levels, not hitting precise times.
Landmark intervals adapt automatically to how you feel. On days when you’re moving well, the fast intervals might be 90 seconds. On days when you’re tired or the wind is against you, the same landmark-to-landmark distance might take two minutes. The workout adjusts to your current capacity without any conscious decision-making.
This method works best on familiar routes where you know the spacing of available landmarks. On new routes, you might end up with one interval that’s 30 seconds and the next that’s four minutes, which throws off the intended work-to-rest ratio. A vibrating timer watch solves this for unfamiliar routes, but landmarks work great for your regular neighborhood loop.
How do I remember to start the timer?
Make starting the timer part of your exercise setup ritual, the same as putting on your shoes or filling your water bottle. Timer first, then exercise. If you consistently forget, put the timer in your path so you have to move it to access your exercise area. A kitchen timer placed on your yoga mat or exercise chair forces you to interact with it before starting.
Voice-activated phone timers reduce the forgetting problem. You can say “set a timer” even after you’ve started the first stretch or exercise. It’s not ideal (you lose accurate tracking of the first minute or two), but it’s better than no timing at all.
Should I time every exercise or just certain ones?
