Going from chair exercises straight to standing work isn’t just about swapping one exercise for another. Your body relies on a completely different set of muscles, joints, and balance signals once your feet become your only base of support. Jumping that gap too fast is one of the most common reasons people get discouraged, or worse, take an unnecessary fall during a workout that was supposed to make them safer.
This article walks through an actual progression you can follow, along with a few simple tests you can use to decide when you’re ready to move to the next stage. It’s not a diagnostic tool and it won’t tell you whether you have an underlying medical condition, but it will give you an honest read on whether standing work is appropriate yet.
Why the Jump From Chair to Standing Trips People Up
Seated exercises let your hips, thighs, and the seat itself absorb most of your body weight. Standing removes that base entirely and shifts the workload to your ankles, calves, and the small stabilizing muscles around your hips and core. These are the same muscles covered in our article on 5 critical muscles that prevent falls in seniors, and if they’ve gone quiet from months or years of mostly seated activity, standing balance work will expose that quickly.
There’s also a sensory component. Your inner ear, your eyes, and the pressure sensors in your feet all feed your brain information about where your body is in space. Chair exercises don’t demand much from this system. Standing does, especially once you close your eyes or turn your head. If vision plays a bigger role in your balance than you realize, it’s worth reading how vision affects balance and fall risk in older adults before you start adding standing drills.
The 30-Second Sit-to-Stand Test: Your Starting Checkpoint

Before adding standing exercises, run this simple test. It’s used by physical therapists as a general lower-body strength and functional mobility screen, not a diagnostic test for any specific condition.
- Sit in a sturdy, armless chair with your feet flat on the floor and arms crossed over your chest.
- Set a timer for 30 seconds.
- Stand up fully and sit back down as many times as you can without using your hands.
- Count the total number of full stands.
Generally, adults in their 60s and 70s who complete 12 to 17 repetitions are considered to be in a typical range for their age, though this varies by source and by individual health history. If you struggled to hit double digits, or you needed your hands on the armrests to keep from tipping, that’s useful information. It means your legs and core need more strengthening work before standing balance drills should become a regular part of your routine. Our 15-minute chair workout for seniors is a solid place to build that base first.
If you completed the reps smoothly and felt stable the entire time, you’re likely ready to start layering in supported standing work.
The Progression Framework
Rather than treating “standing exercises” as one big leap, break it into four distinct stages. Each one reduces your support slightly and asks your body to hold more of the balancing job on its own.
Stage 1: Standing With Full Hand Support
Stand behind a sturdy chair or kitchen counter with both hands gripping it. Practice simple movements here first, like heel raises, marching in place, and shifting your weight side to side. This stage is about teaching your legs to bear weight again in a vertical position without any real balance challenge yet.
Spend at least a week or two here if you’re coming from a mostly seated routine, even if it feels too easy. Rushing this stage is where most setbacks happen.
Stage 2: Standing With Fingertip Support
Move to touching the counter or chair with just one or two fingertips instead of a full grip. This forces your ankles and core to start doing real stabilizing work while still giving you an immediate safety net if you wobble.
This is also a good stage to introduce heel-to-toe stepping. If you haven’t tried it yet, our guide to heel-to-toe walking as a balance drill explains the setup and gives you a clear way to measure progress over time.
Stage 3: Hovering Support
Keep your hand near the support surface, an inch or two away, without touching it. You should be able to catch yourself instantly if needed, but you’re not relying on it. This stage exposes whether your balance is genuinely improving or whether you’ve just gotten good at leaning slightly on the counter without realizing it.
Stage 4: No Support, Attention Nearby
Now you stand and move without touching anything, but you stay within arm’s reach of a wall, counter, or sturdy chair. This is the stage where single-leg stances, gentle turns, and eyes-closed weight shifts start to make sense. It’s also where you should stop if you feel any hesitation, since the whole point of the progression is confidence backed by actual stability, not forced bravado.
Using the Timed Up and Go Test to Check Readiness Between Stages
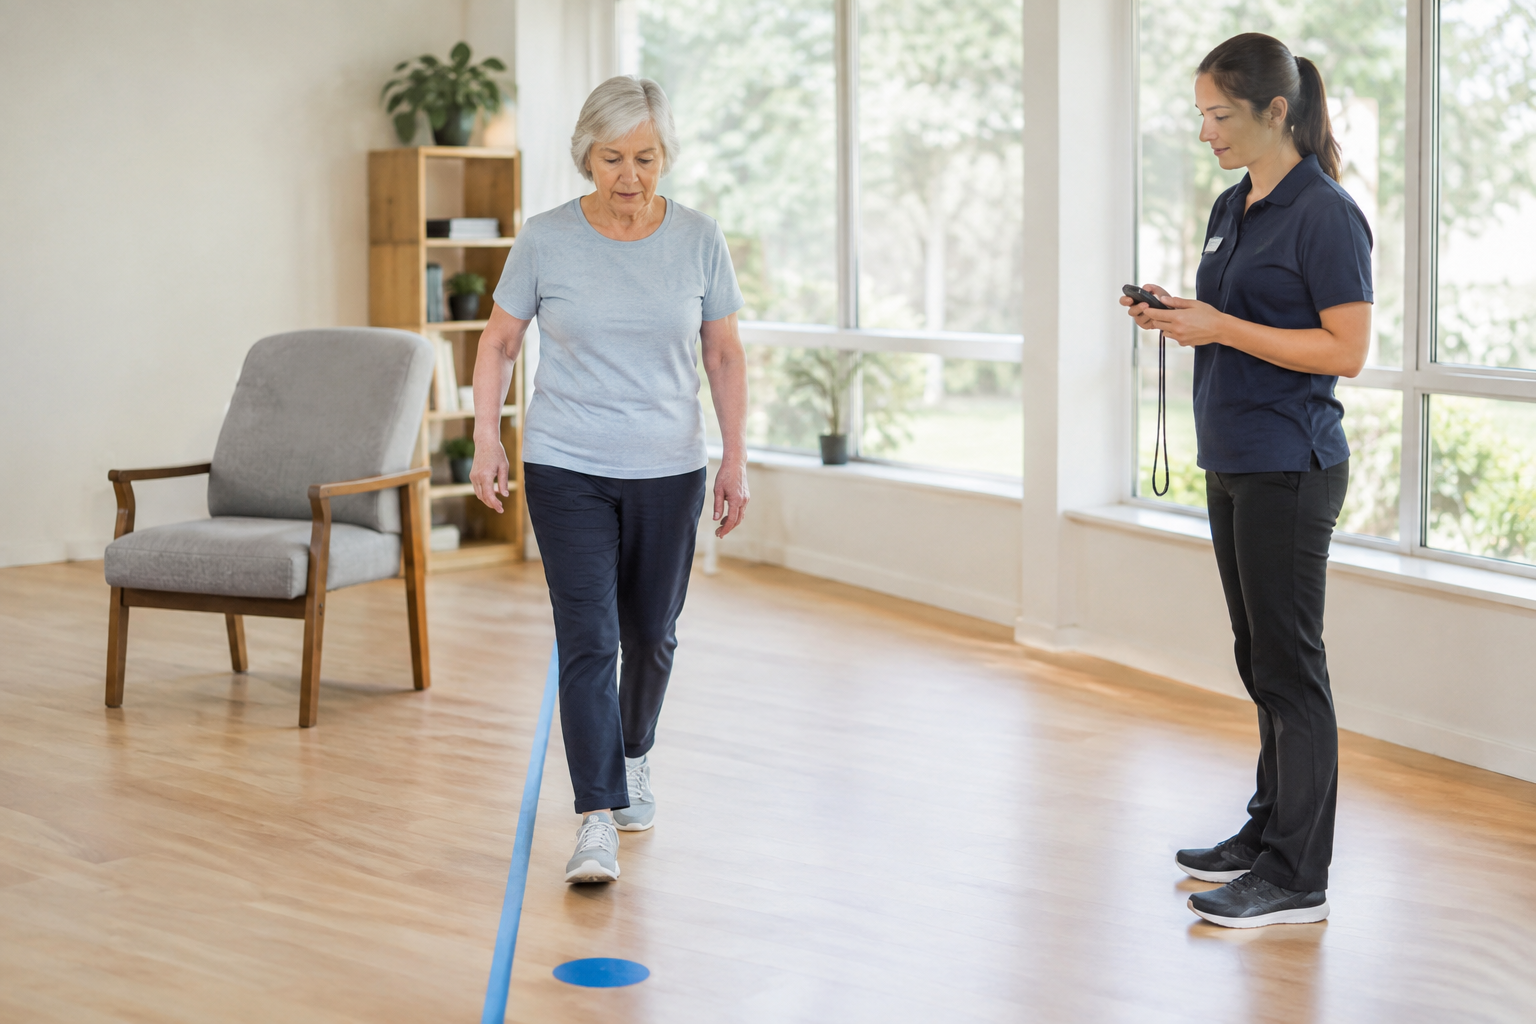
Another useful checkpoint is the Timed Up and Go test. Sit in a chair, and when you’re ready, stand up, walk about 10 feet at a normal pace, turn around, walk back, and sit down again. Time the whole sequence.
Most healthy older adults complete this in under 12 seconds. Taking notably longer, or feeling unsteady during the turn specifically, is a sign that turning and directional changes need more practice before you add them into a standing routine unsupervised. The turn is often the hardest part, since it requires your body to manage balance in a rotating direction rather than a straight line.
If you want a broader set of self-checks beyond these two tests, our article on how to test your balance at home covers a few additional options you can rotate through monthly to track trends over time.
Setting Up Your Space and Choosing the Right Support
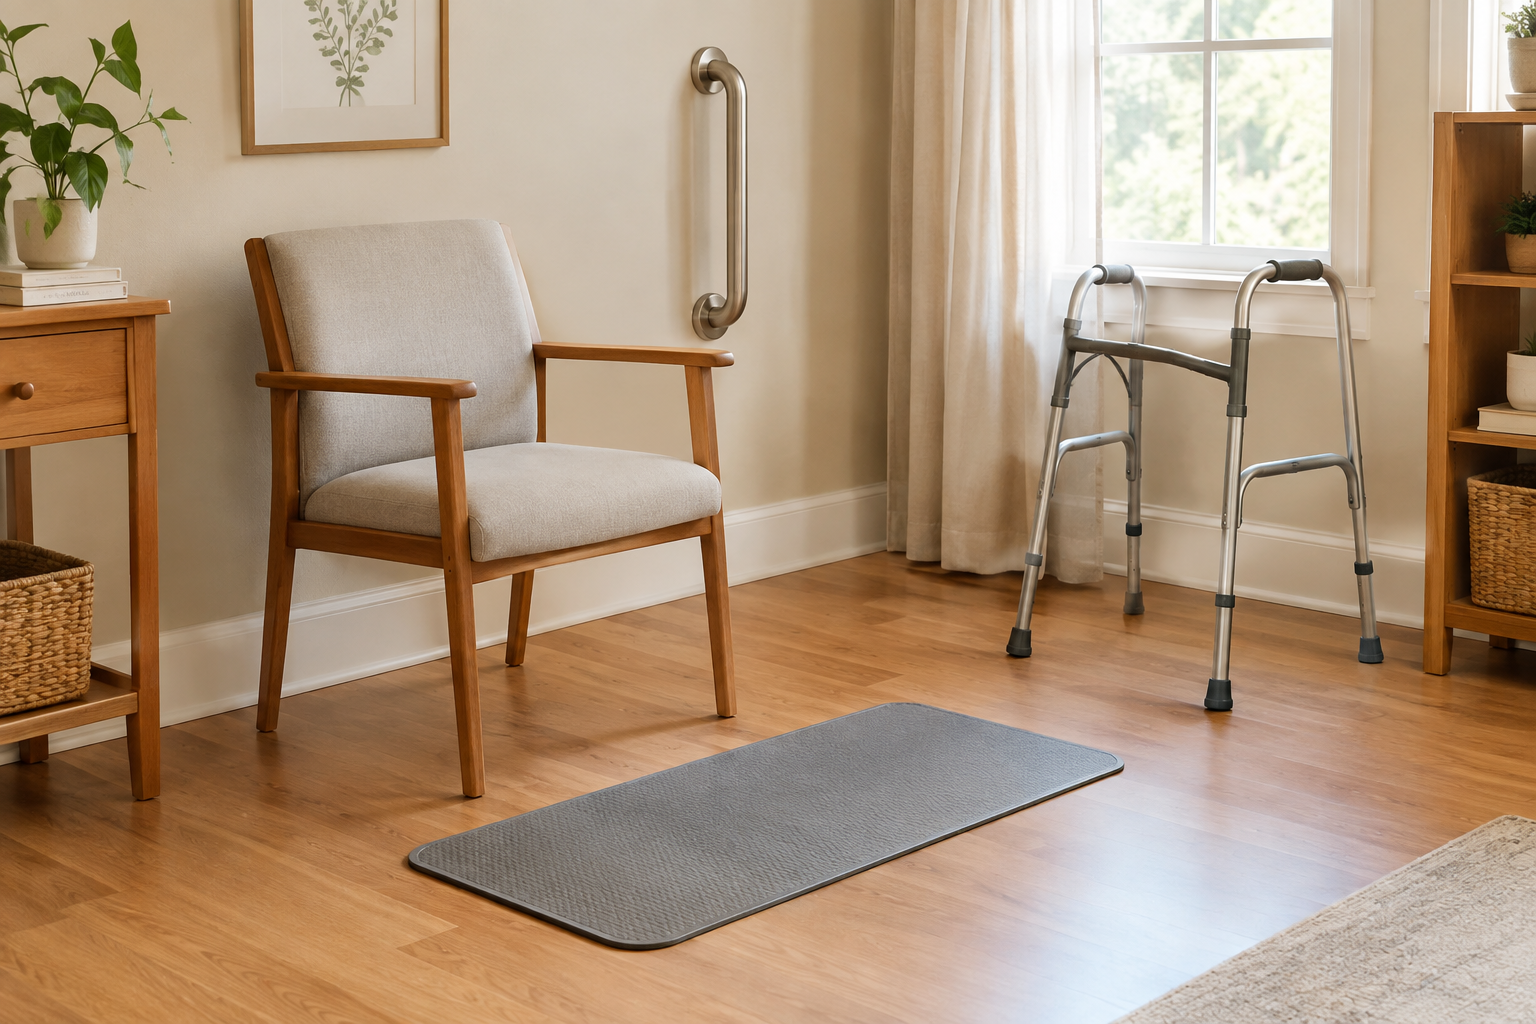
Where you practice matters as much as what you practice. Pick a spot with a hard, even floor rather than carpet, since carpet changes how your feet sense pressure and can throw off your practice reps. A kitchen counter or a heavy, stable dining chair pushed against a wall both work better than a lightweight chair that can slide or tip.
If you’re working near a bathroom or shower area as part of your routine, properly installed grab bars for bathroom safety give you a fixed, load-rated support point that a towel bar or furniture never will. Never use a towel rack, shelf, or anything not bolted into a wall stud as a balance aid.
When to Bring in Supervision
Have another person nearby, or work directly with a physical therapist, if any of the following apply to you:
- You’ve had a fall in the past six months, especially more than one.
- You feel dizzy or lightheaded specifically when standing up.
- You have a diagnosed inner ear, neurological, or vision condition affecting balance.
- You’re recovering from a hip, knee, or ankle surgery or injury.
- You take medications that list dizziness or drowsiness as a side effect.
New or worsening dizziness, fainting, sudden weakness, or repeated unexplained falls are not things to work through on your own with a home progression. Those symptoms warrant a medical evaluation before you add any standing balance exercises, regardless of how well you scored on the tests above. If dizziness has already been an issue, read through dizziness and balance exercises that may help seniors for guidance on what’s appropriate and what to avoid.
Frequently Asked Questions
How long should I stay at each stage before progressing?
There’s no fixed timeline, but a reasonable guideline is one to two weeks per stage, or until you can complete your usual routine without leaning on the support surface for balance. If you feel unsteady at any point, stay at that stage longer rather than pushing ahead on a schedule.
Can I skip straight to standing exercises if I already feel steady in a chair?
Feeling steady while seated doesn’t tell you much about standing stability, since the demands on your muscles and balance system are so different. Run the 30-second sit-to-stand test first. If you pass it comfortably without using your hands, you can move through the early stages more quickly, but it’s still worth spending at least a few sessions at Stage 1 before removing support entirely.
What if I fail these tests? Does that mean I have a serious problem?
Not necessarily. A lower score often just means your legs and core need more strengthening before standing balance work becomes safe and productive. It’s a signal to build strength first, not a diagnosis. If you also have other symptoms like dizziness, fainting, or unexplained falls alongside a low score, that combination is worth bringing to a doctor.
