Turning around is one of the most common ways older adults lose their balance, yet almost nobody practices it on purpose. You twist to answer someone calling your name, pivot to grab something off the counter, or spin around because you forgot your keys, and suddenly your feet aren’t where your body needs them to be. This isn’t about being clumsy. It’s about a movement pattern that gets rusty with age and deserves real practice, not just a mention on a generic exercise list.
This article walks you through a specific turning drill you can use as both a practice tool and a rough self-check for how your balance is holding up. It includes setup instructions, support options depending on your current stability, and clear guidance on when this kind of practice should happen with someone else in the room.
Why Turning Causes So Many Falls
Walking in a straight line is fairly predictable. Your body knows what’s coming next, your eyes are scanning ahead, and your weight shifts in a steady rhythm. Turning breaks all of that.
When you pivot, you’re asking your body to rotate your trunk, reposition your feet, and shift your center of gravity all at once, often while your eyes are still catching up to where you’re headed. Research on fall incidents in older adults consistently points to turns, especially quick ones, as a moment when falls are far more likely than during straight-ahead walking. Add in reduced ankle strength, slower reaction time, or vision changes, and a simple pivot turns into a real risk moment.
If you’ve noticed your vision has changed recently, it’s worth reading about how vision affects balance and fall risk, since your eyes play a bigger role in turning safely than most people realize.
The Step-Turn Test and Drill: Setup
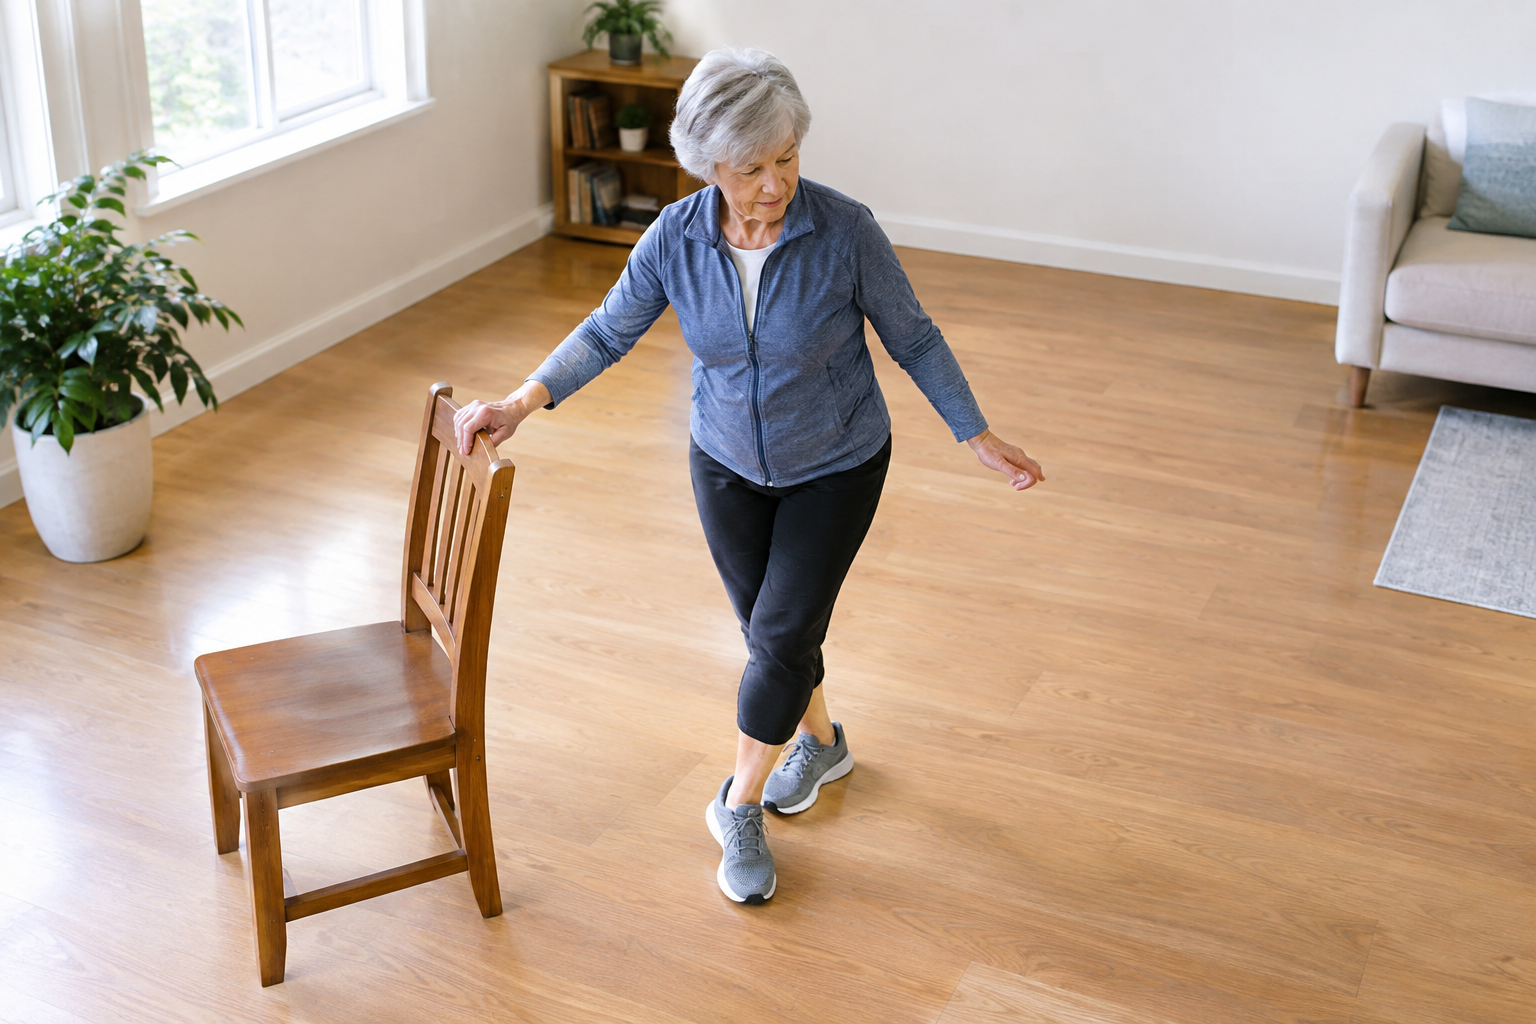
This drill doubles as a rough test of your turning control and a way to practice improving it. You don’t need equipment, but you do need a clear, uncluttered space.
- Clear a space at least 6 feet by 6 feet, free of rugs, cords, or furniture corners.
- Wear supportive, closed-back shoes rather than socks or slippers. If your current shoes don’t offer much grip, take a look at walking shoes designed for seniors with arthritis, since footwear matters more during turns than during straight walking.
- Have a sturdy chair, countertop, or wall within arm’s reach for the first few attempts.
- Ask someone to watch you the first time you try this, especially if you haven’t tested your turning ability before.
To perform the basic version: walk forward five steps, then turn a full 180 degrees using small steps rather than pivoting on one foot, and walk five steps back. Repeat this five times, alternating which direction you turn.
What to Pay Attention To
While you do this, notice a few specific things. Do you feel like you need to grab something to stay upright? Does one direction feel noticeably less stable than the other? Do you find yourself holding your breath or stiffening up before the turn?
These reactions matter more than how “graceful” the turn looks. A slight wobble that you catch on your own is normal. A lurch toward furniture or a genuine loss of footing is a sign you need more support built into your practice, not less.
Support Options Based on Your Current Stability
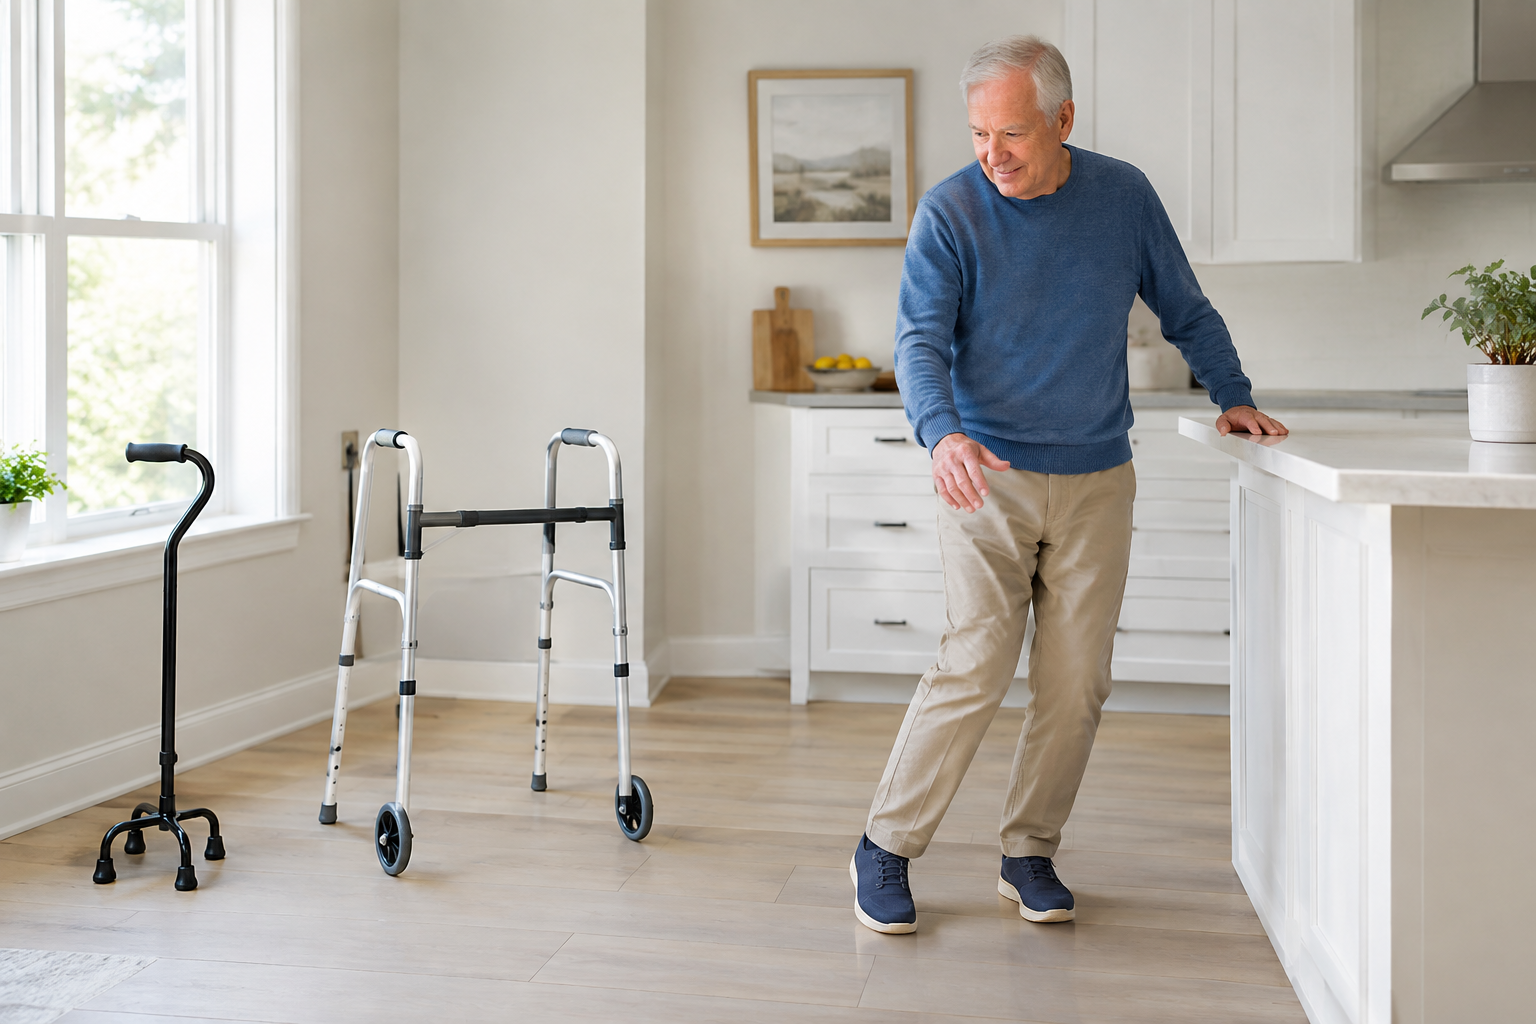
Not everyone should start this drill the same way. Matching the right support to your current ability is what makes this safe rather than risky.
Level 1: Wall or Counter Support
If you’ve had a fall in the past year, feel unsteady on uneven ground, or simply haven’t tested your turning in a while, start with one hand lightly touching a wall or countertop throughout the entire turn. You’re not leaning on it, just keeping fingertips nearby as a safety net.
Level 2: Cane or Walking Pole Nearby
If you already use a cane or walking pole day to day, keep it in your dominant hand during practice, but try to complete the turn without weighting it heavily. Over time, you can test how much you actually rely on it. Some people find that walking poles improve stability enough that turning becomes noticeably easier, particularly outdoors on grass or gravel.
Level 3: No Support, Supervised
If you’re steady on your feet during regular walking but want to build confidence with quicker directional changes, you can try the drill without touching anything, as long as someone else is present the first several times. This isn’t about assuming you’ll fall. It’s about having a second set of eyes to catch things you might not notice about your own form.
A wobble you catch yourself is a normal part of practice. A grab for furniture every single time is information, not failure, and it tells you to add more support for now.
What This Drill Actually Measures
This isn’t a diagnostic tool, and it won’t tell you whether you have an inner ear condition or a neurological issue. What it does give you is a rough, repeatable read on a few practical things:
- Turning symmetry. Most people have a stronger and weaker side. A big difference between turning left and turning right can point to a specific hip or ankle weakness worth addressing.
- Recovery speed. How quickly you regain steady footing after the turn tells you more than whether you wobbled at all.
- Confidence versus ability. Some people are more capable than they feel, and some feel more confident than their body can currently back up. Watching yourself, or having someone else watch, closes that gap.
If you want a broader picture of where you stand, pair this with the checks in how to test your balance at home, which covers single-leg standing and other simple self-checks that complement turning specifically.
Progressing the Drill Over Time
Once the basic version feels manageable without grabbing for support, you can make it more demanding in small steps.
- Add speed. Perform the same turn a little faster, since quick turns are what actually cause falls in daily life, not slow deliberate ones.
- Turn while carrying something. Hold a light object, like a filled water bottle, to mimic carrying groceries or a laundry basket. If your current bottle is hard to grip one-handed, an easy-open, arthritis-friendly water bottle makes this more realistic without adding unnecessary difficulty.
- Turn on a slightly softer surface. Try a thin yoga mat or folded towel to challenge your ankles a bit more, similar to the unevenness of grass or gravel outdoors.
- Combine it with heel-to-toe walking. Once turning feels solid, add a short stretch of heel-to-toe walking before the turn to challenge your balance system further.
Only move to the next progression once the current level feels genuinely easy, not just tolerable. Rushing this is where people get hurt.
Building the Strength Behind Safe Turns
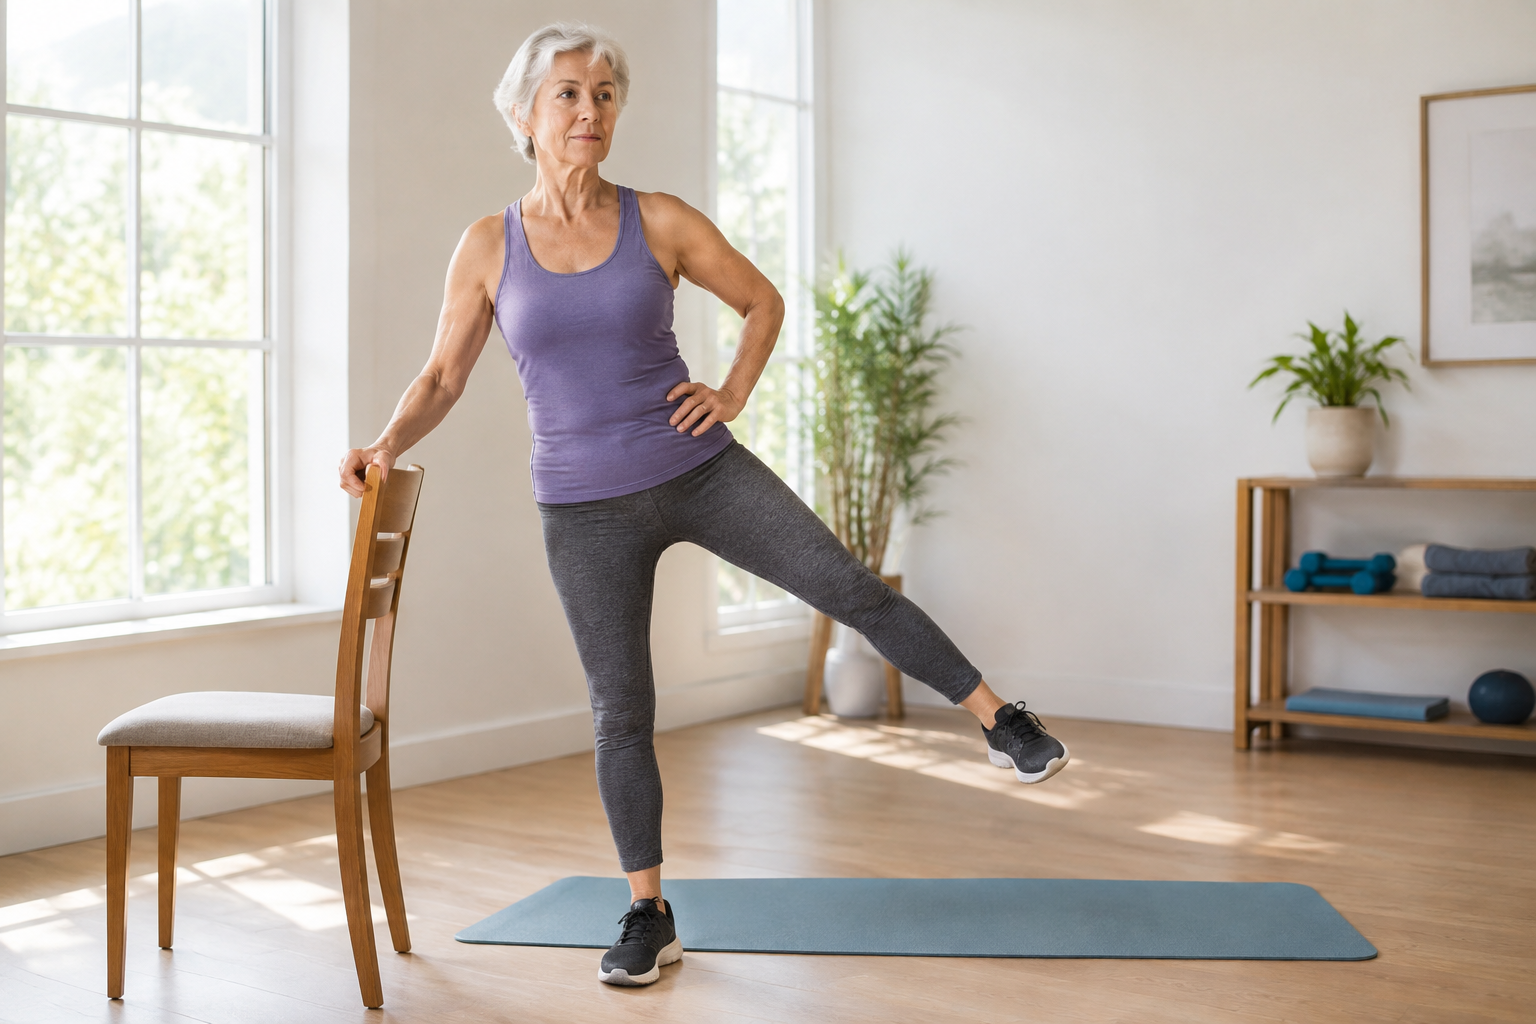
Turning safely isn’t only about practicing the movement itself. It also depends on having enough strength in the muscles that control your hips and ankles during rotation. Weak glutes and calves are a big part of why turns feel unstable in the first place, and it’s worth reading about the critical muscles that prevent falls to understand what to strengthen alongside this drill.
Calf raises are particularly useful here, since your calves and ankles do a lot of the fine-tuning work during a pivot. A simple calf raise routine done a few times a week can noticeably improve how stable your turns feel within several weeks.
When Supervision or Medical Evaluation Is Appropriate
This drill is meant to build and test everyday turning ability, not replace professional assessment. A few situations call for more caution than a home drill can offer.
Have a family member, caregiver, or physical therapist present the first time you try this if you’ve fallen more than once in the past six months, if you use a walker for most of your mobility, or if you’ve been told you have a balance or vestibular condition. It’s also worth reviewing exercises for dizziness and balance issues before starting, since some turning-related dizziness responds well to targeted movement while other forms need a doctor’s input first.
New or worsening dizziness, fainting, sudden weakness on one side, or repeated unexplained falls are not things to work through on your own. These symptoms warrant a medical evaluation before you continue any turning practice, drill-based or otherwise.
It’s also smart to make sure your home supports safe recovery if a stumble does happen. Sturdy grab bars in the bathroom and knowing how to get up from the floor safely are both worth having in place regardless of how your turning practice goes.
Frequently Asked Questions
How often should I practice turning drills?
Two to three times a week is a reasonable starting point, similar to how often you’d approach other balance-focused work. Doing it daily is fine too, as long as you’re not fatigued or sore from other training that day.
Is it normal to feel dizzy the first few times I turn quickly?
A brief, mild sense of disorientation right after a quick turn can happen to almost anyone, especially if you haven’t practiced pivoting in a while. Dizziness that lingers, worsens, or comes with nausea or visual changes is different and should be checked by a doctor rather than pushed through.
Does this replace physical therapy for balance issues?
No. This drill is a practice and self-check tool for people who are generally mobile and want to build confidence with turning. If you’ve been referred to physical therapy or have a diagnosed balance condition, follow that guidance first and treat this as a supplement, not a substitute.
Can improving my turning really reduce my fall risk?
Practicing controlled turns can improve your confidence, coordination, and strength around this specific movement, which is a meaningful part of daily fall risk. It’s one piece of a bigger picture that also includes strength, vision, footwear, and home safety, not a single fix that eliminates risk on its own.
