If you can get up from a chair without using your hands, you’re demonstrating one of the most important markers of functional independence. Researchers have actually linked this ability to long-term health outcomes and fall risk. The sit-to-stand movement works your quads, glutes, core, and ankles all at once, making it one of the most efficient exercises you can do at home with zero equipment.
Whether you’re rebuilding strength after a setback or just want to keep your legs strong for years to come, this guide walks you through everything you need to do sit-to-stand exercises safely and effectively.
Why the Sit-to-Stand Exercise Matters So Much
This movement is essentially a squat from a seated position. Every time you get out of bed, stand up from the toilet, or rise from a chair at dinner, you’re performing a version of it. When those muscles get weak, everyday life gets harder and fall risk goes up.
For older adults, the sit-to-stand is also one of the best exercises for rebuilding lower body strength after joint replacement. If you’re in recovery, check out our guide on post-knee replacement exercises for seniors to see how this movement fits into a structured rehab plan.
Beyond the legs, this exercise also trains balance and coordination. It forces your body to shift its center of gravity in a controlled way, which directly reduces fall risk over time.
Setting Up Your Chair Correctly
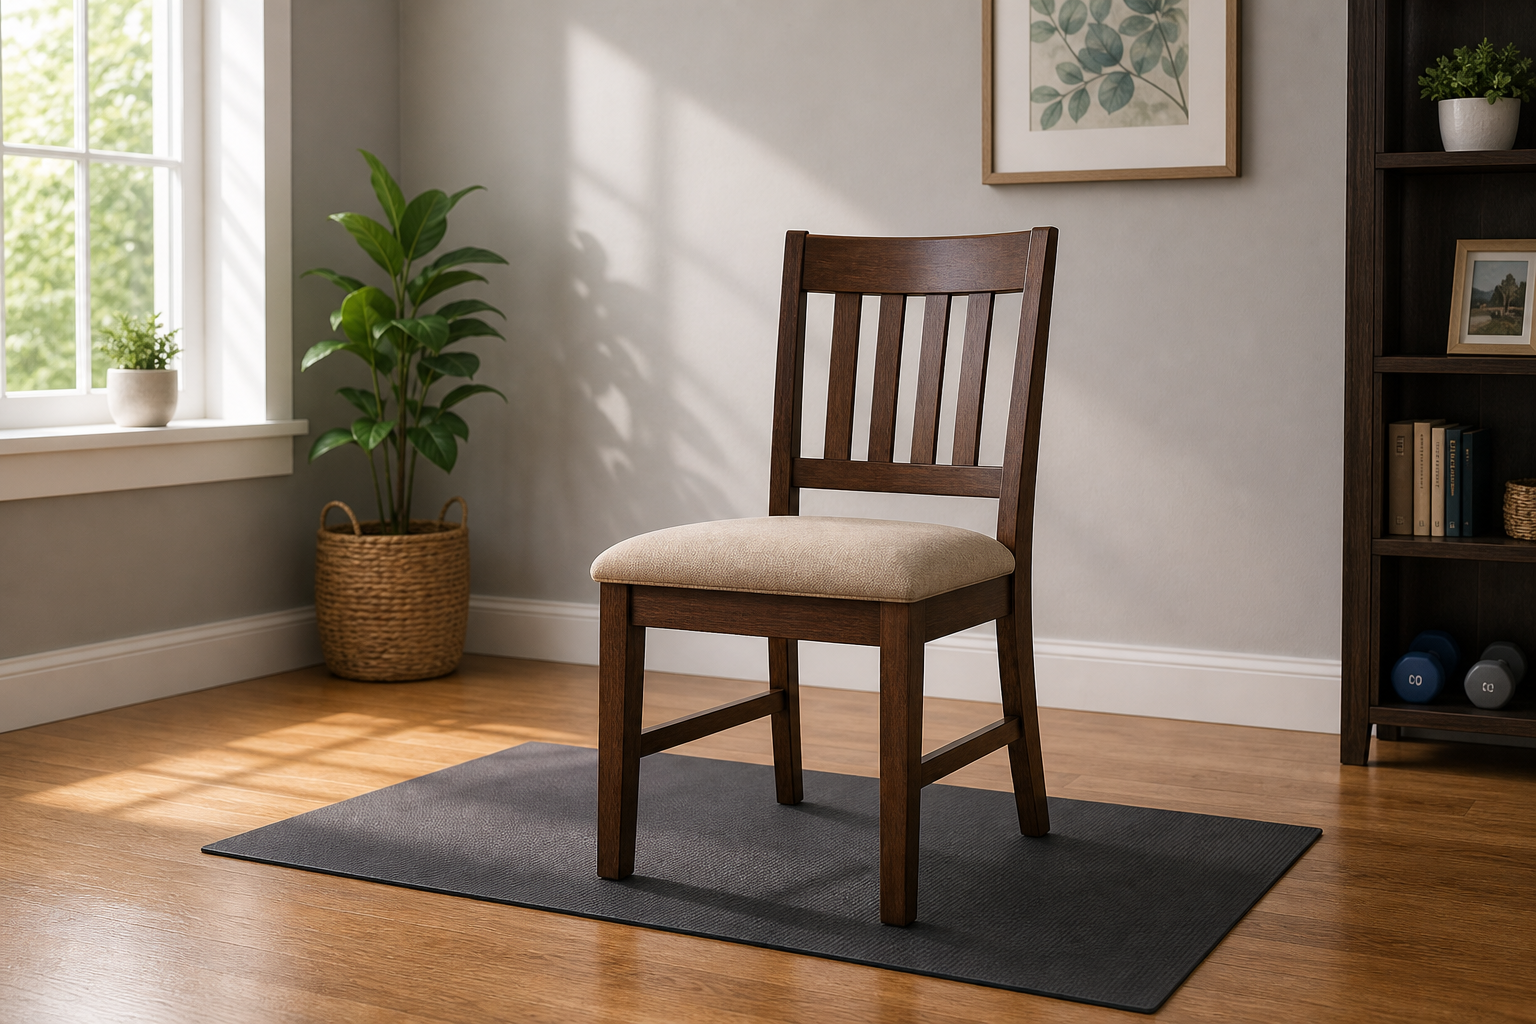
Chair height is the single biggest factor in how hard or easy this exercise feels. A chair that’s too low forces your knees and hips into deep flexion, which is much harder and can be painful if you have arthritis or have had joint surgery.
The right height: When seated, your hips should be at or slightly above knee level. Your feet should rest flat on the floor with your knees bent at roughly 90 degrees. If your chair is too low, try sitting on a firm cushion or folded blanket to raise yourself up.
Use a sturdy, armless chair for the basic version of this exercise. Dining chairs work well. Avoid soft couches, recliners, or chairs with wheels. Stability is non-negotiable here.
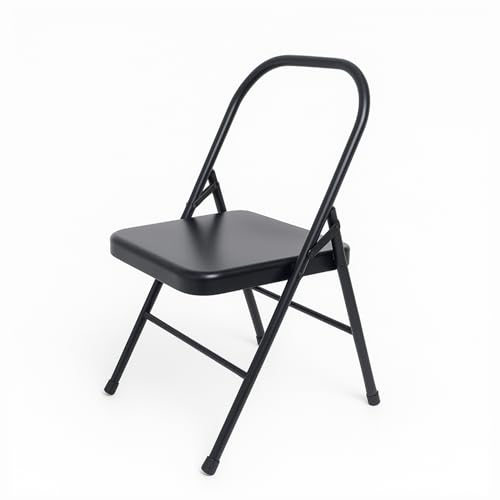
Sturdy Armless Exercise Chair
A firm, armless chair at the right height is your most important piece of equipment for safe sit-to-stand training at home.
If your home doesn’t have a suitable chair, a non-slip chair cushion can raise your seat height and add grip at the same time. It’s a simple fix that makes a real difference.
Step-by-Step: How to Do a Sit-to-Stand Safely
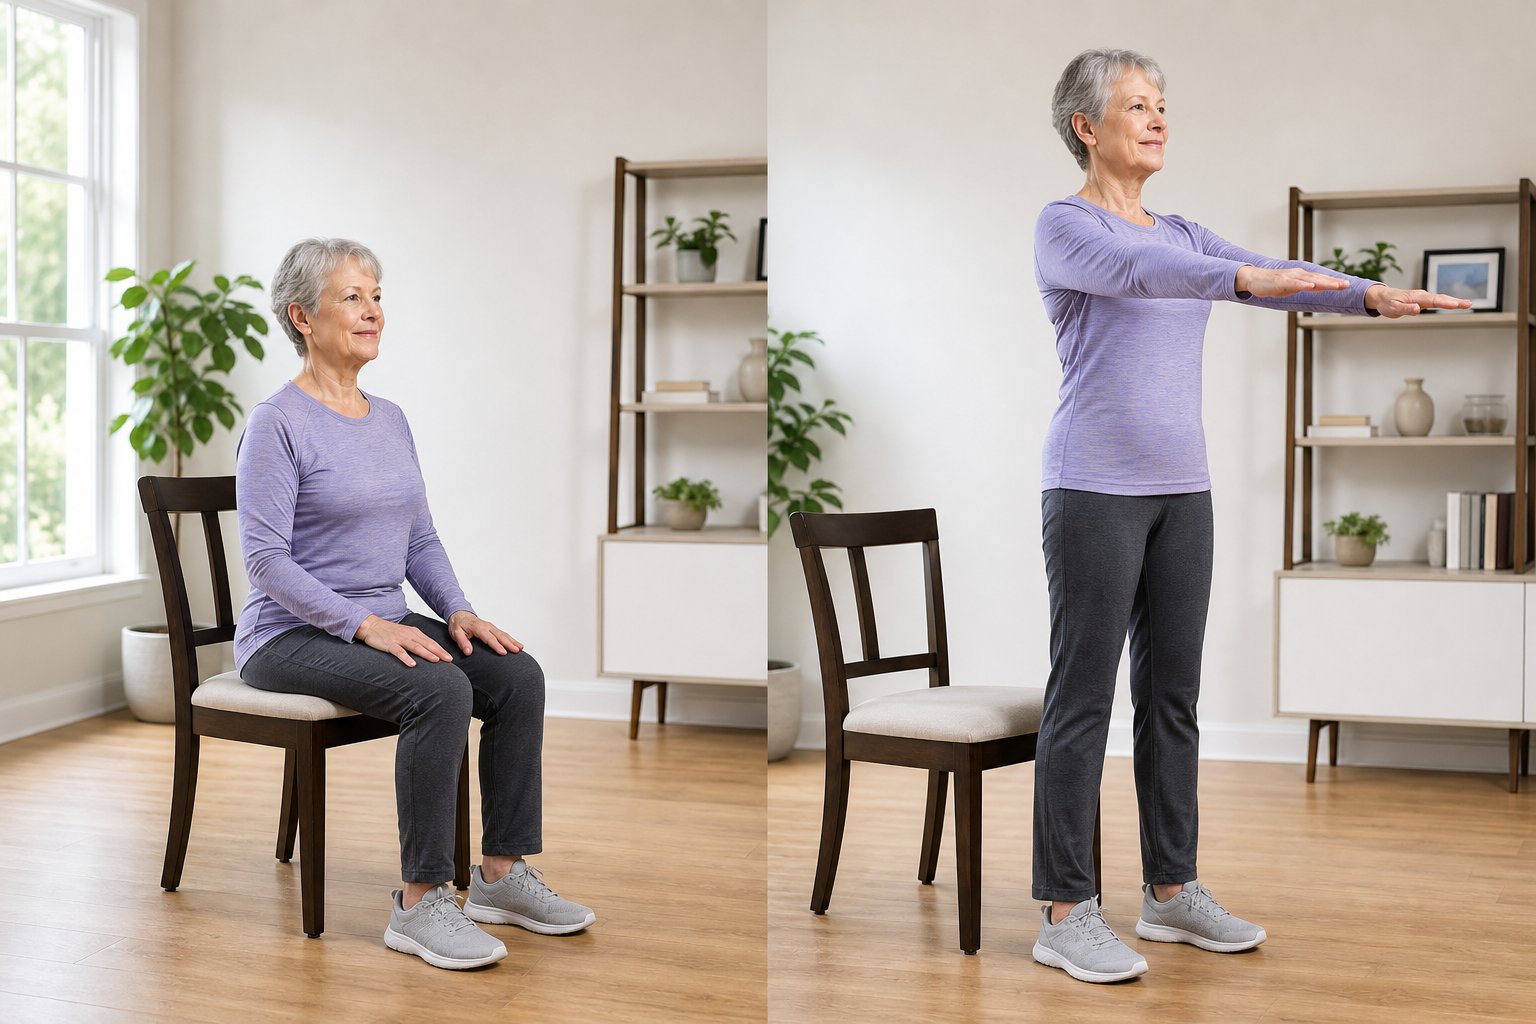
Watch the video above for a visual demonstration, then use the steps below as your reference guide.
The Basic Technique (Hands-Free)
- Scoot forward: Move to the front third of the seat. Don’t try to stand from the back of the chair.
- Position your feet: Place them hip-width apart, slightly behind your knees. You should see your toes when you look down.
- Lean forward: Tilt your chest forward from the hips, not the waist. Your nose should be roughly over your toes. This is the key move most people skip.
- Press through your heels: Drive your feet into the floor and push your hips forward and up. Don’t lead with your head.
- Stand tall: Finish in a fully upright position with hips extended, not bent forward.
- Lower slowly: Bend your hips back, lean slightly forward, and lower yourself with control. Don’t plop down.
Take about 2-3 seconds to stand and 3-4 seconds to sit back down. The slow descent is where a lot of the strength-building happens, so don’t rush it.
Using Armrests When Needed
There’s no shame in using armrests. It’s a smart progression tool, not a sign of weakness. If you’re recovering from surgery, managing arthritis, or just starting out, push lightly through the armrests as you rise. Over time, aim to use them less and less until you don’t need them at all.
The goal is to use the minimum assistance necessary. If you find yourself hauling yourself up using mostly your arms, lower the difficulty by sitting on a higher surface first.
Progressions: Making It Harder Over Time
Once the basic version feels easy, you can progress in several ways. A good rule of thumb: if you can do 3 sets of 12 reps with good form and no fatigue, it’s time to add a challenge.
- Slow tempo: Take 5 seconds to lower yourself. This increases time under tension without adding load.
- Pause at the bottom: Hover just above the seat for 2-3 seconds before standing. This eliminates momentum.
- Single-leg variation: Shift slightly more weight onto one leg as you stand. Work toward a true single-leg sit-to-stand over time.
- Weighted vest: A lightweight adjustable weighted vest adds resistance without requiring you to hold anything.
- Lower the chair: Drop your starting height incrementally as your strength improves.
If you want to put this movement inside a larger strength plan, our 12-week progressive resistance training program shows you how to structure weekly sessions around foundational movements like this one.

Adjustable Weighted Vest for Seniors
An adjustable weighted vest lets you add resistance to sit-to-stand progressions without putting stress on your wrists or hands.
Common Mistakes to Avoid
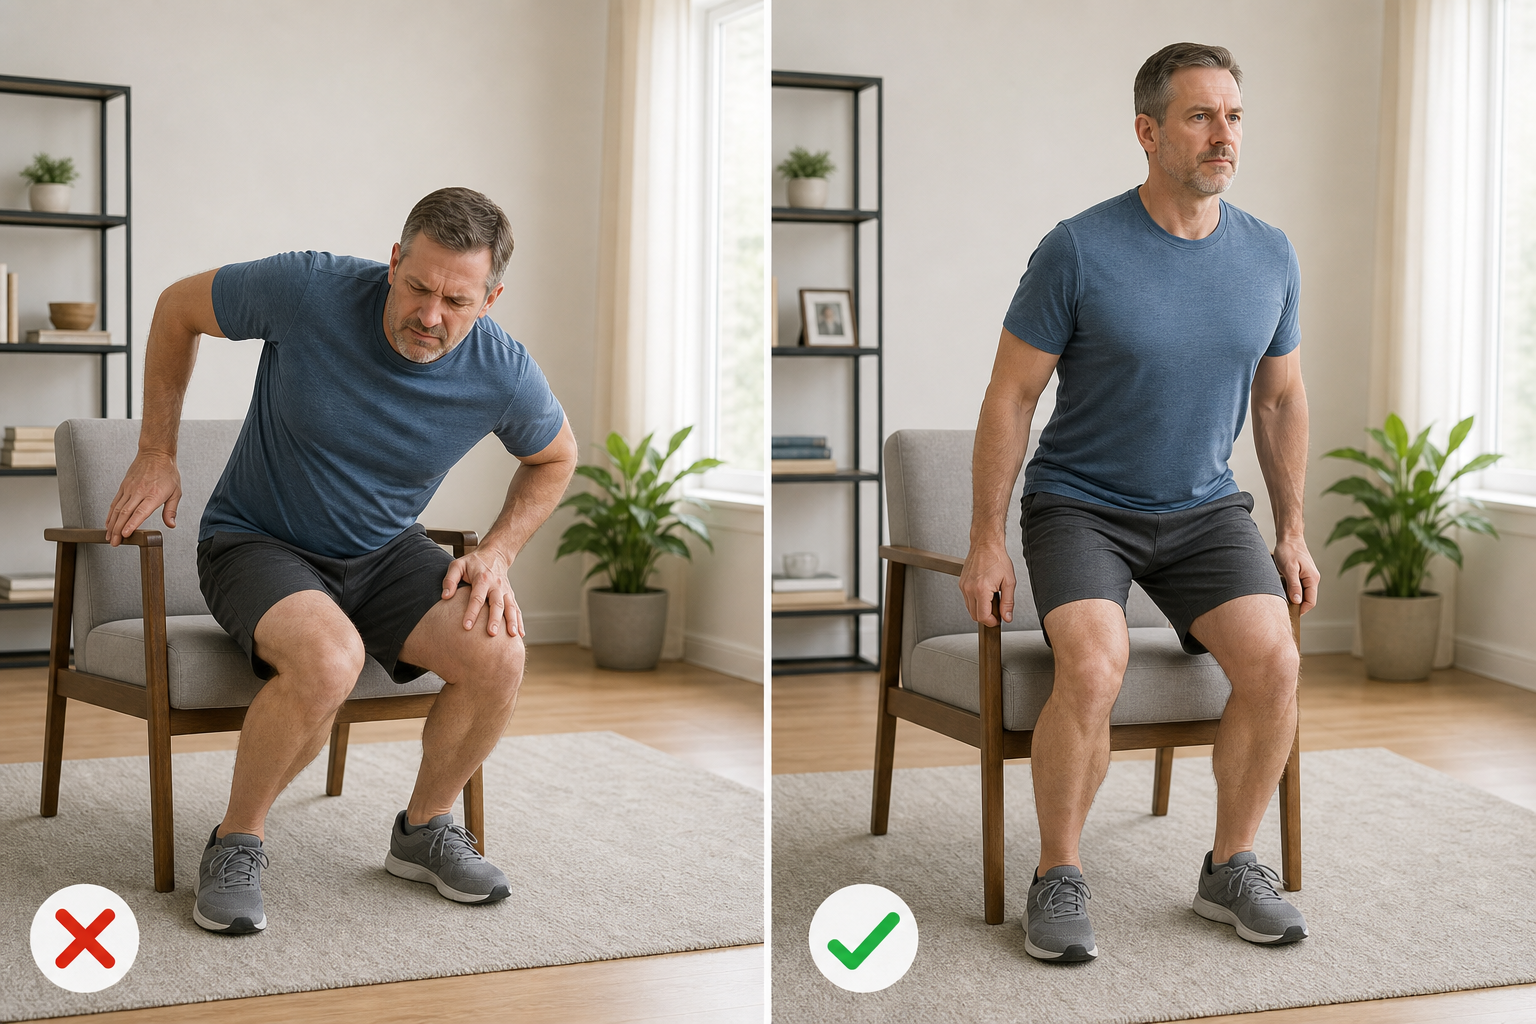
These are the errors that slow progress or lead to strain:
- Not leaning forward enough. If you’re falling back or struggling to initiate the stand, your chest isn’t far enough over your feet.
- Knees caving inward. Push your knees slightly outward in line with your toes throughout the movement.
- Rising too fast and plopping down. Speed hides weakness. Slow, controlled movement builds real strength.
- Holding your breath. Exhale as you stand, inhale as you lower. Holding your breath can spike blood pressure. If you take blood pressure medication, this is especially worth paying attention to.
Supporting Your Training With Recovery
Sit-to-stand work loads your quads and glutes significantly, especially when you add slow tempos and pauses. Your muscles need fuel and rest to rebuild stronger. Make sure you’re eating enough protein around your sessions. Our guide to post-workout recovery meals for seniors covers what to eat and when.
Bone health also matters here. Strong legs can only do so much if your bones aren’t keeping pace. Getting enough vitamin D for bone and muscle health is one of the most overlooked parts of a strength training routine for older adults.
Frequently Asked Questions
How many sit-to-stand reps should I do per session?
Start with 2 sets of 8-10 reps and see how your legs feel the next day. If you have minimal soreness and good energy, build toward 3 sets of 12-15 reps over a few weeks. Three sessions per week with at least one rest day between sessions is a solid starting point.
Is it safe to do sit-to-stands if I have knee pain?
Often yes, but it depends on the cause. Start with a higher chair to reduce the range of motion and avoid going fast. Many people with mild osteoarthritis actually find the movement helps with stiffness over time. If you have significant pain or have recently had knee surgery, get clearance from your doctor or physical therapist first and review our guide on post-knee replacement exercises for a more tailored approach.
What if I lose my balance during the exercise?
Position your chair next to a wall or sturdy counter so you have something to grab if needed. You can also place the chair in a doorway and lightly rest your fingertips on the door frame for balance feedback without relying on it for strength. If balance is an ongoing concern, our article on vertigo and balance exercises for seniors has additional techniques that pair well with this routine.
This article contains affiliate links. We may earn a small commission at no extra cost to you.
