Bridges, bird dogs, planks, and hip stretches are some of the most effective exercises for seniors, and they all happen on the floor. If getting down to (and back up from) the floor is difficult, painful, or impossible, you lose access to an entire category of beneficial exercises.
The alternatives below replicate the muscle activation and movement patterns of popular floor exercises using a chair, bed, wall, or counter, keeping every benefit accessible without touching the floor.
Before starting any new exercise program, talk to your doctor, especially if you have joint replacements, balance concerns, osteoporosis, or cardiovascular conditions. The exercises here are designed to be accessible, but your individual needs and abilities matter.
Floor Exercise Alternatives
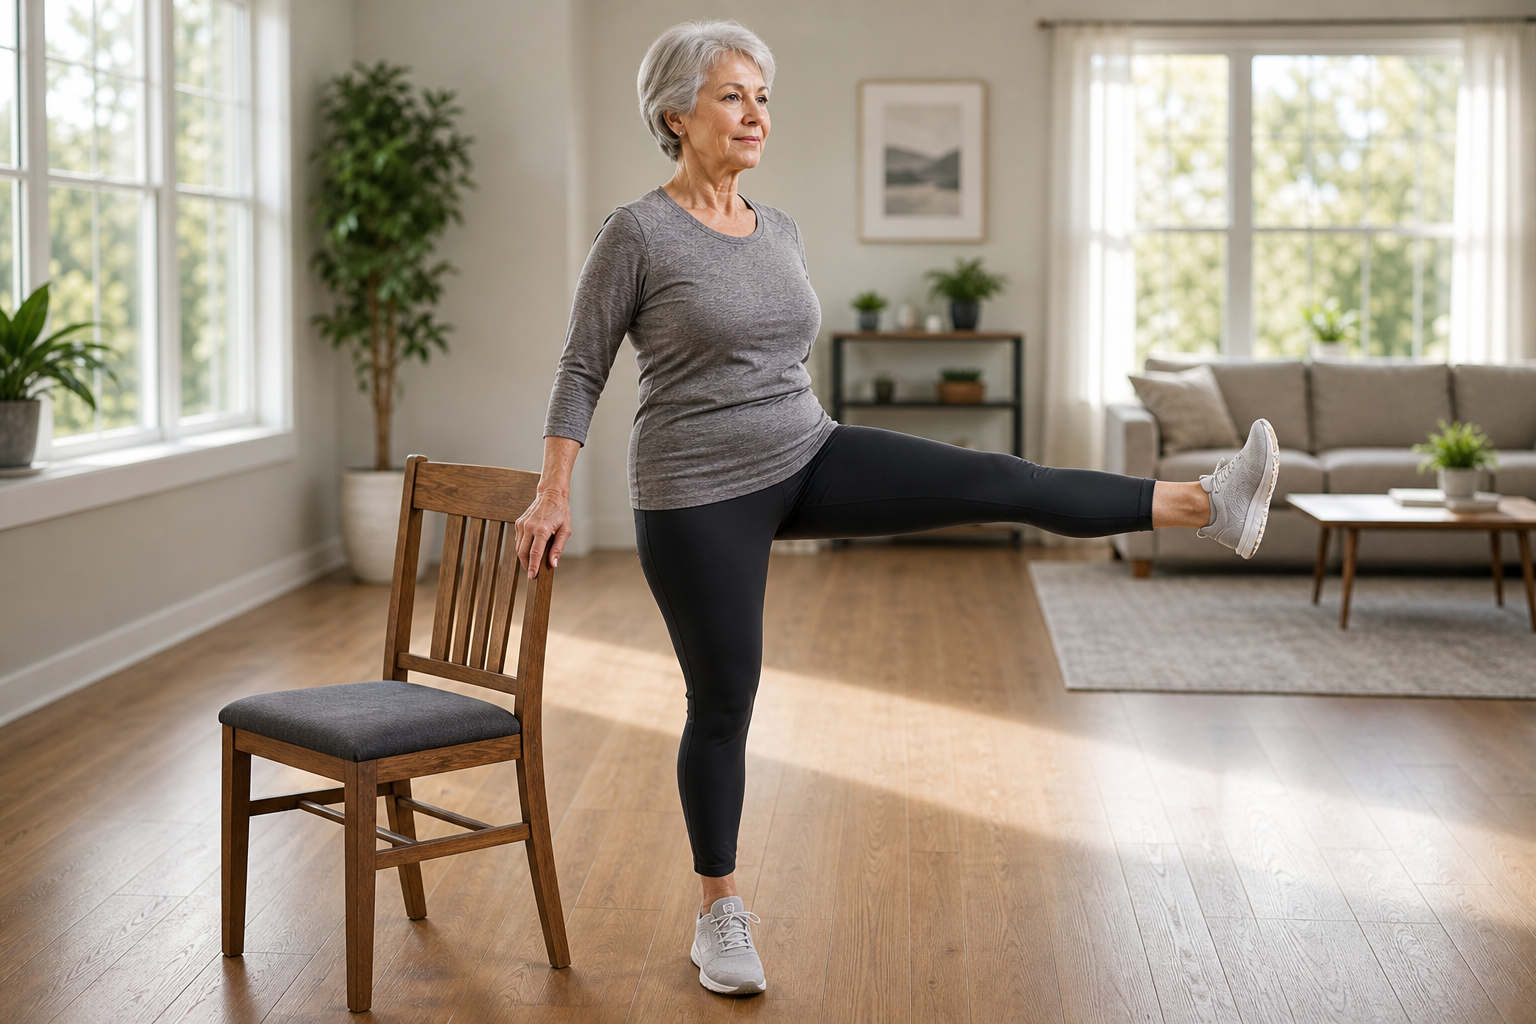
Bridge → Bed Bridge
Lie on your back on the bed with your knees bent, feet flat on the mattress. Squeeze your glutes and lift your hips until your body forms a straight line from shoulders to knees. Hold 5 seconds. Lower slowly without letting your hips touch the mattress, then lift again. 3 sets of 10.
The softer mattress surface provides more comfort than the floor while the exercise mechanics are identical. Use a firm mattress for the most stable base. If your mattress is very soft or you sink too deeply, place a yoga mat or folded blanket on top for a firmer surface.
To make it easier: reduce the height of the lift or hold for 2-3 seconds instead of 5.
To make it harder: pause at the top for 10 seconds or lift one foot slightly off the mattress while maintaining the bridge position (single-leg bed bridge).
Bird Dog → Standing Bird Dog
Stand facing a counter or sturdy table, hands resting on the surface shoulder-width apart. Your feet should be hip-width apart, about two feet back from the counter.
Extend your right arm forward (parallel to the floor) and your left leg backward simultaneously, keeping your torso stable and level. Your back shouldn’t arch or round. Hold 5 seconds while maintaining balance. Return arm and leg to starting position. Alternate sides. 3 sets of 8 per side.
The counter provides the support that the floor provides in the traditional version. This exercise strengthens the entire posterior chain (glutes, lower back, shoulders) while challenging balance and coordination in a safe, supported position.
Common mistake: lifting the leg too high and allowing the lower back to arch. Keep the lifted leg at or below hip height. Think about lengthening the leg backward rather than lifting it up.
If balance is challenging: start by practicing the arm movement alone for a few sessions, then add the leg. Or rest your hands more heavily on the counter for additional stability.
Plank → Wall Plank
Place your forearms on a wall at chest height, elbows bent at 90 degrees. Walk your feet back until your body forms a straight line at an angle to the wall. Your core should be tight, glutes engaged, and head in line with your spine (not drooping or craned up). Hold 15-30 seconds. Rest 30 seconds. 3 holds.
The wall angle reduces the load compared to a floor plank while engaging the same core muscles. The closer your feet are to the wall, the easier the exercise. Walk feet back further to increase difficulty.
Breathing matters here. Don’t hold your breath. Breathe normally throughout the hold, which is harder than it sounds when your core is engaged. If you find yourself holding your breath, the position is probably too challenging. Move your feet closer to the wall.
Progression path: start with feet 3-4 feet from the wall. After a week or two, move them back 6 inches. Eventually you can progress to a counter plank (same position but hands on a counter), which increases the load.
Hip Flexor Stretch → Standing Lunge Stretch
Stand in a staggered stance near a counter for support, one hand lightly resting on the surface. Step your right foot back about two feet. Both feet should point forward. Tuck your pelvis under slightly (think about bringing your belt buckle toward your ribs).
Gently shift your weight forward until you feel a stretch at the front of the back hip and thigh. Your back knee stays straight. Hold 30 seconds per side, breathing normally.
This standing version provides the same hip flexor stretch as the kneeling lunge stretch without any floor contact. Hip flexors get tight from sitting, and this tightness contributes to lower back discomfort and altered walking mechanics. Stretching them regularly helps maintain hip mobility and posture.
Don’t bounce. Don’t force the stretch into pain. You should feel a gentle pull, not a sharp sensation. If you feel it in your lower back instead of the front hip, reduce the forward lean and check that your pelvis is tucked.
Hamstring Stretch → Seated or Standing Version
Seated version: Sit on a chair edge with one leg extended in front of you, heel on the floor, toes pointing up. The other leg stays bent with foot flat on the floor. Place your hands on your bent knee for support. Lean forward from the hips (not the waist) with a flat back, reaching toward the extended leg. Don’t round your spine. Hold 30 seconds per side.
Standing version: Stand facing a step, stair, or low stool. Place your right heel on the step with your leg straight, toes pointing up. Keep your standing leg straight or slightly bent. Hinge forward from the hips, keeping your back flat, until you feel a stretch along the back of the lifted thigh. Hold 30 seconds per side.
Both versions effectively stretch the hamstrings without requiring a floor position. Use the version that feels more stable and accessible. If you have knee replacements, the seated version may feel more comfortable. If you have difficulty sitting and standing repeatedly, the standing version requires less position change.
Tight hamstrings are common in older adults and contribute to difficulty with activities like putting on shoes, getting in and out of cars, and picking things up from the floor. Regular stretching helps maintain functional range of motion.
Knee-to-Chest Stretch → Seated Version
Sit in a sturdy chair without arms (or far enough forward that the arms don’t interfere). Pull one knee toward your chest with both hands clasped around your shin (not your knee). Hold 20 seconds per side.
Then release both legs and lean forward, folding your torso over both thighs with arms hanging down toward the floor. Hold 20 seconds.
The seated position provides the same lumbar flexion and glute stretch as the supine (lying on back) knee-to-chest stretch. This stretch relieves tension in the lower back and stretches the glutes and piriformis, which can help with sciatic nerve irritation and general lower back stiffness.
If you can’t comfortably clasp your shin, use a belt, strap, or towel looped around your thigh to help pull the leg closer.
Crunches → Seated Core Activation
Sit tall in a chair with your feet flat on the floor, hands resting on your thighs. Gently draw your lower abdomen inward, as if pulling your belly button toward your spine at about 30% effort. You’re not sucking in hard or holding your breath. Think about tightening a corset one notch.
Hold for 6-8 seconds while exhaling slowly through pursed lips. Release. Rest 5 seconds. 3 sets of 10.
This is a transverse abdominis activation exercise. The transverse abdominis is the deepest core muscle and acts as a natural back brace. It’s far more relevant for daily function and back protection than the rectus abdominis (the “six-pack” muscle that crunches target).
Add seated trunk rotations: Sit tall, arms crossed over your chest. Slowly rotate your torso to the right, hold 2 seconds, return to center. Rotate left. 3 sets of 10 per side. This works the obliques.
Add Pallof presses with a light resistance band: Anchor a resistance band to a sturdy point at chest height (a doorknob or railing). Stand or sit perpendicular to the anchor point, holding the band handles at your chest with both hands. Press the band straight out in front of you, resisting the rotational pull of the band. Hold 3 seconds. Pull back to chest. 3 sets of 8.

Light Resistance Band with Handles
Perfect for seated core exercises and Pallof presses, these bands offer adjustable resistance for progressive training
This challenges core stability in an anti-rotation pattern, which is exactly how your core works during daily activities (resisting unwanted movement rather than creating crunching movement).
These three exercises provide comprehensive core training from a chair without the neck strain and spinal flexion of traditional crunches.
Dead Bug → Standing Dead Bug
Stand with your back against a wall, feet hip-width apart about 6 inches from the wall. Press your lower back gently into the wall. Raise your right arm overhead (touching the wall) while lifting your left knee to hip height. Hold 3 seconds. Lower. Switch sides. 3 sets of 8 per side.
This replicates the alternating arm-leg coordination and core stability challenge of the floor-based dead bug exercise. The wall provides feedback about maintaining a stable, neutral spine. If your lower back arches away from the wall as you move, the core isn’t controlling the movement properly. Reduce the height of the knee lift or arm reach until you can maintain wall contact.
Child’s Pose → Seated Forward Fold
Sit in a chair, feet flat on the floor. Separate your knees slightly. Fold forward from the hips, draping your torso over your thighs. Let your arms hang down or rest on your thighs. Drop your head and neck. Breathe deeply. Hold 30-60 seconds.
This provides the same gentle spinal flexion, hip stretch, and relaxation response as the floor-based child’s pose. It’s an excellent cool-down position after any workout and can be used any time you need a moment of release for your lower back.
If your belly interferes with the fold, widen your knees more to make room. If you can’t fold very far forward, go as far as comfortable. The stretch will improve over time.
Using the Bed as a Floor Substitute
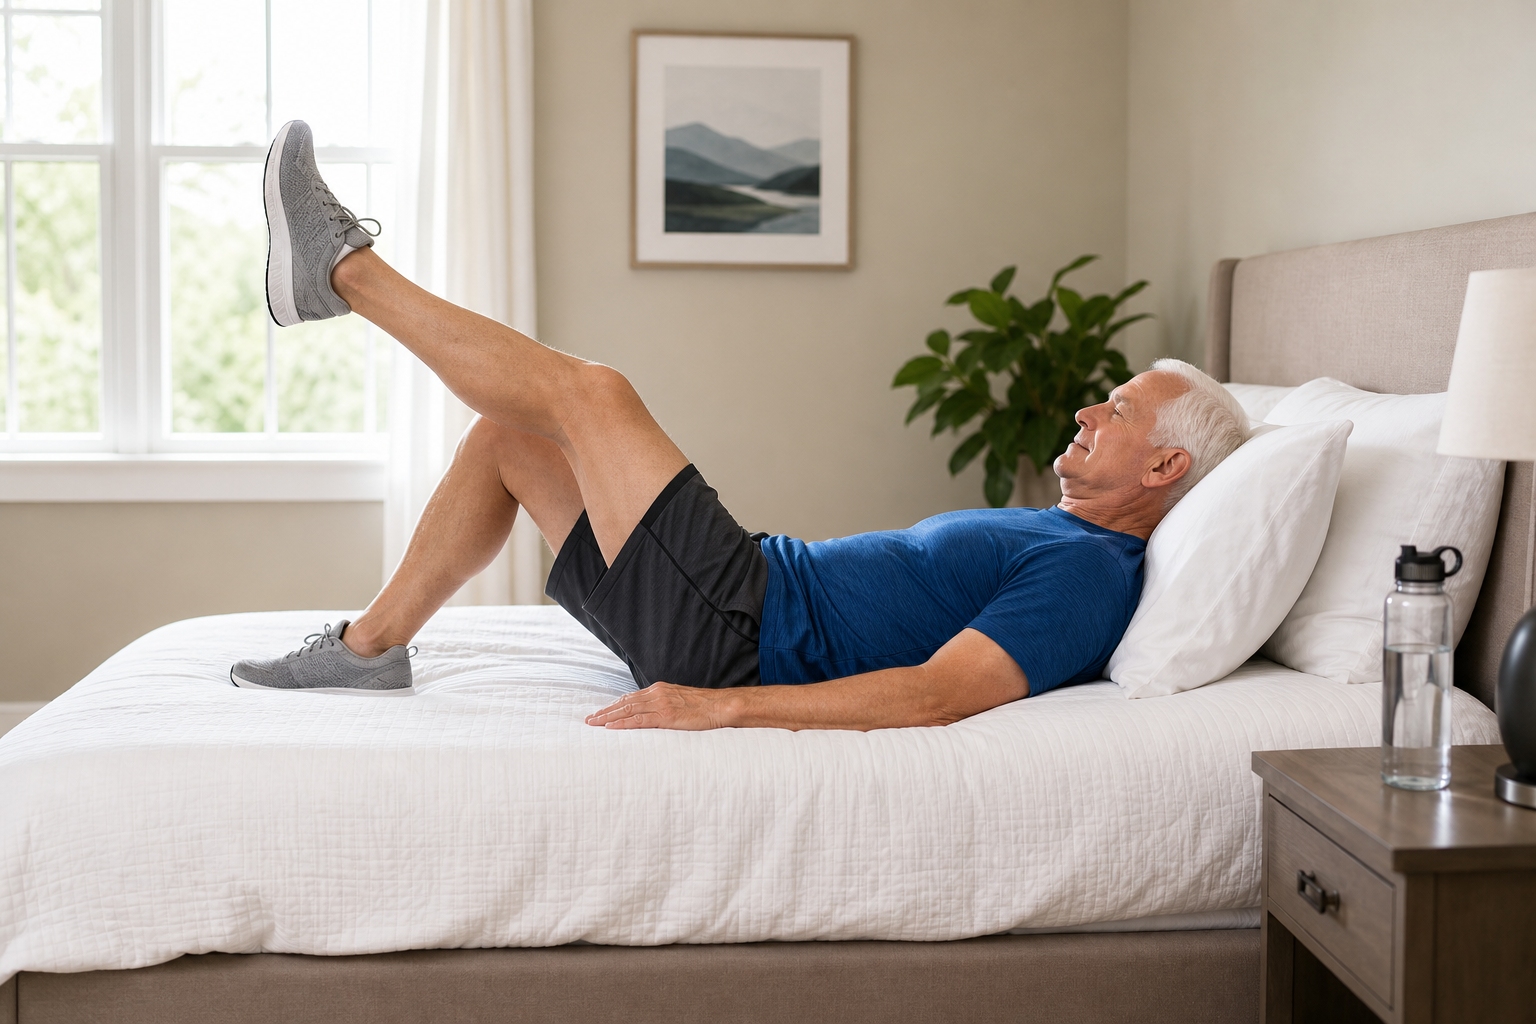
Your bed provides a padded, elevated surface that’s much easier to get onto and off of than the floor. Many floor exercises can be performed on the bed with minimal modification: bridges (covered above), knee-to-chest stretches, pelvic tilts, supine trunk rotations, ankle pumps, marching legs, and gentle spinal twists.
The mattress is softer than a mat, which slightly reduces the effectiveness of some exercises due to less stable feedback, but the accessibility trade-off is worth it for seniors who can’t use the floor. You’ll still get the movement, the stretch, and the muscle activation.
Bed-Friendly Exercises to Try
Pelvic tilts: Lie on your back, knees bent. Flatten your lower back against the mattress by tilting your pelvis (belt buckle toward ribs). Hold 5 seconds. Release. 10 reps. This mobilizes the lumbar spine and engages the lower abdominals.
Supine trunk rotations: Lie on your back, knees bent and together, feet flat on the bed. Slowly lower both knees to the right, keeping shoulders on the mattress. Hold 10 seconds. Return to center. Lower left. 5 per side. This stretches the lower back and obliques.
Ankle pumps and circles: Lie on your back, legs extended. Point your toes away from you, then flex them back toward your shins. 20 reps. Then make slow circles with your ankles, 10 each direction per foot. This maintains ankle mobility and promotes circulation, which is especially useful if you have diabetes, edema, or vascular concerns.
For all bed exercises, use a firm mattress if possible. If your mattress is too soft and you sink significantly, the instability becomes counterproductive. A folded blanket or yoga mat on top of the mattress can add firmness.

Extra Thick Yoga Mat
Provides cushioning for bed exercises while adding stability to soft mattresses
When Chair and Wall Alternatives Aren’t Enough
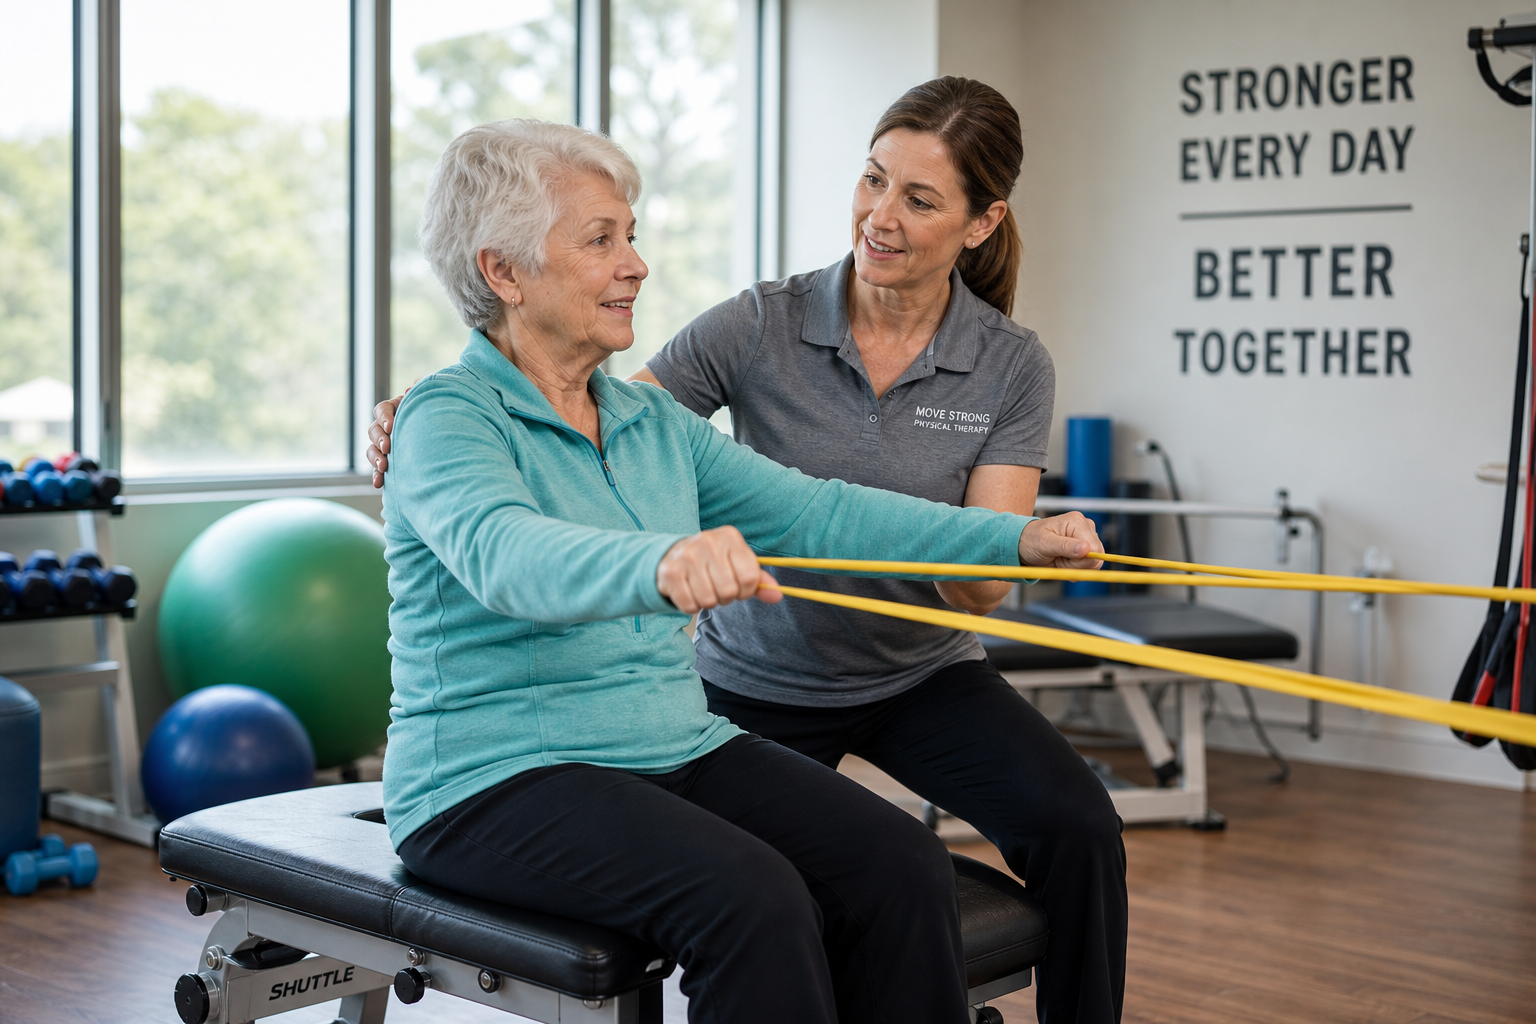
Some people lose strength specifically in the muscles needed to lower to and rise from the floor, which creates a feedback loop: you can’t get to the floor, so you don’t practice it, so the muscles weaken further.
If this describes you and you want to regain floor access, work with a physical therapist to build a progressive program.
The pattern usually starts with controlled lowering to a tall surface (like a bed), then to progressively lower surfaces (a bench, then a step), and finally to the floor. It’s common to use hands for support during the early stages. The goal isn’t to stop using your hands entirely (many older adults use their hands when getting up from the floor and that’s perfectly fine). The goal is to have the strength and control to execute the movement safely.
Physical therapists can also assess whether joint issues, balance deficits, or other factors are limiting your floor access and address those directly.
Common Mistakes with Alternative Exercises
Rushing through reps. These exercises build strength through controlled movement and time under tension. If you’re bouncing through the motions or using momentum, you’re missing the benefit. Slow down. Feel the muscles working.
Skipping the easier version when needed. There’s no prize for doing a harder version poorly. If your form breaks down (back arches during a plank, balance wobbles during standing bird dog), scale back. Do the easier version well, then progress.
Holding your breath. This spikes blood pressure unnecessarily. Breathe throughout every exercise. If you catch yourself holding your breath, the exercise is too challenging. Make it easier.
Ignoring pain. Discomfort and effort are normal. Sharp pain, joint pain, or pain that lingers after the exercise ends are not normal. Stop and modify. If pain persists, consult your doctor or a physical therapist.
Not using enough support. These exercises are designed to be done with support (a counter, wall, chair). Use the support. As you get stronger, you’ll naturally rely on it less.
Frequently Asked Questions
Are these alternatives as effective as the floor versions?
