Your core isn’t your six-pack. It’s the cylinder of muscles that wraps around your midsection from your rib cage to your pelvis: the transverse abdominis (deep front), the obliques (sides), the multifidus (deep back), the pelvic floor (bottom), and the diaphragm (top).
These muscles stabilize your spine during every movement you make, from walking to reaching to carrying. When they weaken from inactivity, your back compensates, your posture deteriorates, and your balance suffers. Starting core training after 65 requires an approach that’s gentler than crunches but effective enough to rebuild the stabilization your body needs.
Before starting any new exercise program, talk with your doctor, especially if you have existing back problems, balance issues, or cardiovascular conditions. The exercises below are low-intensity and low-risk, but your physician can help you modify them based on your individual health status.
Why Traditional Core Exercises Don’t Work for Seniors
Sit-ups, crunches, and leg raises are the exercises most people picture when they think “core workout.” For seniors, these exercises are problematic because they create high spinal compression (sit-ups generate 3,300 newtons of compressive force on the lumbar spine), they aggravate existing disc problems, they increase intra-abdominal pressure (problematic for hernias and pelvic floor weakness), and they primarily train the rectus abdominis (the “six-pack” muscle) while neglecting the deep stabilizers that actually matter for function and back health.
The deep stabilizers, the transverse abdominis and multifidus in particular, are the muscles that fire milliseconds before any voluntary movement to brace your spine. When these muscles are weak or fail to activate properly, your spine becomes unstable under load.
Your body compensates by overusing the superficial muscles (the erector spinae along your back), which aren’t designed for sustained stabilization. The result is chronic low back pain, poor posture, and increased fall risk.
Research from the University of Queensland found that people with chronic low back pain have delayed activation of the transverse abdominis and reduced multifidus thickness compared to pain-free controls. The solution isn’t more crunches. It’s targeted training of the deep stabilizers through exercises that don’t compress or flex the spine.
The 4 Gentle Core Exercises to Start With
1. Diaphragmatic Breathing with Core Activation
Lie on your back, knees bent. Place one hand on your belly and one on your chest. Inhale through your nose, feeling your belly rise (not your chest).
As you exhale slowly, gently draw your lower abdomen inward (like zipping up a tight pair of pants at about 30% effort). Hold this gentle activation for the full exhale (6-8 seconds). Release on the inhale. Repeat 10 times.
Why it works: This activates the transverse abdominis (the deepest core muscle that wraps around your midsection like a corset) and the pelvic floor without any spinal movement or compression. It’s the foundation of all safe core training.
Common mistakes: Holding your breath (defeats the purpose), sucking in your abdomen too hard (should be 30% effort, not maximal), lifting your shoulders or tensing your neck. The movement should be isolated to your lower abdomen. Your rib cage stays relaxed.
Modification: If lying flat causes back discomfort, place a pillow under your knees or under your head and shoulders. If you can’t feel the difference between belly breathing and chest breathing, place a small book on your abdomen and watch it rise on the inhale.
2. Bridge
Lie on your back, knees bent, feet flat on the floor. Perform the gentle core activation from Exercise 1 (exhale, draw abdomen inward). While maintaining the activation, lift your hips until your body forms a straight line from shoulders to knees.
Hold 5 seconds. Lower slowly. Repeat 10 times. Build to 3 sets of 10.
Why it works: Bridges strengthen the glutes and core simultaneously while keeping the spine in a neutral (safe) position. The lift challenges your deep stabilizers to maintain spinal alignment under load.
Common mistakes: Lifting too high (creates a back arch, which compresses the lumbar spine), pushing through the toes instead of the heels (shifts work away from the glutes), losing the core activation during the lift. Your hips should rise only until your body forms a straight line. Going higher doesn’t add benefit.
Modification: If the full bridge is too challenging, start with a partial lift. Raise your hips just 2-3 inches off the floor and hold. Build height gradually over several weeks. If neck discomfort occurs, place a thin towel under your head.
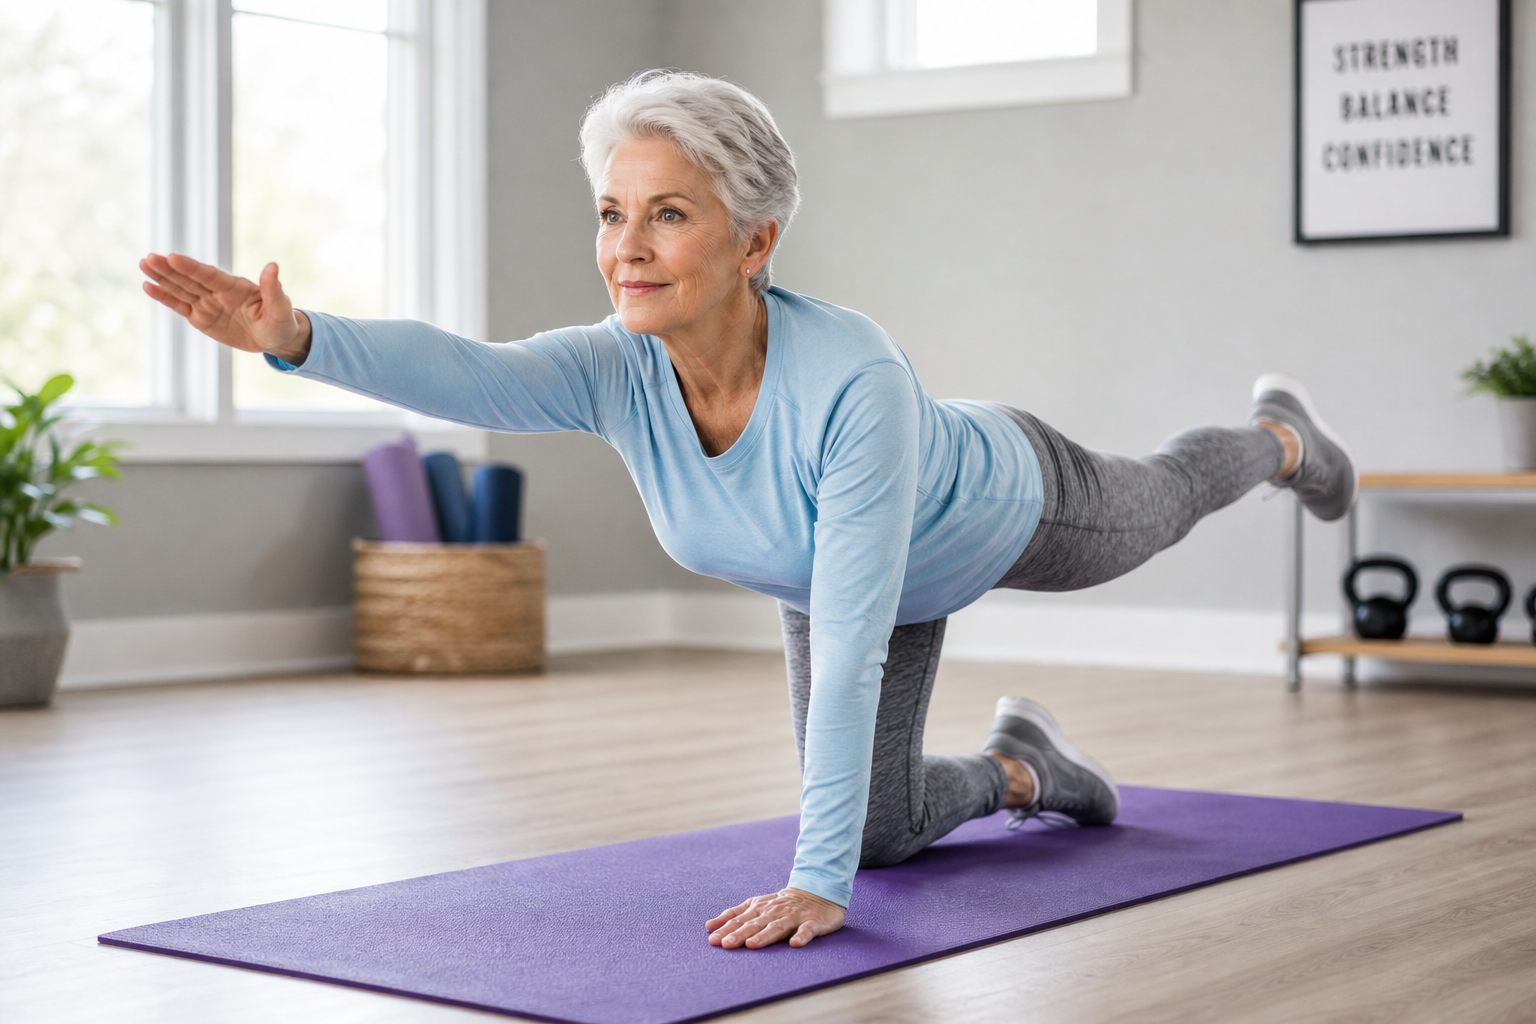
3. Bird Dog
Start on hands and knees (use a thick mat or folded blanket for knee comfort). Perform the gentle core activation. Slowly extend your right arm forward and your left leg backward until both are parallel to the floor.
Hold 5 seconds. Return. Alternate sides. Start with 2 sets of 6 per side. Build to 3 sets of 8.
Why it works: The bird dog trains anti-extension and anti-rotation stability, which is exactly what your core does during walking, reaching, and carrying. Research by spine biomechanics expert Dr. Stuart McGill identifies the bird dog as one of the three safest and most effective core exercises for spine health.
Common mistakes: Rotating the hips or shoulders as you extend (defeats the anti-rotation training), allowing the low back to sag (indicates lost core activation), lifting the arm or leg too high (past parallel creates unnecessary spinal stress). The goal is stability, not height or range of motion.
Modification: If the full bird dog is too difficult, start with just the arm extension (no leg) or just the leg extension (no arm). Master each separately before combining them. If wrist discomfort occurs, perform the exercise with your forearms on a bench or chair seat instead of hands on the floor. For significant balance challenges, keep your extended hand and foot in light contact with the floor throughout the hold.
4. Pallof Press (Standing or Seated)
Anchor a light resistance band at chest height (door anchor, sturdy furniture leg). Stand or sit sideways to the anchor, holding the handle at your chest with both hands. Press the handle straight forward against the band’s rotational pull.
Hold 3 seconds. Return. 2 sets of 8 per side.
Why it works: The Pallof press trains anti-rotation, which is the core’s primary function during walking, turning, and carrying objects. Your obliques and transverse abdominis fire intensely to resist the band’s twist without any spinal flexion or compression.
Common mistakes: Allowing the torso to rotate toward the anchor (you should stay square, facing forward), using a band that’s too heavy (your arms should be able to press straight out without your torso twisting), holding your breath. The resistance should challenge your core’s ability to resist rotation, not overpower it.
Modification: If standing balance is an issue, perform the exercise seated in a sturdy chair. If the band resistance is too much even at the lightest setting, step closer to the anchor point to reduce tension. Start with just the pressing motion without the hold if 3 seconds feels too long.

Light Resistance Band for Seniors
Essential for the Pallof press exercise. Tube-style bands with handles are easier to grip than flat loop bands.
Progression: The First 8 Weeks
Weeks 1-2: Breathing activation (10 reps) + bridges (2×10) + bird dogs (2×6 per side). Total time: 10 minutes, 3 days per week.
Weeks 3-4: Add Pallof press (2×8 per side). Increase bridges to 3×10, bird dogs to 2×8 per side. Total time: 15 minutes.
Weeks 5-6: Add 5-second holds to bird dogs. Increase Pallof press to 3×8. Add side-lying hip lifts (a beginner side plank variation: lie on your side, knees bent, lift hips off the floor, hold 5-10 seconds, 2 sets of 6 per side).
Weeks 7-8: Progress bird dog hold to 8-10 seconds. Progress side hip lift hold to 10-15 seconds. Add standing marches on a foam balance pad (core must stabilize on the unstable surface). Total time: 20 minutes.
This progression isn’t rigid. If you need to spend an extra week at any stage, do it. The goal is consistent challenge without pain or excessive fatigue. You should finish each session feeling worked but not wiped out.
When to Add Intensity and What That Looks Like
After completing the 8-week progression, you have several options for continued improvement. You can increase hold times (bird dog holds of 15-20 seconds, bridge holds of 10-15 seconds instead of reps). You can increase resistance (use a heavier band for the Pallof press, add ankle weights to the bird dog).
You can add instability (perform exercises on a balance pad or foam roller). You can add new exercises (dead bugs, side planks from the knees, standing wood chops with a light medicine ball).
What you should NOT do is jump to advanced exercises that compress or flex the spine under load. Full planks, side planks from the feet, Russian twists with weight, and weighted cable rotations all have their place in athletic training. For most people over 65, especially those restarting exercise after years of inactivity, the risk-to-benefit ratio of these exercises is poor.
The exercises in this article will continue to challenge your core effectively for months or years if you progress them intelligently. Similar to how progressive resistance training builds strength gradually over time, these core exercises work best when you add challenge systematically.
How Core Strength Translates to Daily Function
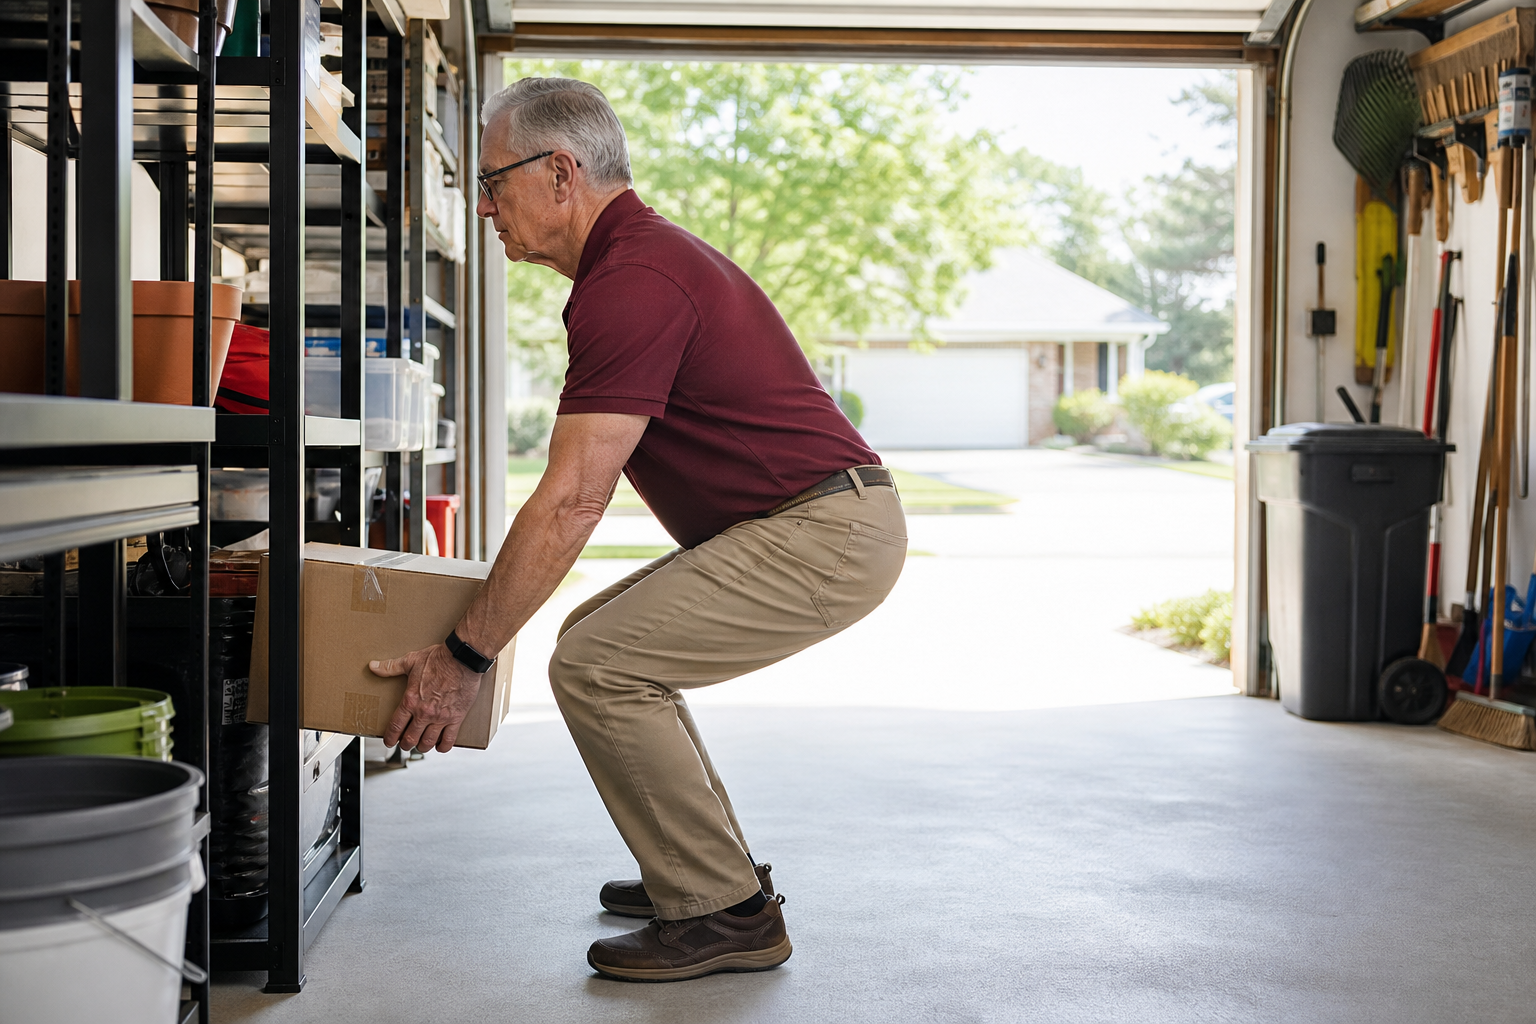
A stronger core doesn’t just prevent back pain. It improves every movement that requires you to transfer force between your upper and lower body. Getting out of a chair becomes easier because your core stabilizes your spine as your legs push you upward.
Carrying groceries becomes safer because your core prevents your torso from twisting under the uneven load. Reaching into an overhead cabinet becomes more stable because your core braces your spine as your arm extends.
The anti-rotation strength you build with the Pallof press directly improves your ability to walk without excessive trunk sway (a major fall risk factor). The anti-extension stability from bird dogs keeps your spine neutral when you bend forward to tie your shoes or pick something up from the floor.
The glute and posterior chain strength from bridges powers your stride and protects your knees from excessive medial collapse during single-leg stance phases of walking. These movement patterns also complement posture correction exercises that help address forward head position and rounded shoulders.
Physical therapists call this “functional carryover.” The exercises don’t look like daily activities, but the neuromuscular patterns they train are the same patterns your body uses during those activities.
Equipment You’ll Need
The basics are minimal. A yoga mat or exercise mat for floor comfort. A light resistance band with handles (a tube-style band is easier to grip than a flat loop band).
A door anchor for the band if your furniture isn’t suitable for anchoring. A foam balance pad or cushion for the standing marches in weeks 7-8 (optional, not critical).
Avoid purchasing a “core training kit” with a wobble board, ab wheel, or suspension trainer. Those tools are designed for athletic populations and create unnecessary injury risk for beginners. Keep it simple. The exercises above require almost nothing, and they work.

Exercise Mat for Seniors
A thick mat provides cushioning for floor exercises. Look for at least 1/2 inch thickness for knee comfort.
Can I Do Core Exercises with a Bad Back?
Yes, and you should. A weak core is one of the primary contributors to back pain. The four exercises above are specifically selected because they strengthen the core without compressing, flexing, or rotating the spine under load.
They’re the exercises that spine specialists and physical therapists prescribe for patients with disc herniations, stenosis, and chronic back pain. If any exercise increases your back pain, reduce the range of motion and intensity rather than stopping entirely. These techniques are similar to those used in safe lower back pain exercises designed specifically for seniors.
“Bad back” covers a wide range of conditions. If you have an acute injury (sharp pain that started within the last week or two), consult your doctor or physical therapist before beginning any exercise program. If you have chronic low-level back pain that’s been present for months or years, these exercises may help reduce it over time, but give them several weeks to take effect.
Core strengthening is a long game. Just as managing sciatica through exercise requires patience and consistency, building core stability takes time but delivers lasting results.
How Often Should I Train Your Core?
Three to four times per week. Core muscles recover faster than large muscle groups (legs, chest, back) because the exercises involve lower loads and shorter ranges of motion. Daily core activation (the breathing exercise) is safe and beneficial.
The strength exercises (bridges, bird dogs, Pallof press) need at least one rest day between sessions.
If you’re doing other exercise (walking, strength training, tai chi), you can perform these core exercises on the same day or on separate days. Many people find it easier to do core work immediately after a walk when their muscles are warm and their schedule already has exercise time blocked out. For guidance on timing your workouts, check out morning vs evening exercise recommendations.
Will Core Exercises Help My Balance?
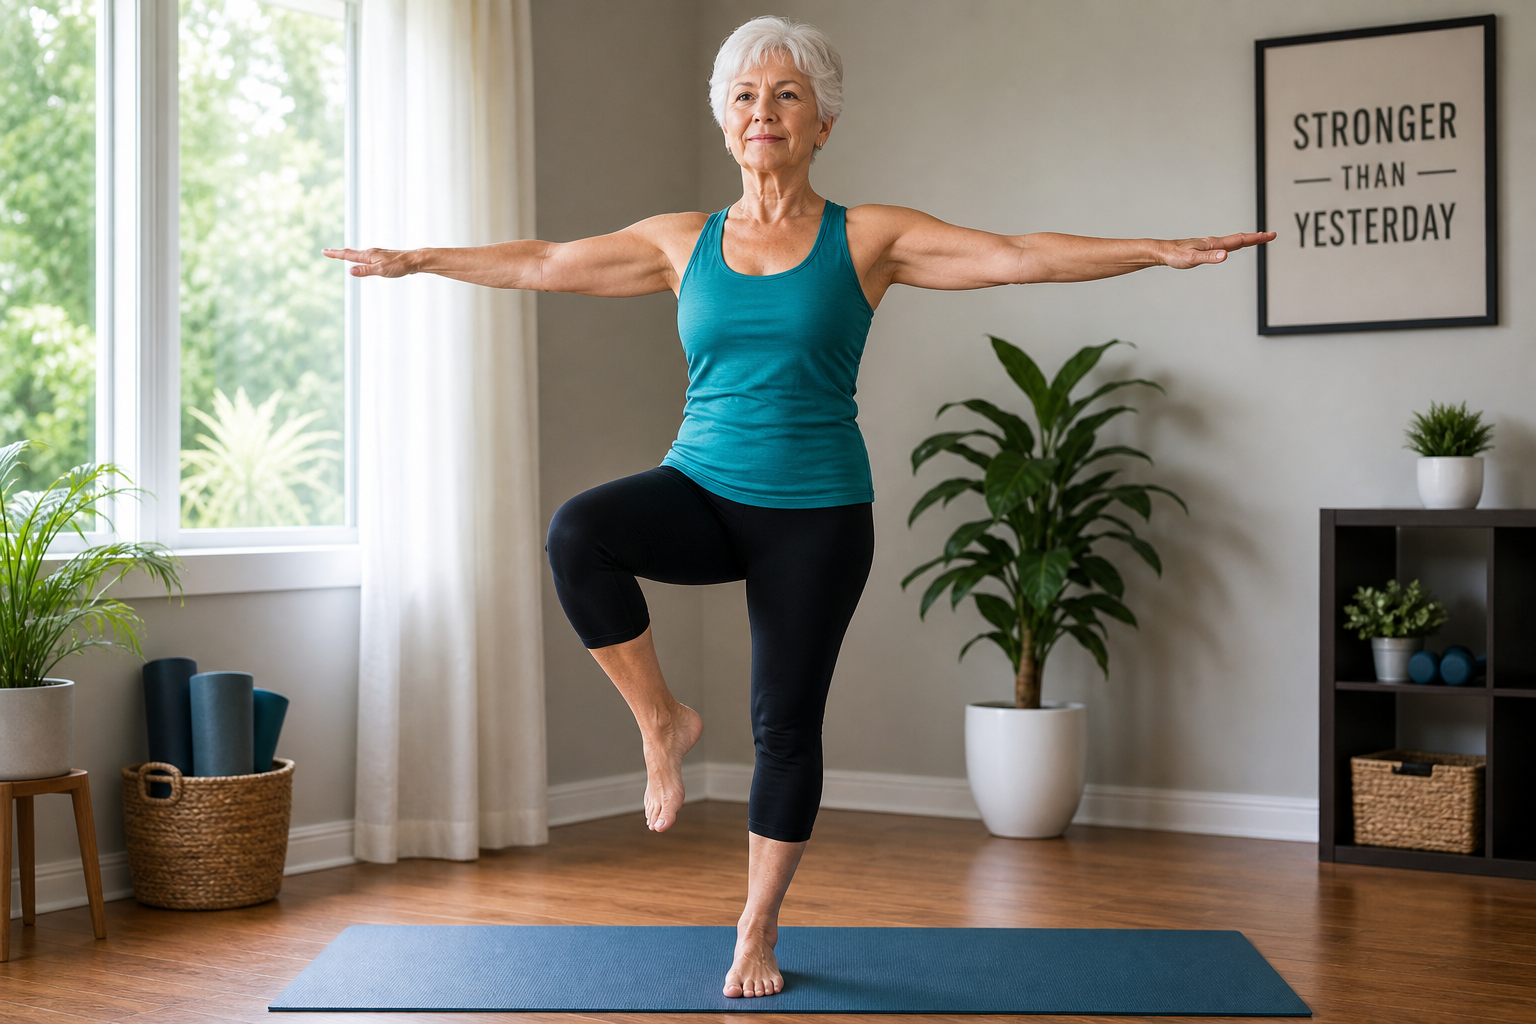
Directly, yes. Your core connects your upper body to your lower body. During every balance challenge (a stumble, a push, uneven ground), your core must fire instantly to keep your torso aligned over your feet. Stronger core muscles respond faster and more forcefully, reducing the balance perturbations that lead to falls.
Core training is a fundamental component of every evidence-based fall prevention program.
However, core strength is only one piece of balance. Leg strength, ankle mobility, visual input, and vestibular function all contribute. A complete fall prevention program includes leg strengthening exercises (squats, step-ups, calf raises), balance-specific drills (single-leg stands, tandem walking, weight shifts), and potentially vision or vestibular rehab if those systems are impaired.
Core training supports all of those other elements by giving