Ankle sprains aren’t just a young athlete’s problem. Seniors experience ankle sprains and instability at a rate that increases significantly after 60, and the consequences are more severe: longer recovery times, higher risk of chronic instability, and the fall that caused the sprain often results in additional injuries (wrist fractures, hip fractures, head impacts). Weak ankles are also one of the most overlooked contributors to poor balance, because the ankle is the body’s first line of defense against falling.
Ankle strength and stability respond well to targeted exercise, even in older adults who haven’t trained in years. The exercises below address the specific weaknesses that cause sprains and instability, and they can be done at home with minimal equipment. Most people see measurable improvement in balance and confidence within a month of consistent practice.
Before starting any new exercise program, especially if you have a history of ankle injuries, arthritis, or balance problems, talk to your doctor or physical therapist. They can identify any specific limitations or modifications you might need.
Why Ankles Weaken with Age
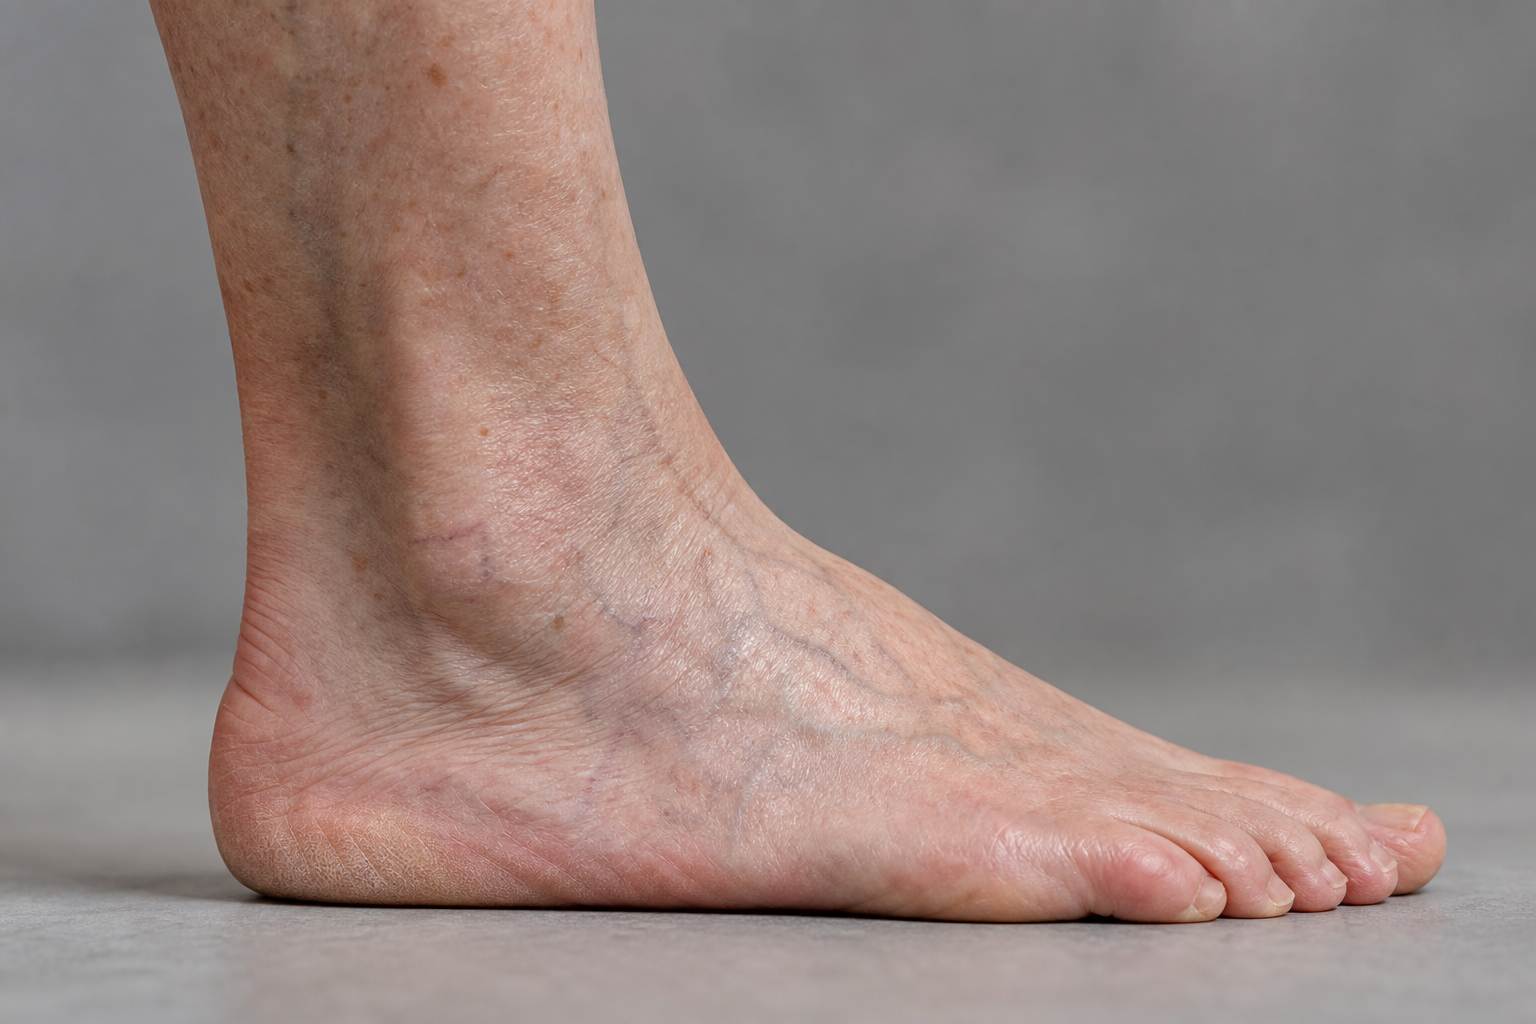
Ligament Laxity
The ligaments that stabilize the ankle lose elasticity and tensile strength with age and with accumulated minor sprains over a lifetime. Even mild sprains that you walked off in your 30s stretched these ligaments, and they never fully return to their original tautness. By 60, the ankle may have significant lateral instability that makes it vulnerable to rolling on uneven surfaces.
This laxity is cumulative. Each sprain, even ones that didn’t require medical attention, contributes to permanent ligament lengthening. The lateral ligaments (anterior talofibular, calcaneofibular, and posterior talofibular) are the most commonly affected because they resist the inward rolling motion that causes 85% of ankle sprains.
Once stretched, these ligaments can’t tighten back up on their own. The only way to compensate for ligament laxity is to build the muscle strength and proprioceptive reflexes that actively stabilize the joint.
Reduced Proprioception
The nerve endings in your ankle ligaments and tendons that sense joint position (proprioceptors) decrease in number and sensitivity. This means your brain gets slower, less accurate information about your ankle position, especially during rapid changes (stepping on a pebble, shifting weight quickly). By the time your brain realizes the ankle is rolling, it may be too late to activate the protective muscles.
Proprioception is your body’s internal GPS. It tells you where your foot is in space without you having to look down. When proprioception degrades, your reaction time to an unstable surface increases from roughly 50 milliseconds to 200 milliseconds or more. That delay is the difference between catching yourself and hitting the ground.
The decline in proprioceptive function isn’t inevitable or irreversible. Balance exercises that challenge the ankle on unstable surfaces can partially restore proprioceptive sensitivity by stimulating the remaining nerve endings to fire more frequently and accurately. This is why balance training is just as important as strength training for ankle stability.
Peroneal Muscle Weakness
The peroneal muscles on the outside of your lower leg are the primary active stabilizers that prevent your ankle from rolling outward (inversion, the most common sprain mechanism). These muscles weaken with disuse and with the repeated minor sprains that stretch the ligaments they’re trying to protect. Without strong peroneals, your ankle relies entirely on passive ligament support, which is inadequate on uneven terrain.
The peroneals (peroneus longus and brevis) run down the outer calf and attach to the outside of the foot. When your ankle starts to roll inward, these muscles contract reflexively to pull the foot back to neutral. But if they’re weak or slow to respond, they can’t generate enough force to stop the roll. This is why people with weak peroneals often describe their ankle “giving way” on uneven ground, gravel, or grass.
Peroneal strength can be rebuilt at any age. The muscle tissue responds to resistance training just like larger muscle groups. The key is consistent, targeted work with exercises that specifically load the peroneals through their full range of motion.
Decreased Range of Motion
Stiff ankles (from arthritis, tight Achilles tendons, or scar tissue from previous injuries) can’t adapt to uneven surfaces. When your ankle doesn’t have enough dorsiflexion (the ability to bend your foot upward toward your shin), your body compensates by shifting weight patterns that put the ankle at risk for lateral rolling.
Normal ankle dorsiflexion is about 15-20 degrees. Many older adults have 10 degrees or less, often because of chronic tightness in the calf muscles and Achilles tendon. When dorsiflexion is limited, the foot can’t clear obstacles as effectively (increasing trip risk) and can’t absorb impact properly when stepping down from a curb or step (increasing sprain risk).
Achilles tightness also changes your gait. You walk with a shorter stride and less heel-to-toe roll, which reduces the natural loading and strengthening that walking normally provides to the ankle stabilizers. Maintaining or improving ankle range of motion through stretching and mobility work is as important as building strength.
Ankle Strengthening Exercises
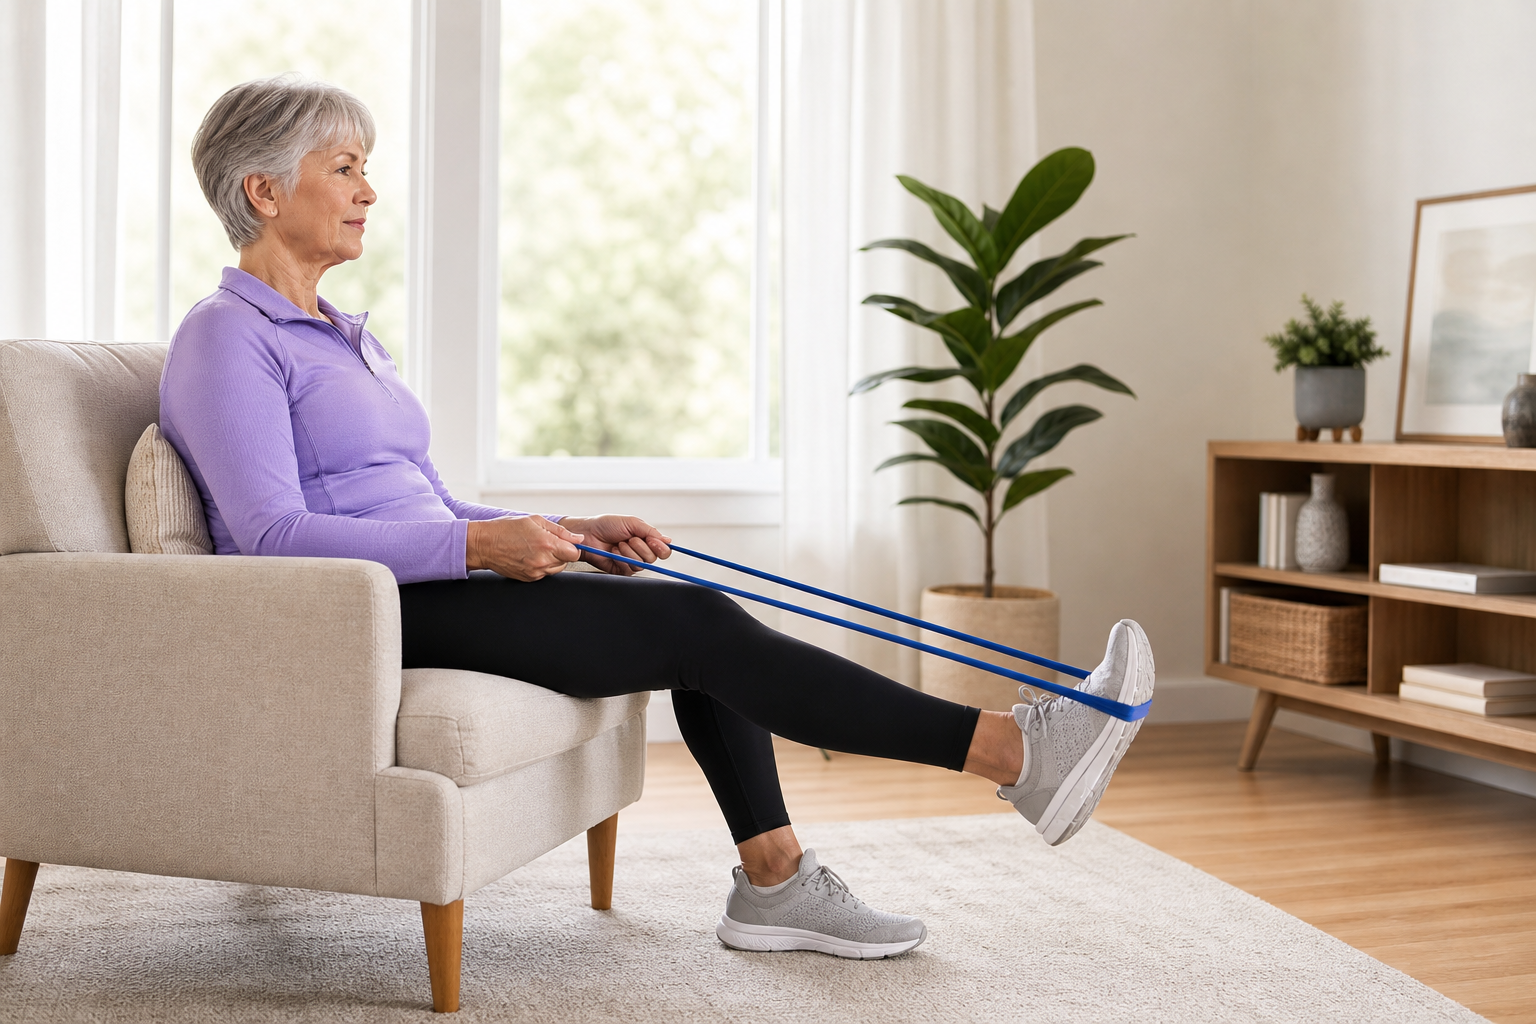
4-Way Resistance Band Ankle Exercise
Sit in a chair with a loop resistance band around the ball of one foot, anchored to a chair leg or held by your other foot. Move your foot against the band in four directions:
- Eversion (outward): Push the outside of your foot outward against the band. 2 sets of 15. This directly strengthens the peroneals, your primary ankle stabilizers.
- Inversion (inward): Push the inside of your foot inward. 2 sets of 15. Strengthens the tibialis posterior.
- Dorsiflexion (upward): Pull your toes toward your shin. 2 sets of 15. Strengthens the shin muscles and improves ankle range.
- Plantarflexion (downward): Point your toes away from you. 2 sets of 15. Strengthens the calves.
Start with light resistance. You should feel the muscles working but not straining. The movements are small and controlled. Focus on moving only the ankle, not the whole leg.
If the band is too strong or you don’t have one yet, you can start with just the weight of your foot moving through the air, adding the band after a week or two. Resistance bands are among the most affordable and versatile exercise tools for home workouts.
The eversion movement is the most important for sprain prevention because it targets the peroneals. If you only have time for one direction, do eversion. But all four directions contribute to overall ankle stability and balanced muscle development around the joint.
Single-Leg Balance Holds
Stand near a counter. Lift one foot off the floor and hold for 15-30 seconds. Switch legs. 3 holds per leg. This forces the ankle stabilizers on the standing leg to work constantly to keep you upright. Progress by reducing hand support (full grip to fingertips to hovering) and by closing your eyes (advanced, with spotter).
This is the single most effective exercise for improving proprioception. When you stand on one leg, your ankle makes constant micro-adjustments to keep you balanced. Those adjustments train the proprioceptive nerves and the reflexive muscle contractions that prevent sprains.
Start with whatever hand support you need to feel safe. Even holding on with both hands provides training benefit. As you get stronger, reduce support gradually. Don’t rush it. The goal is to challenge yourself without falling.
Once you can do 30-second holds with fingertip support, try standing on a folded towel or thin cushion. The unstable surface increases the challenge and further improves proprioceptive training. Always have something sturdy within reach when progressing to unstable surfaces.
Heel Walks and Toe Walks
Walk 20 steps on your heels (toes lifted off the floor), strengthening the dorsiflexors. Then walk 20 steps on your toes (heels lifted), strengthening the calves and plantarflexors. Use a hallway wall for fingertip guidance. 2 sets of each. These exercises train the muscles in the specific positions they need to activate during a stumble.
Heel walking is harder than it looks, especially if you have tight calves or weak shin muscles. You may only manage 5-10 steps at first. Build up gradually. The dorsiflexors (muscles on the front of your shin) are critical for clearing your toes during the swing phase of walking and for controlling your foot when stepping down. For those with neuropathy affecting the feet and ankles, start with very short distances and progress slowly.
Toe walking strengthens the calves and improves push-off power, which helps with walking speed and stair climbing. It also improves balance because you’re standing on a smaller base of support. If full toe walking is too difficult, try rising up on your toes while standing in place, holding the position for a few seconds, then lowering. Work up to walking as strength improves.
Calf Raises (Eccentric Focus)
Stand on a step with the balls of your feet on the edge. Rise up on both toes, then shift your weight to one foot and lower slowly (3-4 seconds) on that foot until your heel drops below the step. Use the other foot to help push back up. 2 sets of 10 per foot.
This eccentric strengthening builds the calf’s ability to control ankle movement during the most vulnerable phase (when your heel is below the step, like stepping off a curb).
The slow lowering phase (eccentric contraction) is where the real strength gains happen. This phase also mimics the exact loading pattern your calf experiences when your ankle starts to roll, making it highly functional for sprain prevention.
If standing on a step feels unstable, do this exercise on flat ground first. Rise up on both toes, shift weight to one foot, and lower slowly without dropping below floor level. Once that feels controlled, progress to the step version for greater range of motion and challenge.
Always have a railing or wall within reach for support. The goal is controlled lowering, not testing your balance limits. If your heel drops fast or you feel unstable, use more support or go back to the flat-ground version.
Ankle Circles and Alphabet Tracing
Sit and lift one foot. Make 10 slow circles clockwise and 10 counterclockwise. Then trace the alphabet in the air with your big toe. Switch feet. This maintains full ankle range of motion and warms up the joint before any weight-bearing exercise. It takes less than 3 minutes and should be part of every warm-up.
Ankle circles move the joint through its full range in all directions, maintaining the mobility needed to adapt to uneven surfaces. The alphabet tracing adds complexity and requires more fine motor control from the ankle muscles, further improving proprioception.
These movements are also useful after long periods of sitting (car rides, flights, desk work) to reduce stiffness and improve circulation in the lower leg. They’re gentle enough to do multiple times throughout the day. Coordinating breath with these gentle movements can also help reduce tension and improve focus during your exercise routine.
If you notice painful grinding, clicking, or a significant difference in range between your two ankles, mention it to your doctor. It may indicate arthritis or scar tissue that needs attention.
Towel Scrunches
Sit with a small towel flat on the floor under one foot. Use your toes to scrunch the towel toward you, bunching it up under your foot. Flatten it back out and repeat. Do 10 scrunches per foot.
This strengthens the small intrinsic muscles of the foot and the flexor muscles that control the toes, both of which contribute to overall foot and ankle stability.
Strong feet create a more stable platform for the ankle to work from. Weak toe flexors reduce your ability to grip the ground during balance challenges. Towel scrunches are low-intensity but highly effective for building this foundational strength.
Progress by placing a light weight (a can of soup, a small dumbbell) on the end of the towel farthest from you, so you’re pulling weight as you scrunch. This increases resistance without requiring heavier equipment. These exercises fit perfectly into a complete home routine that requires no gym membership.
Footwear for Ankle Support
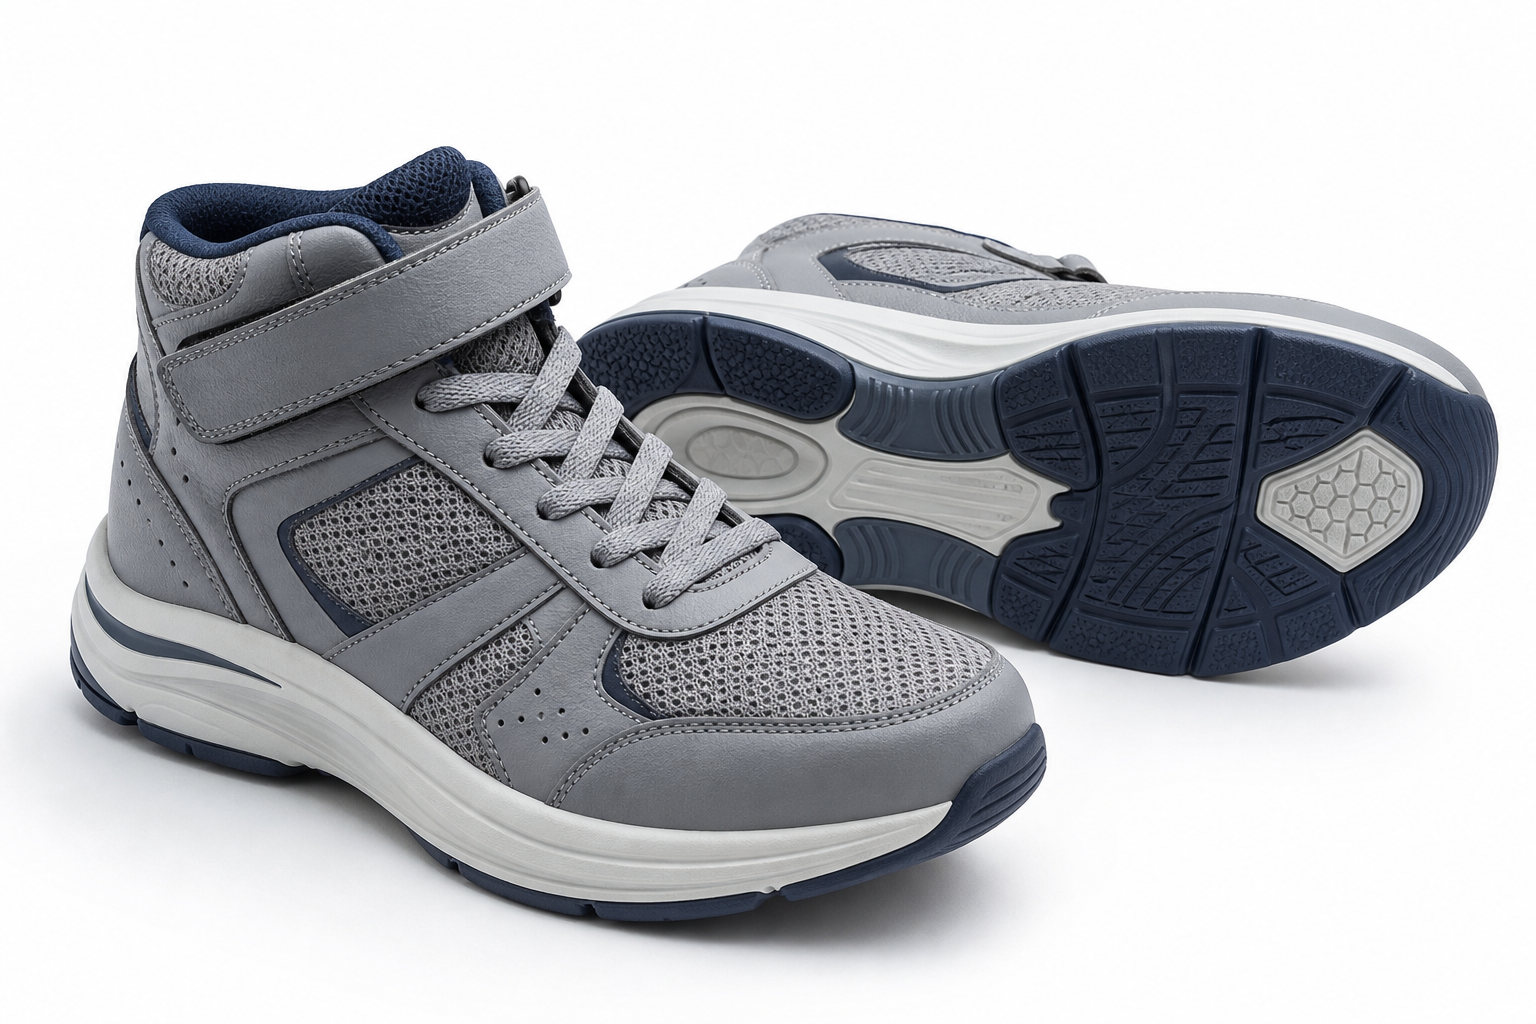
- High-top shoes or boots: Provide external ankle support that weak ligaments can’t. Useful for walking on uneven terrain, during winter, or any situation where ankle stability is a concern.
- Shoes with firm heel counters: The heel counter (the stiff cup at the back of the shoe) holds your heel in place and prevents the side-to-side movement that precedes a sprain. Squeeze the heel of a shoe before buying; it should be rigid, not collapsible.
- Avoid flat, unsupportive shoes: Flip-flops, slippers, and worn-out sneakers provide zero ankle support and are among the most common footwear factors in senior ankle sprains.
Footwear is your first line of defense on uneven terrain or in slippery conditions. High-top shoes physically restrict the ankle’s range of motion, making it harder to roll past the point where a sprain occurs. They’re particularly useful if you have significant ligament laxity or a history of recurrent sprains.
The heel counter is often overlooked but critical. A firm counter prevents your heel from sliding side to side inside the shoe, which means your ankle stays centered and aligned. When your heel can shift laterally,
