Most upper body exercises for seniors come with a long list of warnings: watch your rotator cuff, protect your wrists, don’t strain your lower back. Wall push-ups sidestep most of those concerns entirely. They build real strength in your chest, shoulders, and triceps, and you can do them anywhere there’s a wall. No equipment, no gym membership, no getting down on the floor.
If you’ve been avoiding upper body work because standard push-ups feel too risky or too hard, wall push-ups are exactly where you should start. Here’s everything you need to know to do them correctly and keep making progress.
How to Do a Wall Push-Up Correctly
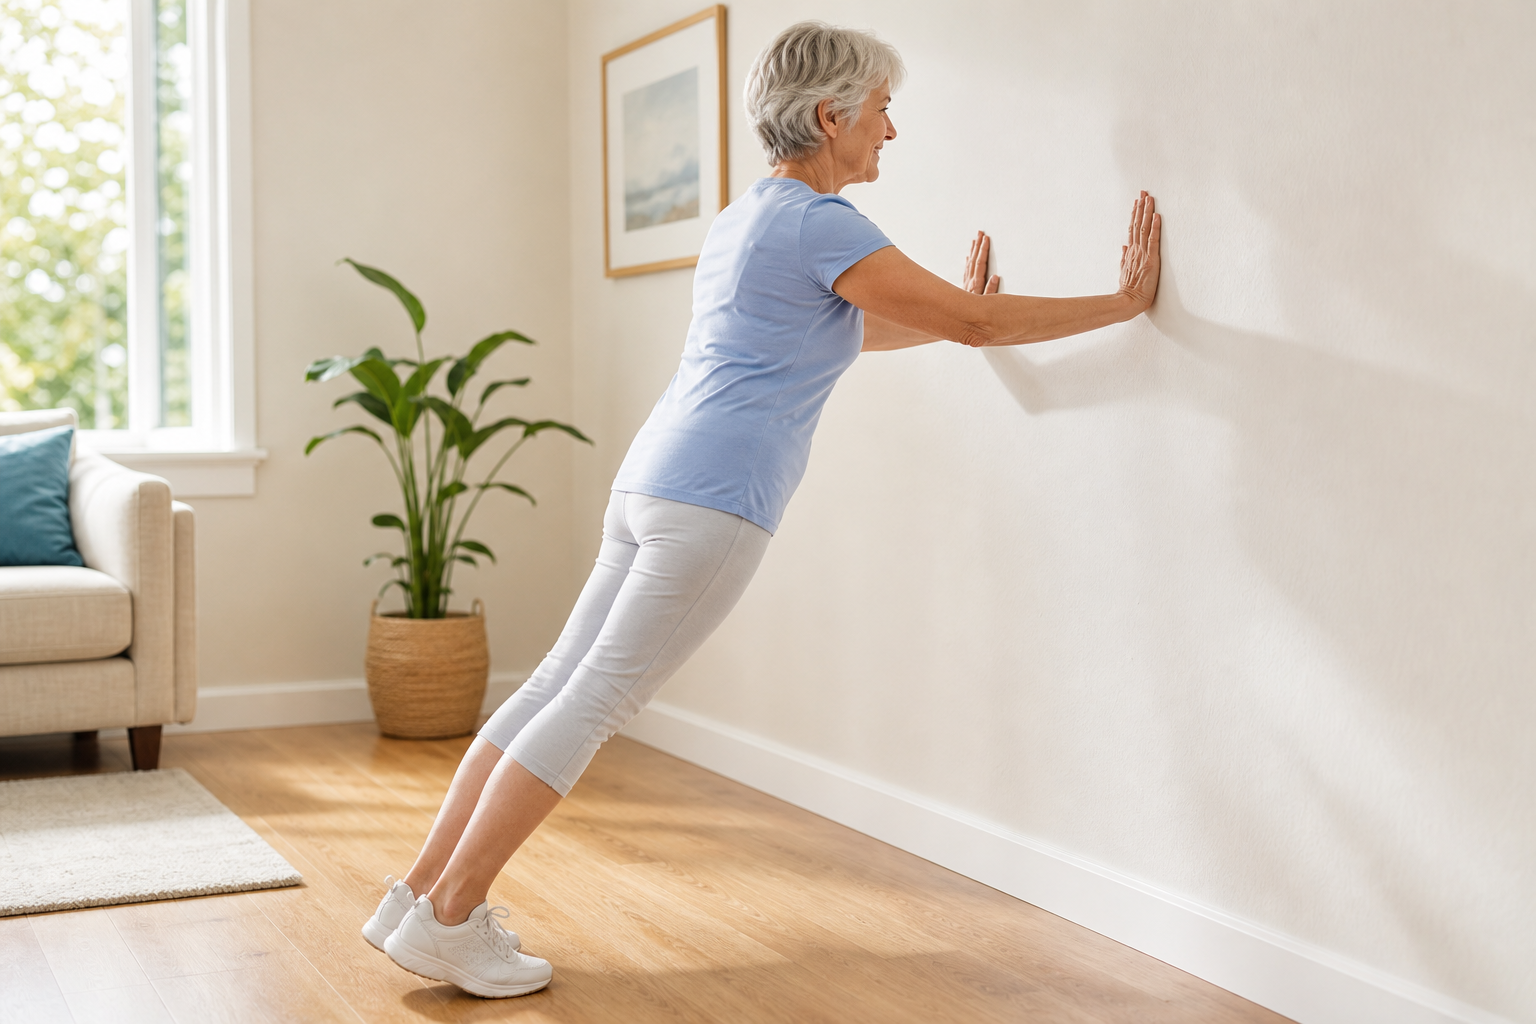
Hand Placement
Stand facing a bare wall and place your palms flat against it at chest height. Your hands should be just slightly wider than shoulder-width apart. Keep your fingers pointing straight up, not angled outward, so your wrists stay in a neutral position throughout the movement.
Avoid pressing with your fingertips or letting your wrists collapse inward. If you feel discomfort in your wrists, try widening your hands just slightly or rotating them outward a few degrees until you find a comfortable angle. People dealing with wrist or hand issues may also want to check out our guide to grip strength exercises for improving hand function, which pairs well with this movement.
Distance From the Wall
Your starting distance matters more than most people realize. Begin with your arms extended and your nose about an inch from the wall. Step your feet back until there’s a slight forward lean to your body, but not so far that you’re hunching or losing your core stability.
A good rule of thumb: the farther you stand from the wall, the harder the exercise becomes. Start closer (roughly arm’s length or a little less) and work your way back as you get stronger. Your body should stay in a straight line from head to heels, just like a proper plank position.
The Movement
Bend your elbows slowly as you lower your chest toward the wall. Aim for a two-count down, a brief pause, then push back to the start over a two-count. Keep your core slightly engaged and don’t let your hips sag or pike up.
Keep your elbows at roughly a 45-degree angle from your torso, not flared straight out to the sides. That angle is easier on your shoulder joints and reflects the same technique physical therapists teach for floor push-ups.
Reps and Sets
Start with two sets of 8 to 10 reps. If that feels manageable with good form, work up to three sets of 12 to 15 over a few weeks. Rest 60 to 90 seconds between sets. Two to three sessions per week is plenty, with at least one rest day between sessions to let your muscles recover properly.
After a workout, eating a small protein-rich snack within an hour or two helps with muscle repair. Our article on post-workout recovery meals for seniors has practical ideas that are easy to put together.
Progressing to Harder Variations
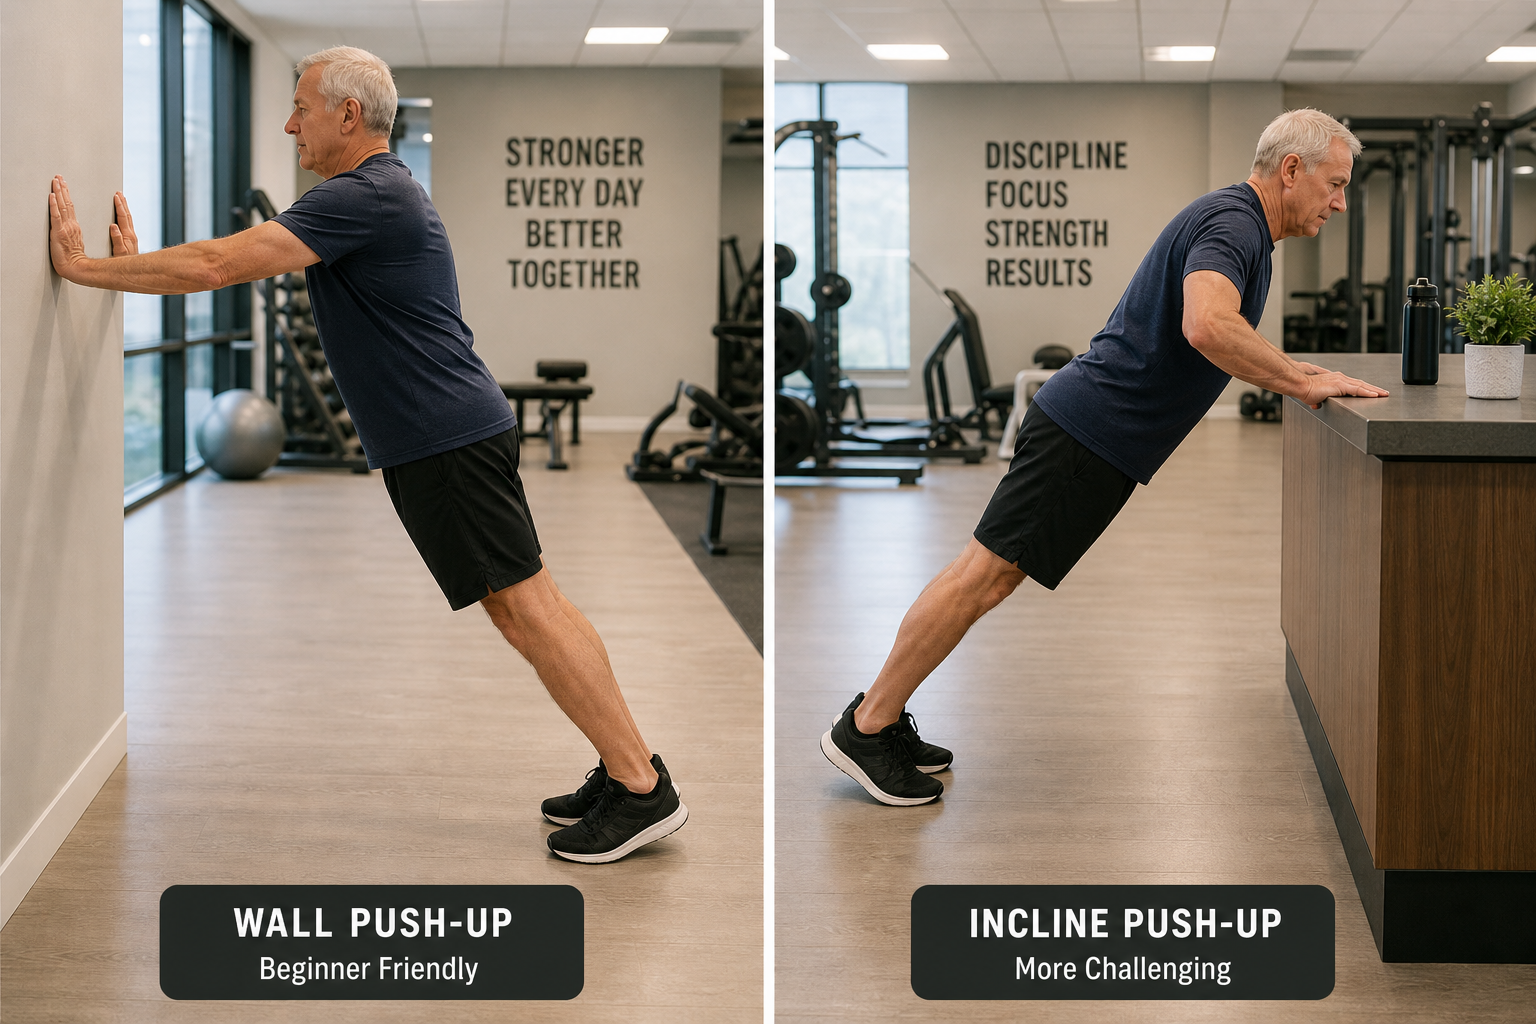
Once wall push-ups start feeling easy, you have two natural next steps: the countertop push-up and the incline push-up.
Countertop push-ups work exactly like wall push-ups, but your hands rest on a sturdy kitchen counter or bathroom vanity instead of a vertical wall. Because the surface is lower than a wall, more of your body weight shifts into the movement. Make sure the counter is stable before you start, and avoid using a counter with a slippery edge.
Incline push-ups go one step further. You place your hands on something lower still, like a weight bench, a sturdy coffee table, or a dedicated push-up stand. The lower the surface, the more challenging the exercise. This is the bridge between wall push-ups and traditional floor push-ups, and many seniors find this range is all they ever need.

Push-Up Handles
Padded push-up handles reduce wrist strain during incline and floor push-ups, making the progression more comfortable.
As you build strength through these progressions, it’s also worth thinking about the nutrients that support muscle and joint health. Vitamin D plays a significant role in both bone density and muscle function, and many seniors don’t get enough of it, especially during winter months.
For those working through arthritis or joint discomfort, moving slowly and staying within a pain-free range of motion is the right approach. You can still build meaningful strength without pushing into pain.
Resistance Bands for Seniors
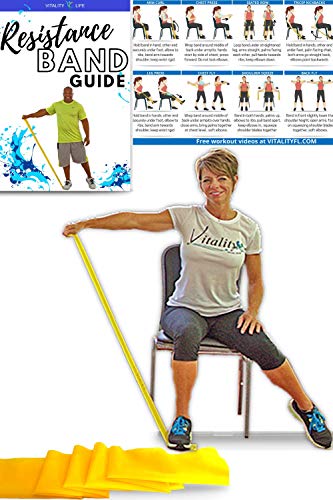
Resistance bands complement wall push-up training by targeting the back muscles and biceps, which helps balance out the pushing work.
Adding resistance bands to your routine once wall push-ups feel solid gives you a way to work the pulling muscles (your back and biceps) that push-ups don’t hit. A balanced upper body routine that includes both pushing and pulling movements is what progressive resistance training is built around.
Frequently Asked Questions
How do I know if I’m standing at the right distance from the wall?
At the starting position, your arms should be fully extended with just a slight bend at the elbow, not locked out. Your body should feel like it’s leaning forward at a gentle angle. If you’re struggling to control the descent or your form breaks down quickly, move your feet slightly closer to the wall and rebuild from there.
Can I do wall push-ups every day?
You can, but it’s not necessary for strength gains. Muscles need recovery time to adapt and grow stronger. Two to three times per week with rest days in between will produce better results than doing them daily. If you want to move every day, alternate wall push-ups with lower body work or stretching on the off days.
This article contains affiliate links. We may earn a small commission at no extra cost to you.
