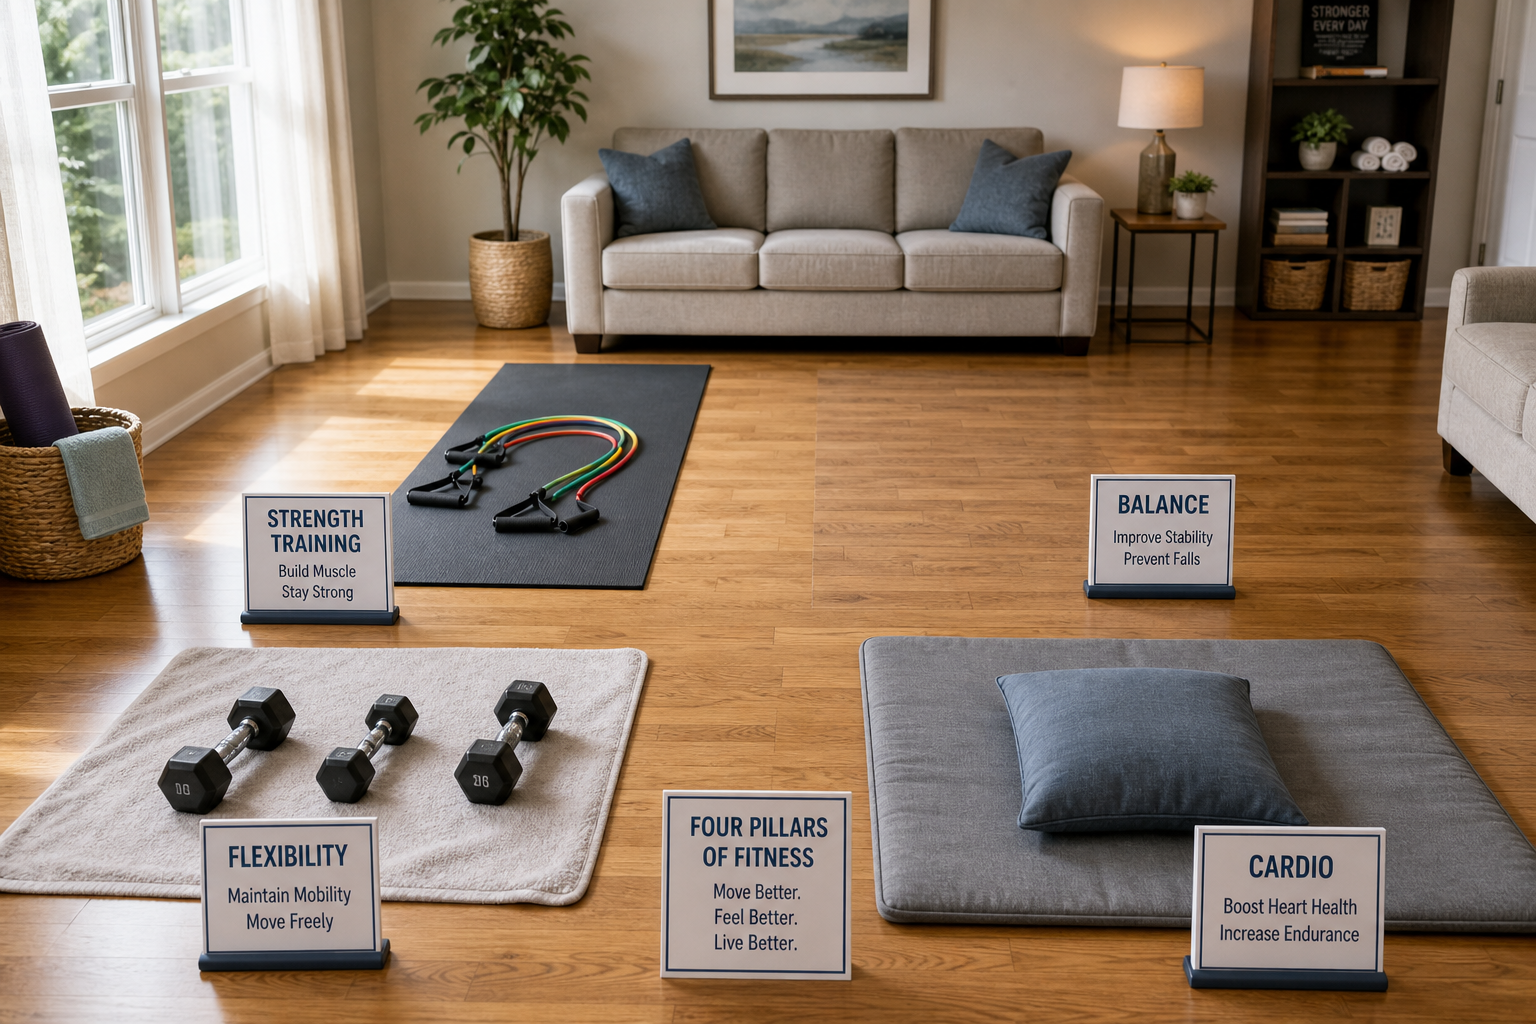
A complete home workout routine after 60 covers four pillars: cardiovascular fitness (heart health, endurance), muscular strength (independence, fall prevention), balance (fall prevention, confidence), and flexibility (range of motion, comfort). You don’t need a gym, a trainer, or expensive equipment. A chair, a set of resistance bands, and 30 minutes per day provide everything required to maintain and improve your fitness from your living room.
This isn’t theory. The structure below is what works when you show up consistently. It accommodates joint sensitivity, respects recovery needs, and builds from whatever baseline you’re starting with. If you haven’t exercised in years, you can dial the intensity down. If you’re already active, you can progress faster. The framework stays the same.
Before starting any new exercise program, talk to your doctor. This is especially important if you have heart conditions, joint replacements, recent surgeries, uncontrolled high blood pressure, or balance issues that have caused falls. Your doctor can identify modifications or red flags specific to your situation.
The 4-Pillar Weekly Plan
Monday, Wednesday, Friday: Combined Workout (30 Minutes)
Warm-up (5 minutes): March in place, arm circles, hip circles, ankle circles, gentle bodyweight squats.
Your warm-up isn’t optional filler. It raises your core temperature, lubricates joints, and primes the nervous system. Five minutes feels too short to matter, but skipping it increases injury risk and makes the workout itself feel harder. If you have particularly stiff mornings, extend the warm-up to 7 minutes and add shoulder shrugs and wrist circles.
Strength Circuit (15 minutes): Perform each exercise for 40 seconds with 20 seconds of rest between. Complete 2-3 rounds:
- Chair squats (legs and glutes)
- Wall push-ups (chest, shoulders, triceps)
- Resistance band rows (back and biceps)
- Standing calf raises (calves)
- Standing hip abduction (hip stabilizers)

Resistance Band Set with Handles and Door Anchor
Look for sets with multiple resistance levels to grow with your strength progression
Chair Squats: Stand in front of the chair, feet hip-width apart. Lower yourself until you’re hovering just above the seat, pause one second, then stand. Don’t plop down. The hover teaches your muscles to control the descent, which is exactly what prevents falls in daily life. If hovering is too hard initially, sit fully and pause before standing. Once that feels manageable, work toward the hover.
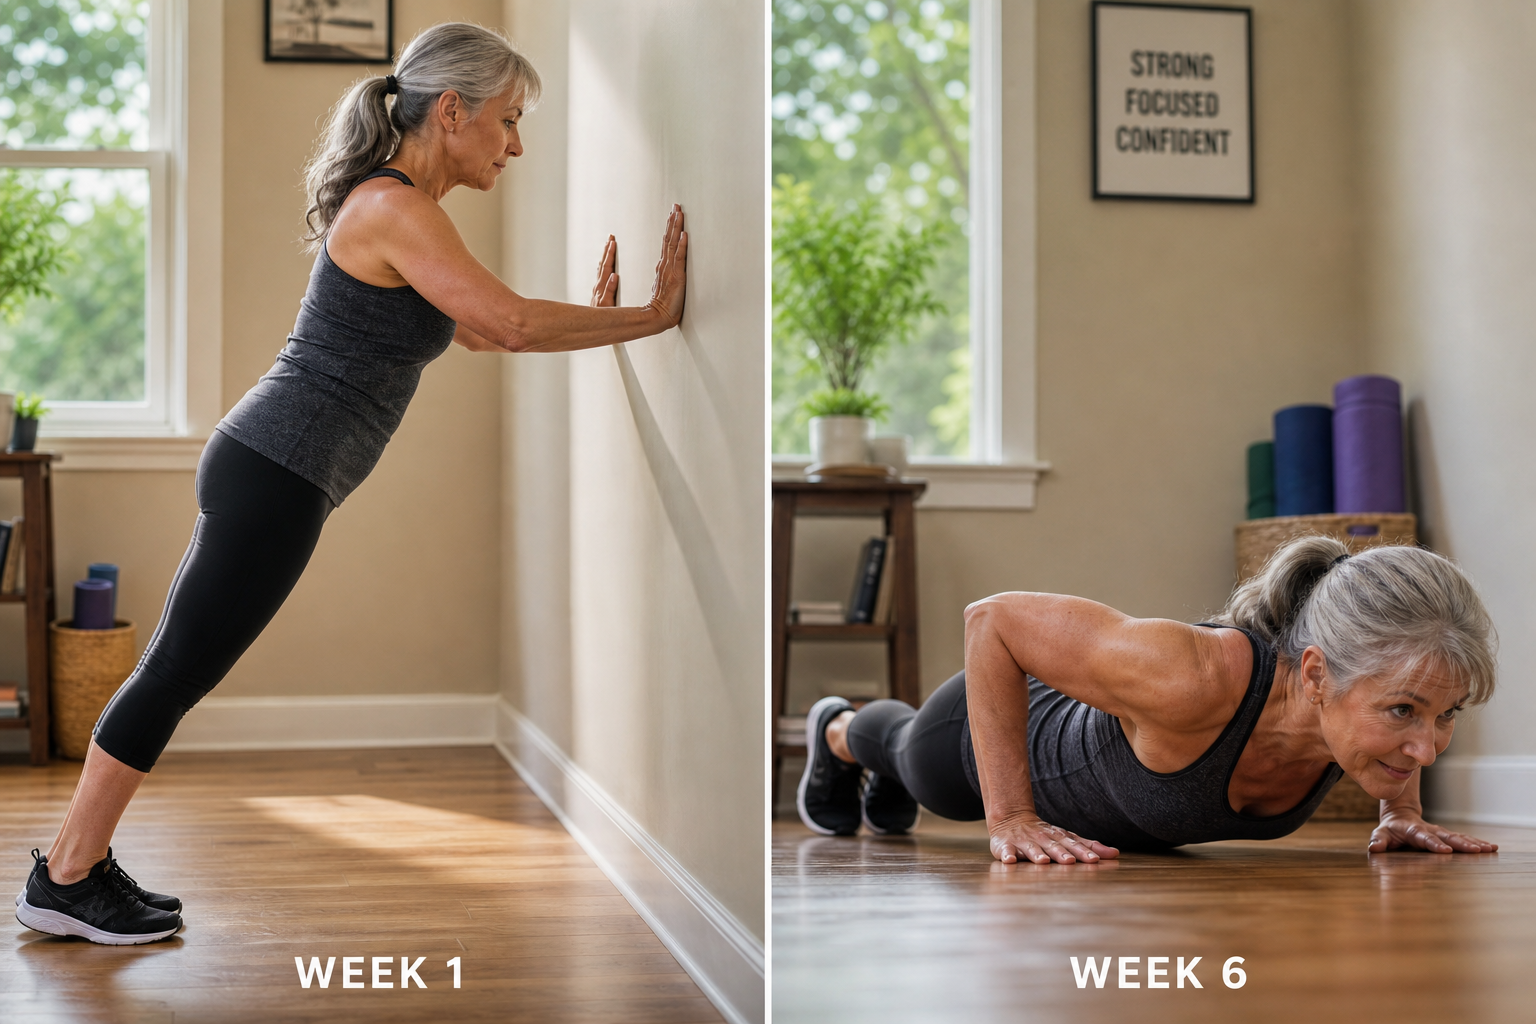
Wall Push-ups: Face a wall, hands flat at shoulder height, slightly wider than your shoulders. Step back until your body is at a gentle angle. Bend your elbows to bring your nose toward the wall, then push back. The farther your feet are from the wall, the harder this becomes. Start conservative. Too easy? Move your feet back six inches next session.
Resistance Band Rows: Secure the band around a sturdy anchor point at chest height (a doorknob works if the door is closed and locked). Hold a handle in each hand, step back until the band is taut, then pull both elbows straight back, squeezing your shoulder blades together. This exercise counters the forward slouch that develops from years of sitting. Your posture improves before you notice strength gains.
Standing Calf Raises: Stand behind the chair, hands resting lightly on the backrest for balance. Rise onto your toes, hold one second at the top, lower with control. Calves are small muscles that respond quickly. You’ll feel these working within two weeks.
Standing Hip Abduction: Stand beside the chair, one hand on the backrest. Lift the outside leg straight out to the side, keeping your body upright. Lower with control. This strengthens the hip stabilizers that prevent sideways wobbles when you’re walking on uneven ground or reaching for something off-balance.
If 40 seconds feels too long initially, start with 30 seconds per exercise. If two rounds exhaust you, stop at one. The goal is to finish feeling worked but not destroyed. You should be able to hold a conversation immediately after.
Balance (5 minutes): Single-leg stands (20 seconds per leg, 2 attempts), heel-to-toe walking (10 steps forward and back), weight shifts (10 per direction).
Balance work feels deceptively simple until you try it. Single-leg stands expose asymmetries. Most people discover one leg is significantly weaker. That’s information. Start with a light fingertip touch on a countertop or chair. As your stability improves, reduce the touch to one finger, then hover your hand near the support without touching, then try it completely unsupported.
Heel-to-toe walking (also called tandem walking) mimics a sobriety test because it’s genuinely challenging for balance. Walk an imaginary tightrope, placing your heel directly in front of the opposite foot’s toes with each step. If you veer off or need to pause and reset, that’s normal early on.
Weight shifts train your body to recover from a stumble before it becomes a fall. Stand with feet hip-width apart. Shift your weight fully to the right foot, lifting the left heel slightly off the ground, then shift left. This sounds boring. It prevents injuries.
Cool-down stretch (5 minutes): Calves, hip flexors, hamstrings, chest, neck (20-30 seconds each).
Stretching after resistance work, when muscles are warm, is when you’ll see flexibility gains. Hold each stretch at the point of mild tension, not pain. Breathe normally. Don’t bounce. Bouncing triggers a protective reflex that tightens the muscle you’re trying to lengthen.
Hip flexors are chronically tight in anyone who sits frequently. To stretch them: kneel on one knee (use a folded towel under your knee for cushioning), other foot flat in front, then gently press your hips forward until you feel a stretch in the front of the hip on the kneeling side. If kneeling isn’t possible, a standing hip flexor stretch works too: step one foot well behind the other and press that back hip forward gently.
Tuesday, Thursday: Cardio Day (25-30 Minutes)
Option A: 25-30 minute brisk walk (indoors or outdoors) with 3-4 one-minute brisk intervals.
Walk at a pace where you can talk but not sing. That’s moderate intensity. During the one-minute intervals, speed up to where talking becomes difficult. You’re not sprinting. You’re just pushing hard enough that your heart rate climbs noticeably. After the interval minute, return to your normal pace until you’ve recovered, then do another interval.
If you walk outdoors, choose a route with sidewalks or paths where tripping hazards are minimal. Uneven terrain adds balance challenge, which is useful, but save that for when you’re confident in your baseline stability. For seasonal considerations, check our guides on hot weather workout safety and cold weather exercise tips.
Option B: 20 minutes on a pedal exerciser or recumbent bike + 5 minutes of stretching.
Pedal exercisers (the compact devices you place on the floor in front of your chair) work well for people with knee, hip, or balance issues that make walking difficult. They’re low-impact, you control resistance precisely, and you can use them while reading or watching something. Recumbent bikes offer similar benefits with added back support. Aim for a pace that elevates your breathing without leaving you gasping.

Pedal Exerciser for Seniors
Quiet magnetic resistance models work well for use while watching TV or reading
Option C: 20-minute chair cardio session (seated marches, punches, jumping jacks) followed by 5 minutes of stretching.
Chair cardio is underrated. Seated marches: sit upright, lift one knee, then the other, pumping your arms as if walking. Seated punches: alternate punching forward with good extension. Seated jumping jacks: extend arms overhead while spreading legs wide, then bring everything back to center. Move continuously for 20 minutes. This provides legitimate cardiovascular work without impact stress on joints.
Pick whichever option fits your tolerance and equipment access. Variety is fine too. Walk Tuesdays, bike Thursdays, or rotate all three weekly. What matters is consistent moderate-intensity cardio, not the specific mode.
Saturday: Active Recovery (20 Minutes)
Gentle yoga, tai chi, or a full-body stretching routine. This session promotes flexibility, reduces the week’s accumulated stiffness, and provides the recovery that prevents overtraining.
Active recovery means movement without significant load or intensity. You’re circulating blood to speed muscle repair, maintaining range of motion, and mentally decompressing from the week’s harder efforts. Chair yoga routines designed for older adults are widely available online. Tai chi classes (in-person or video) teach flowing, controlled movements that improve balance and body awareness while keeping intensity low.
If structured classes aren’t your preference, 20 minutes of stretching works just as well. Hit every major muscle group: calves, hamstrings, quads, hip flexors, glutes, lower back, chest, shoulders, neck. Move slowly between stretches. This isn’t a race.
Sunday: Rest
Complete rest or very gentle activity (a leisurely walk, light gardening). Your muscles and cardiovascular system repair and strengthen during rest days.
Rest means rest. Not “light cardio,” not “just a few exercises.” Your body adapts to training stimulus during recovery periods, not during the workout itself. Skipping rest days leads to accumulated fatigue, increased injury risk, and eventually burnout. If you feel restless, a slow 10-minute walk is fine. Heavy yardwork, deep cleaning the garage, or an impromptu strength session are not.
Setting Up Your Space
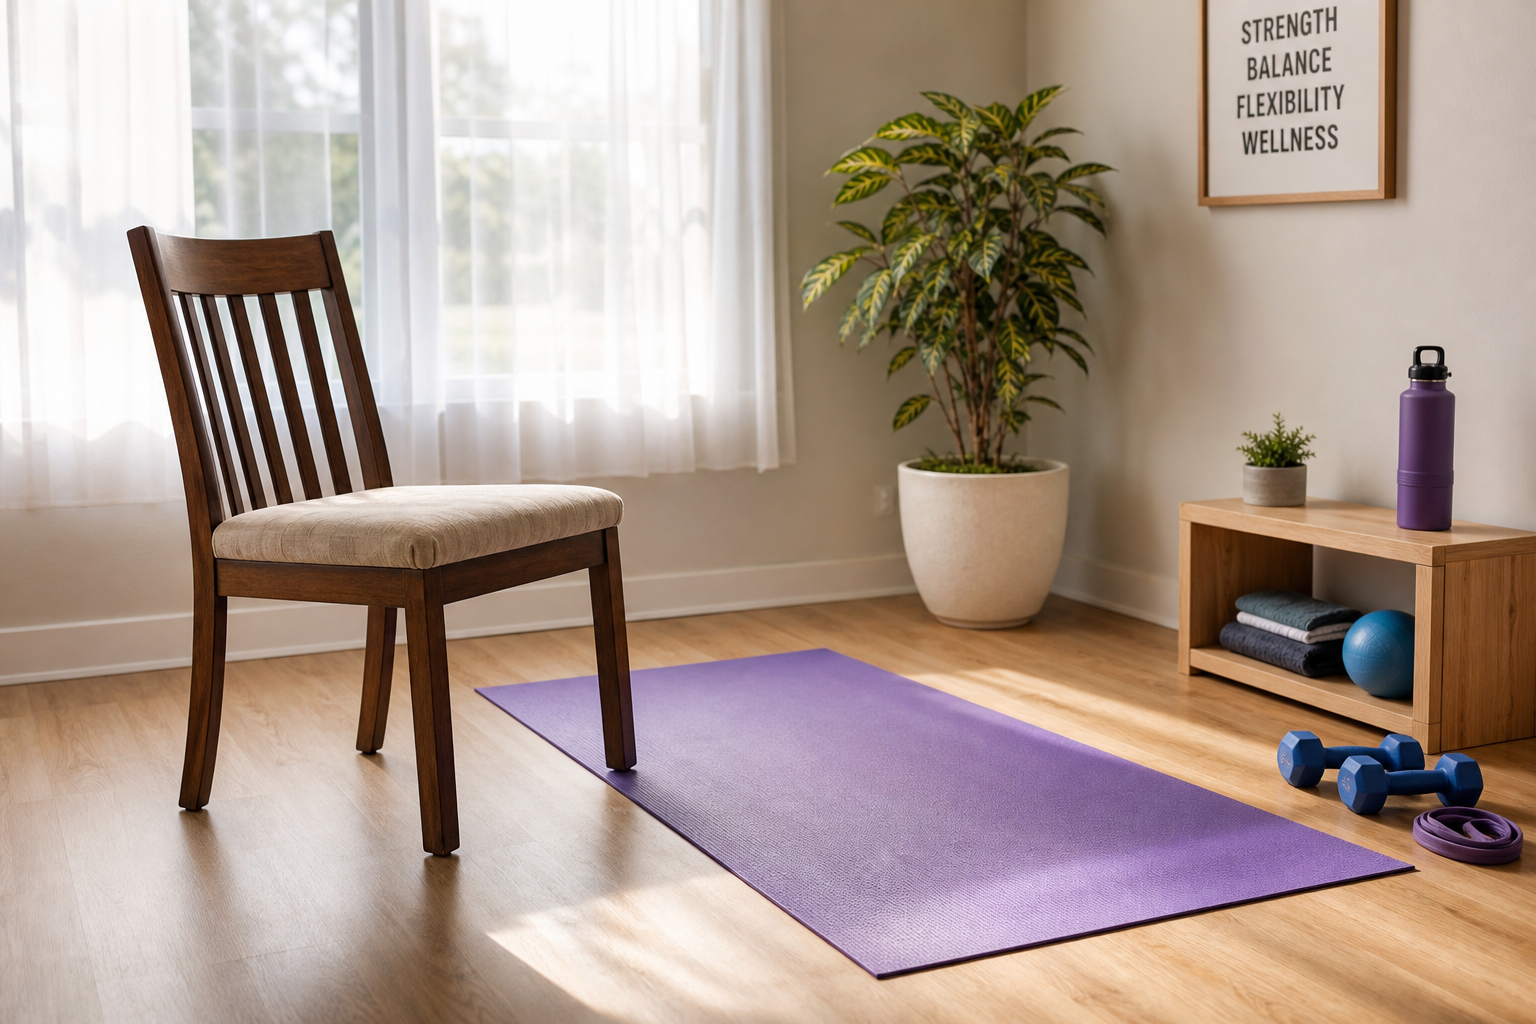
Clear 6×8 feet of floor space (push a coffee table aside temporarily if needed). Place a non-slip mat on the floor. Position a sturdy chair against a wall (so it can’t slide backward during squats). Ensure a wall, counter, or grab bar is within arm’s reach for balance exercises. Keep your resistance bands, water bottle, and phone (for timing) within the area. Good overhead lighting, no loose rugs or cords.
Test your chair before using it for squats. Sit, stand, push down on the seat. It shouldn’t wobble or shift. Folding chairs are usually too unstable. Kitchen or dining chairs with four legs work well.
The non-slip mat serves two purposes: cushioning for floor exercises (if you add any later) and a defined workout boundary. Having a dedicated space, even if you disassemble it after each session, reinforces the habit. Your brain starts associating that spot with exercise.
Lighting matters more than you’d think. Shadows and dim areas make balance work riskier because your visual system feeds into balance. If your workout space is poorly lit, add a lamp or move the setup closer to a window.
Equipment Notes
You need very little, but what you buy should be appropriate for your actual use case.
Resistance bands: Get a set with multiple resistance levels, handles, and a door anchor. Avoid the thin therapy bands marketed for physical therapy unless you’re rehabbing an injury. You want bands that will still challenge you six months from now as you get stronger. Loop bands (the continuous circles with no handles) are fine for leg work but awkward for upper body. Handle-style bands with a clip-on system are more versatile.
Chair: Already covered above. Sturdy, stable, non-folding. Height should let your thighs be parallel to the floor when you sit.
Non-slip mat: A yoga mat works. So does a kitchen anti-fatigue mat. Avoid thick, squishy balance pads early on. Those are advanced balance tools that make basic exercises unnecessarily difficult.
Optional but useful: A resistance loop band for hip work (the small fabric loops that go around your thighs), a lightweight foam roller for post-workout muscle release, a stopwatch or interval timer app to manage work and rest periods without watching the clock.
You don’t need dumbbells for this program. Resistance bands provide sufficient load for strength gains and are gentler on joints because tension increases gradually through the range of motion rather than loading maximally at the weakest point (as free weights do).
Progression
Every 2 weeks, change one variable:
- Add one repetition per exercise, or increase band resistance by one level
- Increase walking duration by 2 minutes, or add one more interval
- Increase single-leg hold time by 5 seconds, or reduce hand support
- Extend stretching hold times by 5 seconds
These small, incremental changes accumulate into significant fitness improvements over months without the injury risk of large, sudden progressions.
The temptation is to progress faster. You feel good after week three and decide to jump two band resistance levels and add 10 minutes to your walk. That’s how you end up sore, discouraged, or injured. Fitness adaptations in older adults happen reliably but not rapidly. Patience wins.
Track your progressions. A simple notebook or phone note with the date and what you changed works fine. When you can look back and see that you’ve gone from 8 chair squats per round to 15, from needing two-hand support for single-leg stands to doing them unsupported, the evidence keeps you motivated through plateaus.
Expect plateaus. Some weeks you won’t progress. Some weeks you’ll feel slightly weaker due to poor sleep, stress, or just normal fluctuation. That’s not regression. Hold steady, keep showing up, and progress will resume.
The First 8 Weeks: What to Expect
Weeks 1-2: The routine feels new and slightly awkward. You’re learning exercises and establishing the habit. Soreness is normal and resolves within 48 hours.
Soreness (delayed onset muscle soreness, or DOMS) peaks around 48 hours after a new stimulus and fades by 72 hours. It feels different from injury pain. Soreness is diffuse, achy, worse when you first move after sitting, but improves once you’re warmed up. Injury pain is sharp, localized, and worsens with specific movements. If you’re unsure which you’re experiencing, err on the side of caution and check with a doctor or physical therapist.
The awkwardness of new exercises is mental, not physical. Your brain is building new motor patterns. By week two, the movements start feeling automatic.
