Resistance bands are one of the best investments you can make for your fitness after 60. They’re light, affordable, easy to store, and gentle enough on joints to use even on days when heavier weights feel like too much. But walk into any sporting goods store or scroll through Amazon and you’ll find dozens of options, all claiming to be perfect for beginners. This guide cuts through the noise so you know exactly what to buy and how to get started.
Whether you’re brand new to strength training or coming back after a break, bands offer a low-risk way to build the muscle and mobility that keep you independent longer. If you’re working through something like arthritis or managing chronic pain, bands are often easier to tolerate than dumbbells because the resistance increases gradually as you pull, not all at once.
Loop Bands vs. Tube Bands: Which Should You Choose?
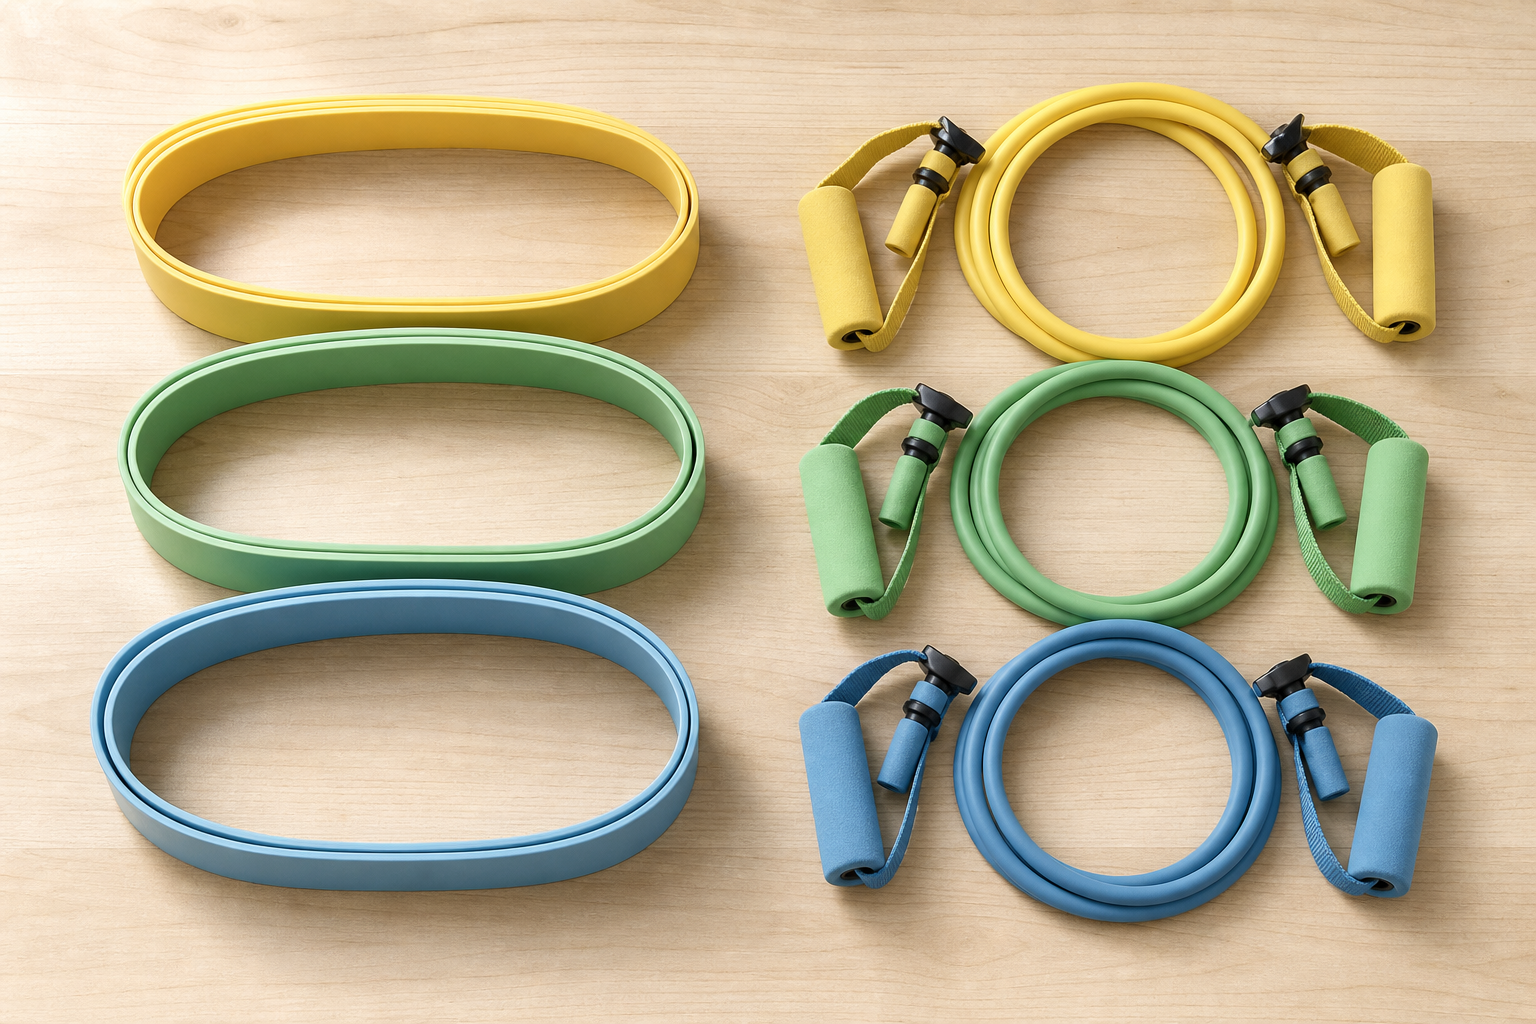
These are the two main types you’ll see, and they serve slightly different purposes. Knowing the difference saves you from buying the wrong thing.
Loop Bands
Loop bands are flat, continuous circles of rubber, often sold in sets of 3 to 5 with different resistance levels color-coded from light to heavy. They’re excellent for lower body work: squats, glute bridges, side steps, and leg lifts. They don’t require any setup and are great for travel. The travel-friendly nature of loop bands alone makes them worth keeping around.
The downside is that they can roll or dig into skin during upper body exercises, and they don’t anchor easily to a door. For most seniors doing lower body and light core work, a set of loop bands is a smart starting point.
Resistance loop band sets are widely available and budget-friendly. Look for fabric-covered bands if you find latex rolls up your thigh during hip exercises.
Tube Bands with Handles
Tube bands look like jump ropes with foam handles at each end. They’re better for upper body exercises: rows, bicep curls, shoulder presses, and chest pulls. The handles make gripping much easier, which matters a lot if you have arthritis or reduced grip strength. Most sets also come with a door anchor so you can do pulling movements from different angles.
If you only buy one type, tube bands with handles are the more versatile pick for full-body training. A quality set will include multiple resistance levels so you can progress over time.

Tube Resistance Bands Set with Handles
A complete set with foam handles, door anchor, and multiple resistance levels covers virtually every exercise in this article.
Choosing the Right Resistance Level for Beginners
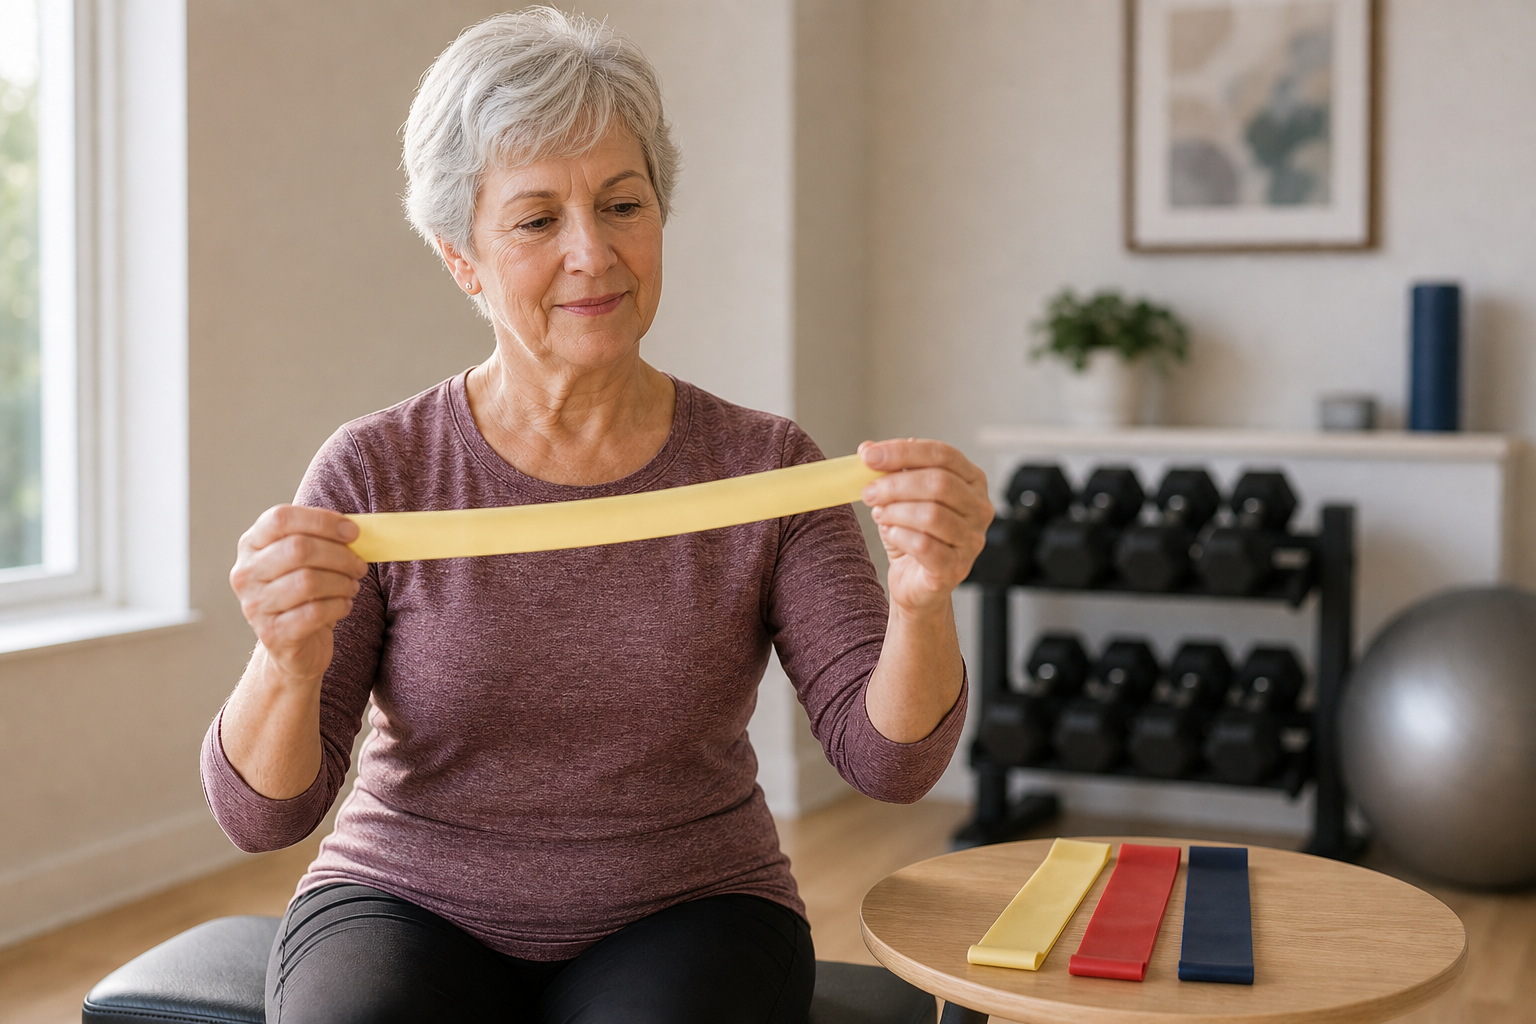
Starting too heavy is the most common mistake. With bands, resistance is usually labeled by color, but the color coding varies by brand, so always look at the actual pound range listed in the product description.
For most seniors just starting out, aim for bands in the 5 to 15 lb resistance range. You want to complete 10 to 12 reps with good form and feel mild fatigue by the last two reps. If you feel strain in your joints or your form breaks down before you finish, the band is too heavy.
It’s also smart to account for your fitness base. If you’ve been doing activities like pickleball or regular walking, your lower body may already handle moderate resistance. Your upper body, especially shoulders and back, often needs a lighter starting point.

Fabric Resistance Loop Bands for Seniors
Fabric-covered loop bands won’t roll or snap against skin and are especially comfortable for lower body work during squats and bridges.
For anyone managing osteoporosis or recovering from a joint replacement, check with your doctor or physical therapist before adding resistance. A program like the 12-week progressive resistance training plan on this site can help you structure your progression safely once you’ve got the basics down.
A Simple Full-Body Starter Routine
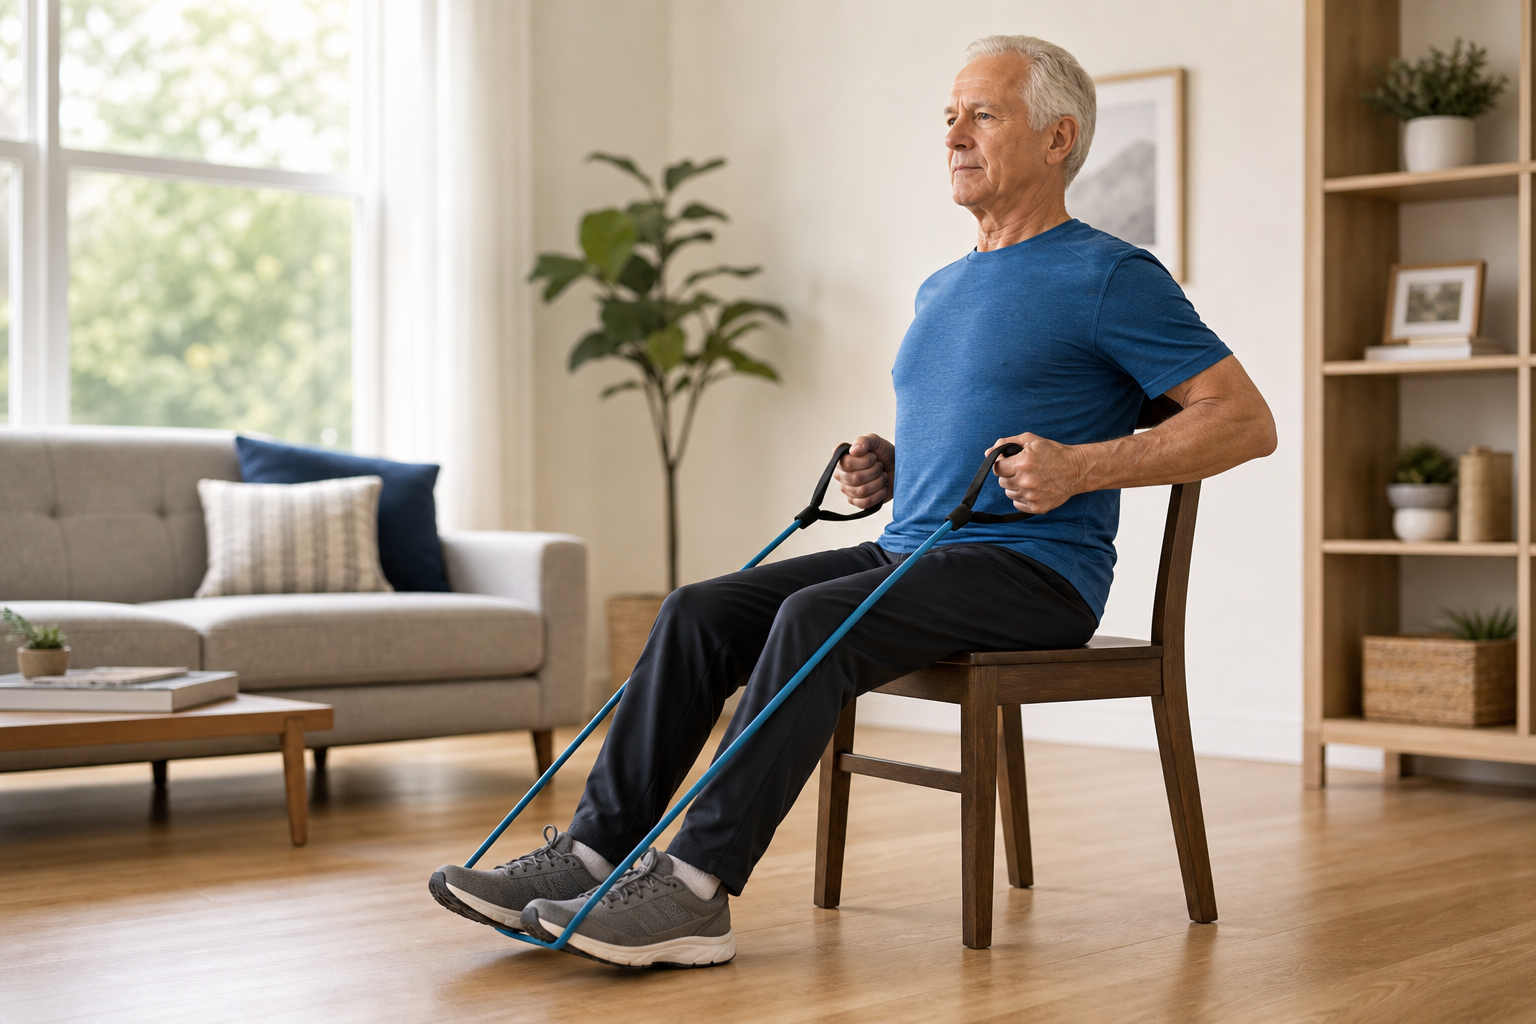
Do this 2 to 3 times per week with at least one rest day between sessions. Complete 2 sets of 10 to 12 reps for each exercise. Move slowly and deliberately. Eat something light beforehand if you’re training in the morning. For guidance on what to have before training, check out our article on pre-workout nutrition for senior athletes.
- Seated Row (tube band, door anchor): Sit tall, pull handles toward your ribcage. Squeeze shoulder blades together at the end of each pull.
- Standing Bicep Curl (tube band): Step on the center of the band, curl both handles up to shoulder height. Keep elbows close to your sides.
- Glute Bridge with Loop Band: Place a loop band just above both knees. Lie on your back, feet flat. Push hips up and hold for 2 seconds at the top.
- Lateral Side Step (loop band): Band around ankles, slight knee bend. Step 10 times in each direction. Great for hip stability and knee health.
- Overhead Press (tube band): Stand on the band, press handles overhead. Keep your core braced and don’t arch your lower back.
- Seated Leg Extension (loop band): Sit in a chair, loop band around one ankle and anchor the other end under the chair leg. Straighten your leg slowly.
After your session, prioritize protein and rest. Our guide on post-workout recovery meals for seniors has practical meal ideas that support muscle repair without overcomplicating things.
Frequently Asked Questions
Are resistance bands safe for seniors with bad knees or hips?
Yes, in most cases. Bands put far less compressive force on joints than free weights. For knee and hip concerns, focus on seated or lying exercises first and avoid positions that cause pain. If you’ve had a recent replacement surgery, read our post-knee replacement exercise guide before starting any resistance program. Always clear new exercise programs with your care team first.
How do I know when to move up to a heavier band?
When you can complete 12 clean reps on both sets without much effort, it’s time to increase resistance. Most sets include the next level up, so you won’t need to buy anything new right away. Progress slowly. Moving up too fast is the most common reason people get discou
