Chair exercises get dismissed as “too easy” for weight loss, and that’s a mistake. A well-designed seated workout targets every major muscle group, elevates your heart rate, and burns real calories, all without the joint stress of standing exercises. For seniors with mobility limitations, balance concerns, or chronic pain that makes floor and standing workouts impractical, chair exercises are the path to consistent calorie-burning activity.
This full 30-minute routine is designed to challenge you, not just keep you busy. Expect to feel your muscles working and your heart rate climbing. Talk to your doctor before starting this or any new exercise program, especially if you have cardiovascular conditions, joint issues, or haven’t been physically active recently.
What You Need
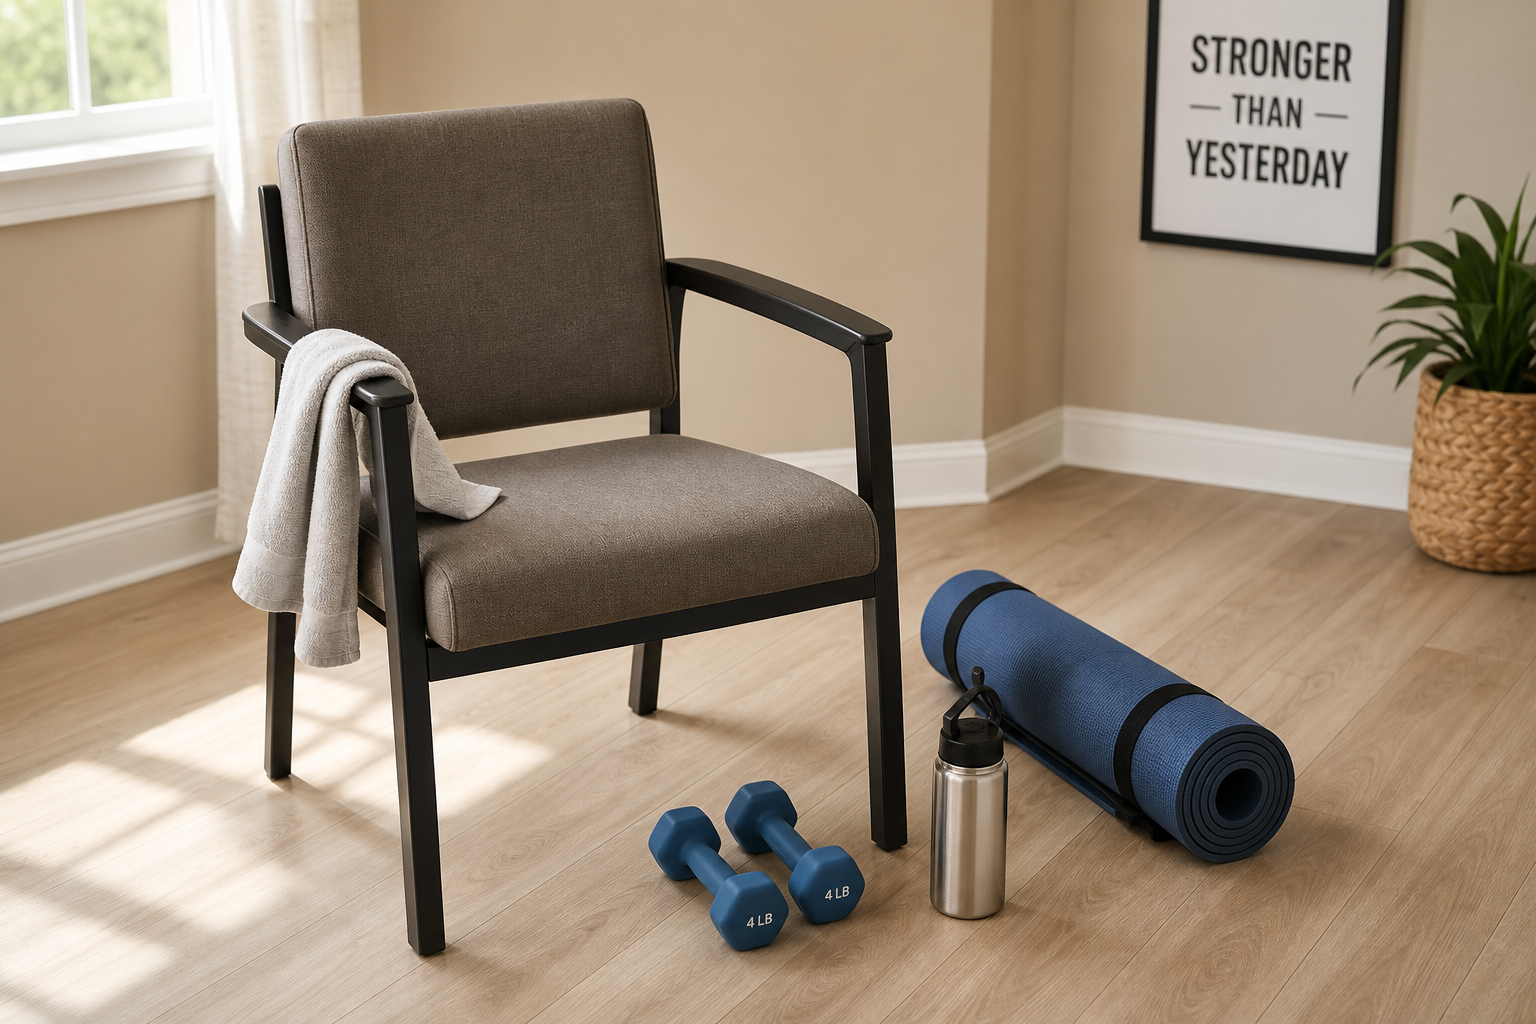
A sturdy chair without wheels (a kitchen or dining chair works perfectly) and a pair of light neoprene dumbbells (2-5 pounds to start). That’s it. Place the chair on a non-slip surface with enough space around it to extend your arms and legs freely.
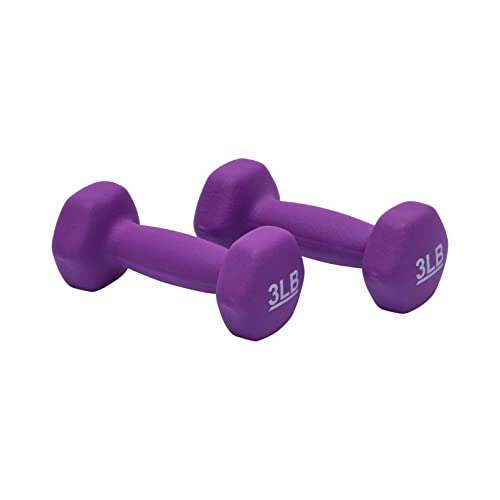
Neoprene Dumbbells (3-5 lb pairs)
Gentle on hands with a non-slip coating that’s easier to grip than metal weights, ideal for arthritic hands
The chair should have a flat, firm seat. Avoid anything with armrests that restrict your range of motion, and skip anything that wobbles. Test the chair by sitting and standing a few times before you start. If you need to grab it for stability during transitions, it needs to stay put.
Some people find a yoga mat under the chair adds extra grip on smooth floors. Others prefer the chair on carpet. Use whatever setup keeps the chair from sliding when you push off it during squats or heel raises.
The 30-Minute Seated Weight Loss Routine
Warm-Up (5 Minutes)
Seated marches: Lift your knees alternately, pumping your arms as if walking briskly. Continue for 2 minutes. Start slowly and gradually pick up the pace until you feel your heart rate rising.
The goal here is to wake up your hip flexors and get blood flowing to your legs. Your knees don’t need to come up high. Lift them as far as feels comfortable without straining your lower back. If you have hip replacements or limited hip mobility, smaller knee lifts work fine. You’re aiming for steady rhythm, not maximum height.
Arm circles: Extend your arms straight out to the sides. Make small circles forward for 30 seconds, then backward for 30 seconds. Increase to larger circles for another 30 seconds each direction.
Keep your shoulders relaxed. If you feel tension creeping into your neck, lower your arms slightly. The circles loosen up your shoulder joints and rotator cuffs, which prevents strain during the overhead and rowing movements later. If full arm extension bothers your shoulders, bend your elbows to 90 degrees and circle from there.
Seated torso twists: Place your hands on your shoulders. Rotate your upper body left and right, keeping your hips facing forward. Perform 20 total rotations (10 per side) at a moderate pace.
This movement warms up your spine and obliques. Rotate from your core, not your neck. Your head should follow your shoulders naturally. If you have spinal stenosis or disc issues, reduce the range of motion. A gentle twist is enough to prepare your torso for the bicycle crunches and other core work ahead.
Strength Circuit (18 Minutes)
Perform each exercise for 45 seconds, rest 15 seconds, then move to the next. Complete the entire circuit twice.
1. Chair squats: Sit near the front edge of the chair. Stand up using primarily your leg muscles, then lower yourself slowly back to seated. Control the descent; don’t drop. If you need help, press your hands lightly on your thighs, but the goal is to use your legs as much as possible.
This exercise builds the quads, glutes, and hamstrings, the muscle groups that burn the most calories and support daily activities like getting out of a car or off the toilet. The slow lower is where the real work happens. Aim for a 3-4 second descent. If you can’t control the lower at all, use your hands more on the way down, but still try to stand up without pushing off your thighs.
When chair squats become too easy, pause for 2 seconds at the bottom before standing back up. That pause eliminates momentum and forces your legs to work harder.
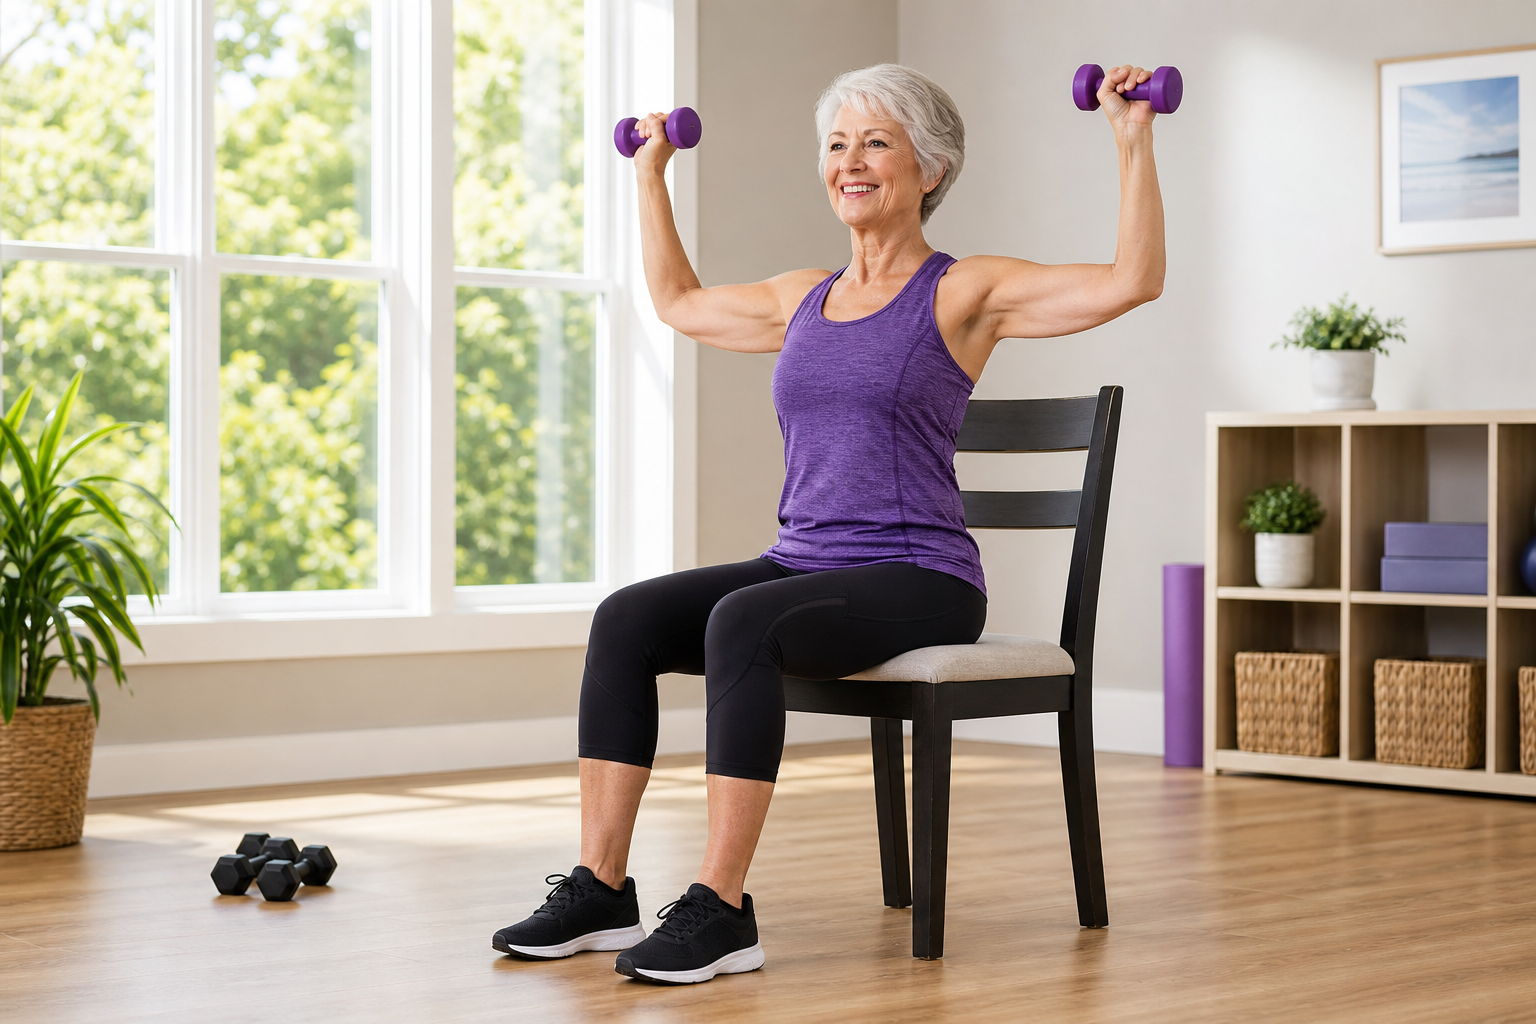
2. Seated overhead press: Hold a dumbbell in each hand at shoulder height, palms facing forward. Press both arms straight overhead, then lower with control. Keep your back against the chair for support.
Your shoulders, triceps, and upper back all activate during this press. Engage your core to prevent arching your lower back as you press up. If you have shoulder impingement or rotator cuff issues, reduce the range of motion. Press only as high as feels comfortable, even if that’s just a few inches above shoulder level.
Breathe out as you press up, breathe in as you lower. Don’t hold your breath, that can spike blood pressure unnecessarily.
3. Seated leg extensions: Extend one leg straight out in front of you, tightening your quadriceps at the top. Hold for 2 seconds, lower slowly, and repeat. Alternate legs each repetition. Add ankle weights when bodyweight becomes easy.
Point your toes up toward the ceiling when your leg is extended. That extra flex engages your shin muscles and improves ankle mobility. If you have knee pain from conditions like arthritis, don’t lock out your knee completely at the top. Stop just short of full extension.
Leg extensions isolate the quadriceps, which helps balance out the hamstring work from chair squats. Stronger quads mean better knee stability and reduced fall risk.
4. Seated rows: Hold a dumbbell in each hand with arms extended in front of you. Pull the weights toward your torso, squeezing your shoulder blades together at the end of the pull. Extend your arms back out slowly.
This exercise targets your mid-back and rear shoulders, muscles that counteract the forward hunch many people develop from sitting. Think about pulling your elbows straight back, not flaring them out to the sides. Your shoulder blades should pinch together like you’re trying to hold a pencil between them.
If your grip strength is limited, use lighter dumbbells or switch to resistance bands looped around a sturdy object in front of you. The band variation often feels easier on arthritic hands.
5. Seated bicycle crunches: Place your hands lightly behind your head. Lift one knee while rotating your opposite elbow toward it. Alternate sides in a controlled pedaling motion. Keep your core engaged throughout. Move at a pace that allows you to feel each contraction.
Your hands support your head, but don’t pull on your neck. The rotation comes from your torso, not from yanking your head forward. If this movement bothers your neck, skip the hands-behind-head position and reach one hand toward the opposite knee instead.
This exercise works your obliques and deep core muscles, which stabilize your spine and support balance. If lifting your knees is difficult, keep your feet on the floor and just rotate your torso side to side with a slight lean forward.
6. Seated front raises: Hold dumbbells at your sides with palms facing your thighs. Raise both arms straight in front of you to shoulder height, pause for 1 second, and lower slowly.
Front raises hit the front of your shoulders and require core stability to prevent rocking back in the chair. Keep a slight bend in your elbows throughout. Locking out straight arms can strain the elbow joints. If you feel this exercise in your neck instead of your shoulders, you’re using too much weight or shrugging. Drop down a pound or two and focus on keeping your shoulders down and back.
7. Seated heel raises: Press the balls of your feet into the floor and raise your heels as high as possible. Hold at the top for 2 seconds, then lower. For added resistance, place a dumbbell on each thigh.
Calf raises strengthen the muscles that help you walk, climb stairs, and maintain balance. They also promote circulation in your lower legs, which can reduce swelling if you sit for long periods. Squeeze at the top of each raise like you’re trying to lift your whole body off the chair.
If you have neuropathy or reduced sensation in your feet, go slowly and use a wall or table for light finger support. Balance challenges are more common when you can’t feel the floor well.
8. Seated arm punches: Make fists and punch forward alternately at a quick pace, fully extending each arm. Add light dumbbells for extra resistance. This is your cardio burst within the strength circuit.
Punches raise your heart rate and work your shoulders, chest, and core. The quick pace is what drives the calorie burn, but don’t sacrifice control. Each punch should be deliberate, not wild flailing. Rotate your torso slightly with each punch to engage your obliques.
If you have wrist or hand arthritis, open-palm pushes work just as well. Extend your arm forward with your palm facing out like you’re pushing a door.
9. Seated side leg lifts: Scoot to the right side of the chair. Lift your right leg out to the side, keeping it straight, then lower with control. Complete all reps on one side, then switch.
Side leg lifts target the hip abductors, the muscles on the outside of your hips that stabilize you when you walk and help prevent side-to-side wobbling. These muscles weaken with inactivity, which contributes to balance problems. Lift your leg only as high as you can while keeping your torso upright. Leaning to the opposite side defeats the purpose.
Point your toes forward, not up toward the ceiling. That keeps the tension in your hip muscles instead of shifting it to your hip flexors.
Cool-Down (7 Minutes)
Seated hamstring stretch: Extend one leg straight with your heel on the floor. Lean forward gently from the hips until you feel a stretch behind the thigh. Hold 30 seconds per leg.
Don’t round your back to reach farther. The stretch should come from hinging at the hips, not curling your spine forward. If you can’t feel a stretch with your leg straight, bend your knee slightly. A bent-knee hamstring stretch still provides benefit and reduces strain on your lower back.
Tight hamstrings contribute to lower back pain and limit your range of motion during squats and leg extensions. Regular stretching here pays off in improved flexibility over time.
Seated figure-4 hip stretch: Cross one ankle over the opposite knee. Gently press down on the crossed knee. Hold 30 seconds per side.
This stretch opens up your hips and glutes. If you can’t cross your ankle over your knee comfortably, rest your ankle on your opposite thigh closer to your hip. For a deeper stretch, lean your torso forward slightly while keeping your back straight.
Hip tightness is common after seated leg work. This stretch prevents that stiffness from settling in and makes it easier to move normally after your workout.
Seated chest opener: Clasp your hands behind your back and gently lift your arms while squeezing your shoulder blades together. Hold 20 seconds.
This counteracts the forward shoulder position from rows and presses. If you can’t clasp your hands behind your back, hold a towel or resistance band between your hands to create the same effect. The goal is to open up the front of your chest and stretch your pectoral muscles.
Seated neck stretches: Tilt your ear toward your shoulder, hold 15 seconds each side. Turn your head to look over each shoulder, hold 15 seconds.
Neck stretches release tension that can build up during upper body exercises, especially if you were concentrating hard and tensing your neck without realizing it. Move slowly and never force your neck into a position that causes pain. Gentle, sustained stretches are more effective than aggressive pulls.
Deep breathing: Inhale through your nose for 4 counts, hold for 4, exhale through your mouth for 6. Repeat 5 times.
Deep breathing lowers your heart rate gradually and signals to your body that the workout is over. The extended exhale activates your parasympathetic nervous system, which promotes recovery. This is also a good time to notice how you feel. Any sharp pains that weren’t there before? Dizziness or unusual shortness of breath? Note those and mention them to your doctor if they persist.
Calorie Burn Estimates
A 160-pound person performing this routine burns approximately 150-200 calories per 30-minute session. That’s comparable to a moderate-pace walk. A 200-pound person burns closer to 200-250 calories. Over a month of 4-5 sessions per week, that adds up to 2,400-4,000 extra calories