Balance boards are one of the most effective tools for improving stability and reducing fall risk, but the wrong board for a beginner can actually cause a fall. Many balance boards on the market are designed for young athletes and surfers, with aggressive tilt angles that no senior should step on without months of training. The right approach: start with the appropriate type and progress gradually as your balance improves.
Before starting any new balance training program, talk to your doctor, especially if you have a history of falls, vertigo, joint replacements, or any condition affecting your stability. What follows is a breakdown of the safest balance board options for seniors, ranked by difficulty, with specific product recommendations for each level.
Types of Balance Boards (Easiest to Hardest)
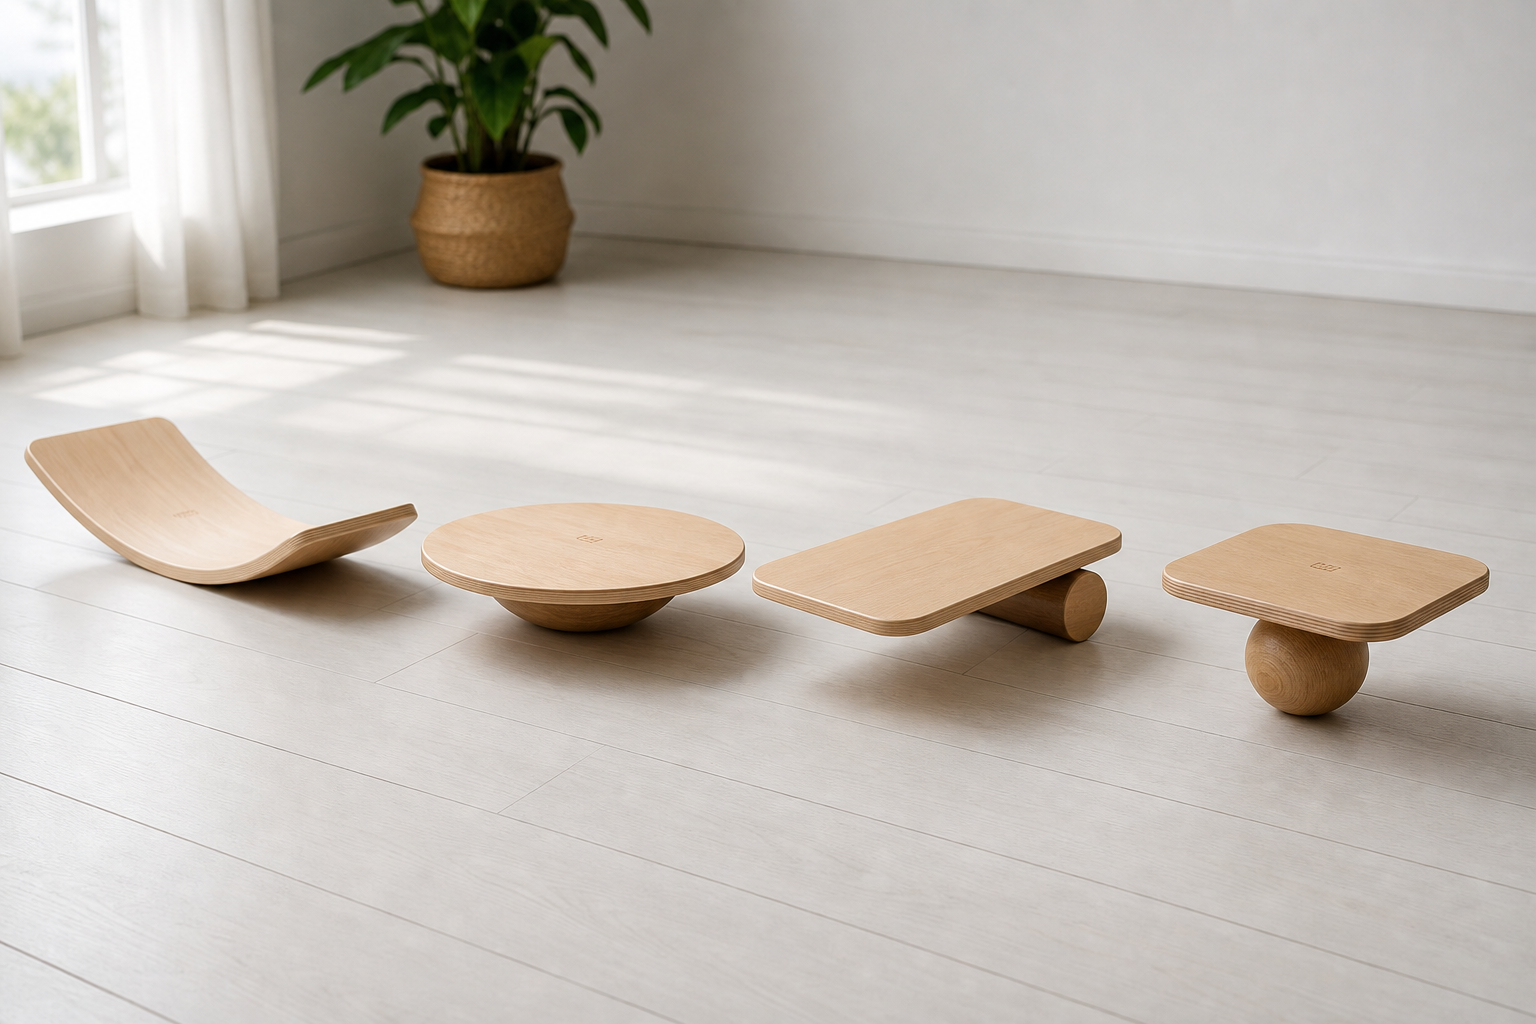
Foam Balance Pads (Beginner)
These aren’t technically boards but dense foam pads (usually 15×18 inches and 2.5 inches thick) that create an unstable surface under your feet. The instability is mild enough for complete beginners, and the foam compresses if you lose your balance, reducing the risk of ankle rolls. You can stand on them, do exercises on them, or use them seated for core work.

OPTP Foam Balance Pad
Physical therapy industry standard with dense, durable construction that maintains shape over months of use
The OPTP Balance Pad is the physical therapy industry standard. It’s denser than cheaper alternatives, which means it maintains its shape over months of use. The closed-cell foam won’t absorb sweat and is easy to clean. At 2.5 inches thick, it provides enough instability to challenge your balance system without the risk of rolling an ankle.
Foam pads are forgiving. If you step too far to one side, the foam compresses under that foot rather than pitching you sideways. This makes them ideal for seniors who are nervous about balance work or who have peripheral neuropathy that affects foot sensation.
Best for: Absolute beginners, seniors with neuropathy, anyone who has never done balance training before, or those recovering from a fall who need to rebuild confidence.
Common mistakes: Using a pad that’s too soft. Cheap foam pads from discount stores compress too much and bottom out under your weight, eliminating the balance challenge. The OPTP pad holds its structure.
Rocker Boards (Intermediate)
Rocker boards tilt in one direction only (front-to-back or side-to-side, depending on orientation). This controlled, single-plane movement makes them significantly safer than wobble boards. They teach you to shift weight and make corrective adjustments without the unpredictable multi-directional movement that wobble boards introduce.
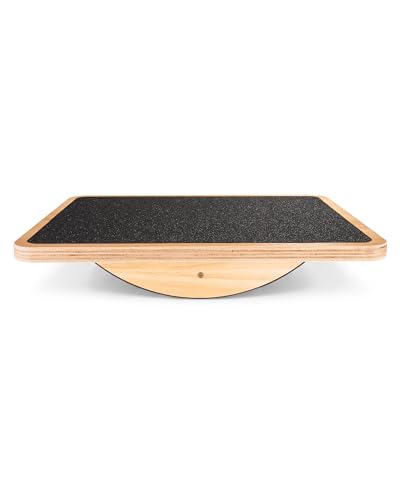
StrongTek Professional Rocker Board
Non-slip top surface with gentle 15-degree tilt angle perfect for ankle rehabilitation
The StrongTek Professional Rocker Board is a solid choice, with a non-slip top surface and a gentle 15-degree tilt angle that challenges you without being extreme. The wooden construction feels stable underfoot, and the rubber base protects your floors. The board measures 16 inches in diameter, providing enough room to adjust your foot position as you find your balance.
Rocker boards are excellent for ankle rehabilitation. After an ankle sprain or period of immobility, the single-plane rocking motion helps rebuild strength in the muscles and tendons around the ankle joint. You can control the difficulty by how far you rock: small tilts to start, larger movements as you improve. For targeted exercises that strengthen weak ankles and reduce sprain risk, rocker boards provide controlled resistance that builds stability over time.
One practical advantage: you can place a rocker board so it tilts side-to-side, then reposition it 90 degrees to practice front-to-back tilting. This allows you to work on different movement patterns without buying multiple boards.
Best for: Seniors who have mastered the foam pad and are ready for more challenge. Excellent for ankle rehabilitation and weight-shifting practice. Also useful for anyone with hip weakness who needs to practice shifting weight from one leg to the other.
When not to use: If you have significant ankle instability (frequent sprains or ligament damage) and haven’t worked with a physical therapist, the rocking motion may exceed what your ankle can safely control. Start with a foam pad instead.
Wobble Boards (Advanced)
Wobble boards tilt in all 360 degrees simultaneously, creating the most challenging balance environment. A half-sphere or dome on the bottom allows the board to rock in every direction. These are effective for advanced balance training but should only be used by seniors who have built a solid foundation with easier tools.
The Yes4All Wobble Balance Board offers good value with a textured non-slip surface and a moderate dome height. The 15.75-inch diameter provides a stable platform. Always use this near a counter or wall for hand support when starting out.
Wobble boards simulate real-world instability better than any other balance tool. Walking on uneven ground, stepping on a loose stone, standing on a moving bus: these situations require your body to react in multiple directions at once. A wobble board trains that skill.
The dome height matters. Lower domes (around 3 inches) provide a moderate challenge. Higher domes (5+ inches) are designed for athletes and create extreme tilt angles that most seniors don’t need. Stick with moderate dome heights.
Best for: Experienced balance trainers who want to simulate real-world instability (like standing on a boat or walking on uneven terrain). Useful for hikers who need to prepare for rocky trails or anyone who wants to maintain the reflexes needed for unexpected balance challenges.
When not to use: Skip wobble boards if you’re still working on single-leg stands on solid ground, if you’ve had a fall in the past six months, or if you have any condition affecting your inner ear or vestibular system. The multi-directional movement can be overwhelming and increases fall risk for those not ready for it.
Inflatable Balance Discs (Versatile)
Balance discs are air-filled cushions (about 13 inches in diameter) that can be placed on the floor to stand on or on a chair for seated core work. The amount of instability is adjustable: deflate slightly for less challenge, inflate fully for more. Their versatility makes them a great middle-ground option.
The URBNFit Balance Disc comes with a pump and has a textured surface on one side (for foot grip) and a smooth surface on the other (for seated use). Using it on a chair while watching TV provides passive core training.
The adjustability is the key benefit. Deflate the disc to about 50% capacity when you first start, creating mild instability. As your balance improves, pump it up to 75% or 100% capacity for more challenge. This means you can use the same disc for months as your skills progress. Similarly, exercise balls can be adjusted by inflation level to match your current fitness and stability needs.
Seated use is underrated. Place a partially inflated disc on your chair, and your core muscles engage automatically to keep you upright. This strengthens your trunk without requiring dedicated exercise time. Many physical therapists recommend this for seniors who sit for long periods.
Best for: Seniors who want a multi-use tool for both standing balance work and seated core training. Also good for those who travel, since the disc deflates flat for packing.
Practical tip: Buy two discs. Use one under each foot for standing exercises, creating a more challenging unstable surface than a single disc. Or place one disc on a chair and keep the other on the floor for standing work.
Safety Features to Look For
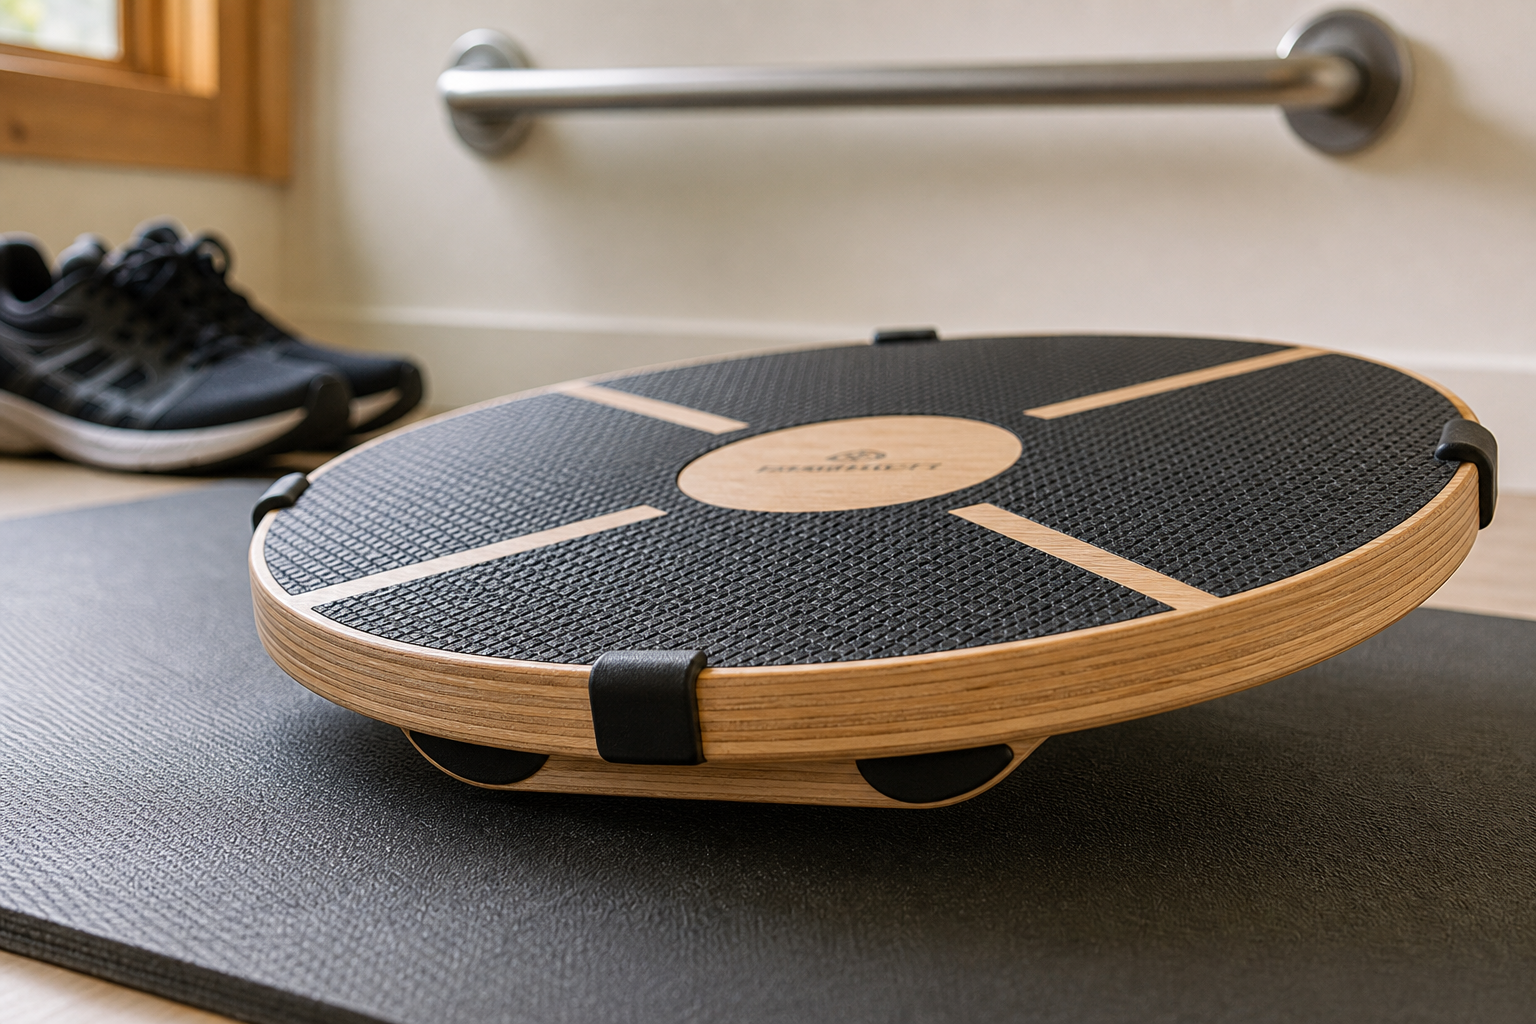
Non-slip top surface: Textured or rubberized tops prevent your feet from sliding, especially if you wear socks. Never use a balance board in socks on a smooth surface. The risk of your foot sliding off mid-exercise is too high. Wear shoes with rubber soles or go barefoot on textured surfaces.
Weight capacity: Verify the board supports at least 250 to 300 pounds. Budget boards may have lower limits, and the last thing you need is a board that cracks or deforms under your weight. Check the manufacturer’s specifications before buying.
Non-marking base: Rubber or foam bottoms protect hardwood and tile floors from scratches. Some cheaper boards have hard plastic bases that will damage floors over time. This matters if you plan to use the board indoors regularly.
Moderate tilt angle: For seniors, 10 to 15 degrees of maximum tilt is plenty. Boards designed for athletes may tilt 20+ degrees, which increases fall risk. The product description should list the tilt angle. If it doesn’t, that’s often a sign the board is too aggressive for senior use.
Stable diameter: Smaller boards (under 12 inches) don’t give you enough room to adjust your stance. Larger boards (15 to 18 inches) provide a more stable platform. Your feet should fit comfortably on the board with a bit of room to spare.
How to Progress Safely
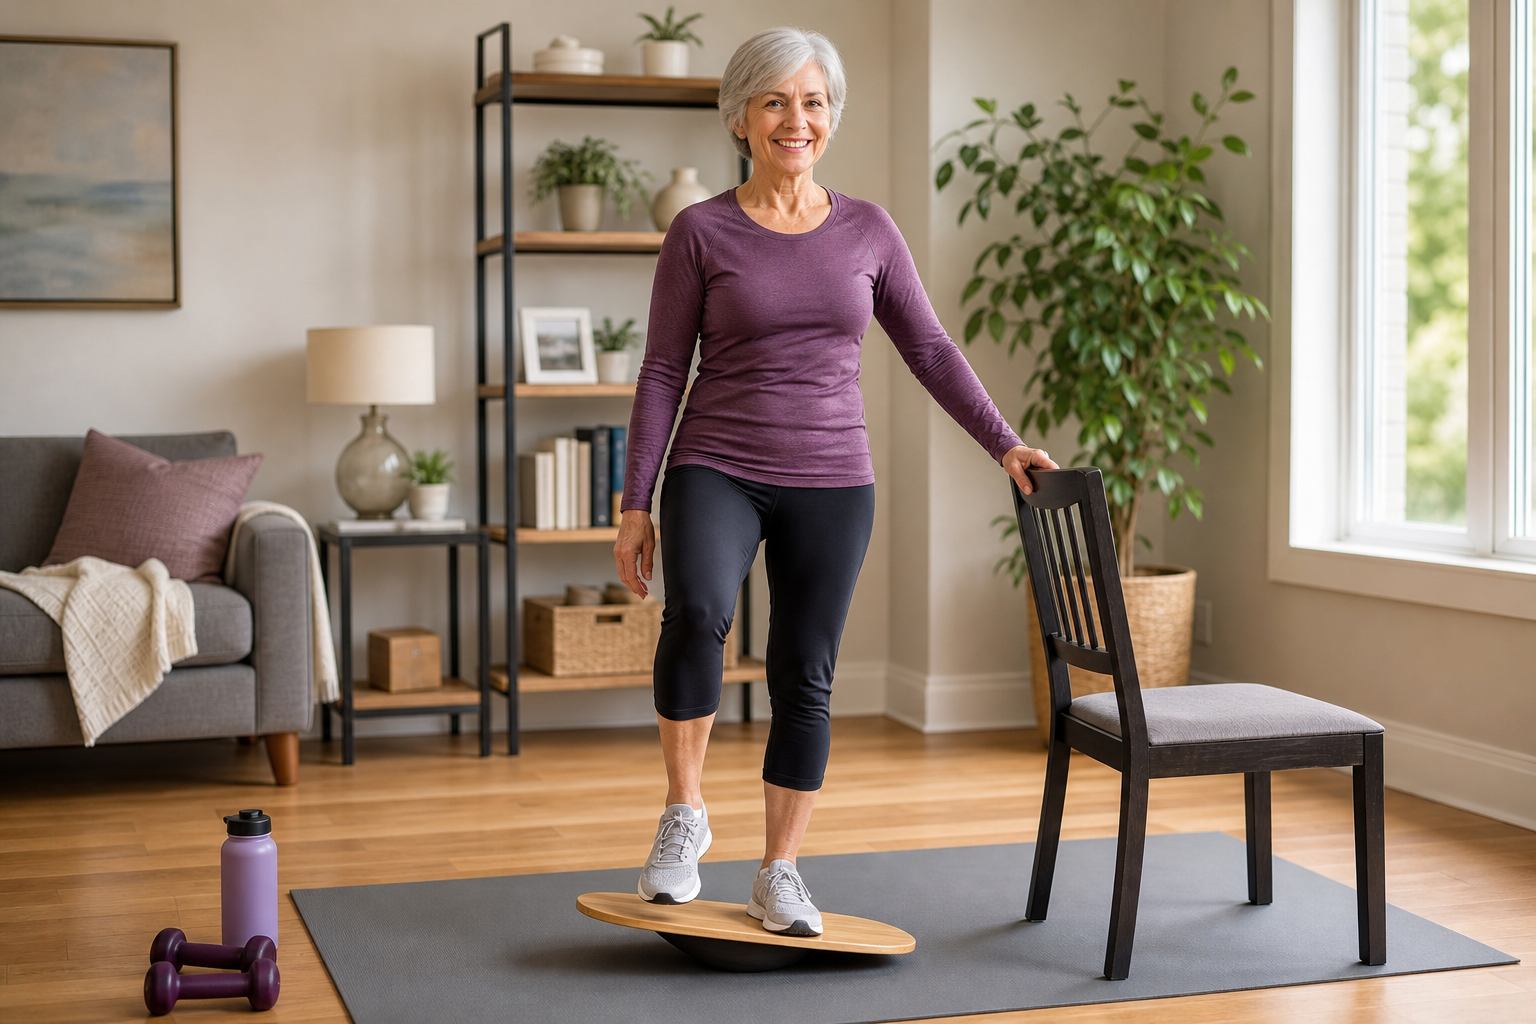
Weeks 1-4: Foam balance pad only. Stand on it near a counter for 30 to 60 seconds at a time. Start with both hands on the counter for full support. As you feel more stable, reduce to fingertip contact, then one hand, then no hands. Progress to single-leg stands, heel raises, and squats on the pad.
If single-leg stands feel impossible at first, that’s normal. Work on shifting your weight from one foot to the other while standing on the pad. The goal is to load one leg more heavily than the other, even if you can’t fully lift the other foot yet. You can also incorporate simple balance drills you can do at home alongside your balance board work to accelerate your progress.
Weeks 5-8: Introduce the rocker board. Always have a handhold nearby. Place the board so it rocks side-to-side first (this is easier than front-to-back for most people). Practice weight shifts for 2 to 3 minutes at a time.
Your goal is to keep the board level without letting the edges touch the floor. Once you can do this comfortably, rotate the board 90 degrees to practice front-to-back rocking. When you can control both directions with minimal hand support, try simple exercises on the board: heel raises, quarter squats, arm raises while balancing.
Weeks 9-12: If you’re comfortable on the rocker board with minimal hand support, try the wobble board with both hands on a counter. Gradually reduce hand contact as your confidence builds. Start with 30-second intervals, rest, repeat. For a comprehensive approach that combines balance board work with
