Falls are the leading cause of injury among adults over 65, and the statistics are sobering: one in four Americans in that age group falls every year. But here’s what most people don’t realize: balance isn’t something you either have or you don’t. It’s a skill, and like any skill, you can train it. A consistent standing balance routine can genuinely reduce your fall risk, improve your confidence moving through daily life, and help you stay independent longer.
This guide walks you through a progressive standing balance program built specifically for older adults. You’ll start with solid support and gradually work toward hands-free balance challenges as your stability improves. Before jumping into the exercises, though, let’s talk about setting yourself up safely.
Setting Up a Safe Balance Training Space
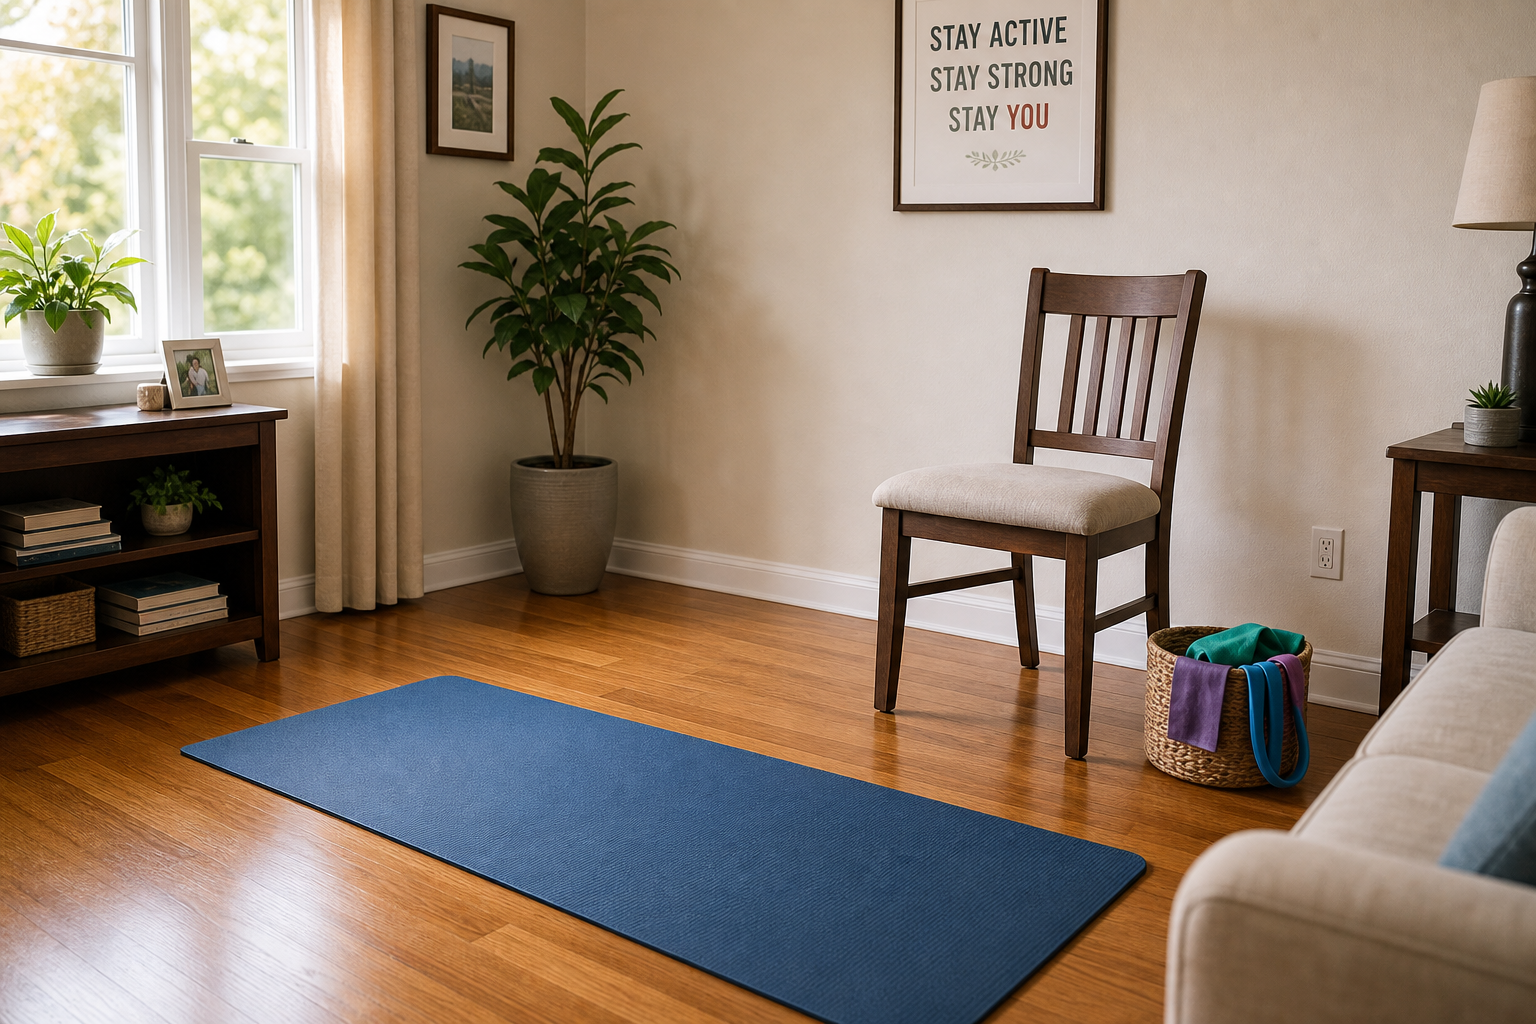
Your environment matters just as much as the exercises themselves. Before you do a single repetition, spend five minutes making your practice space safe.
Choose a corner of a room where you can touch two walls if needed, or set up near a sturdy countertop or heavy chair. Clear the floor of rugs, cords, or anything you could slip on. Make sure the lighting is bright enough to see clearly, since visual input plays a major role in balance.
Wear supportive, flat-soled shoes rather than socks alone. Socks on hardwood or tile are a fall waiting to happen. If you’re working with a balance condition like vertigo, the exercises in our guide to vertigo and balance exercises for seniors may be a better starting point before moving to a standing program.
Keep a non-slip exercise mat under your feet during practice. It won’t prevent all slips, but it gives you better traction and a defined space to work in.
Why Balance Gets Harder After 65
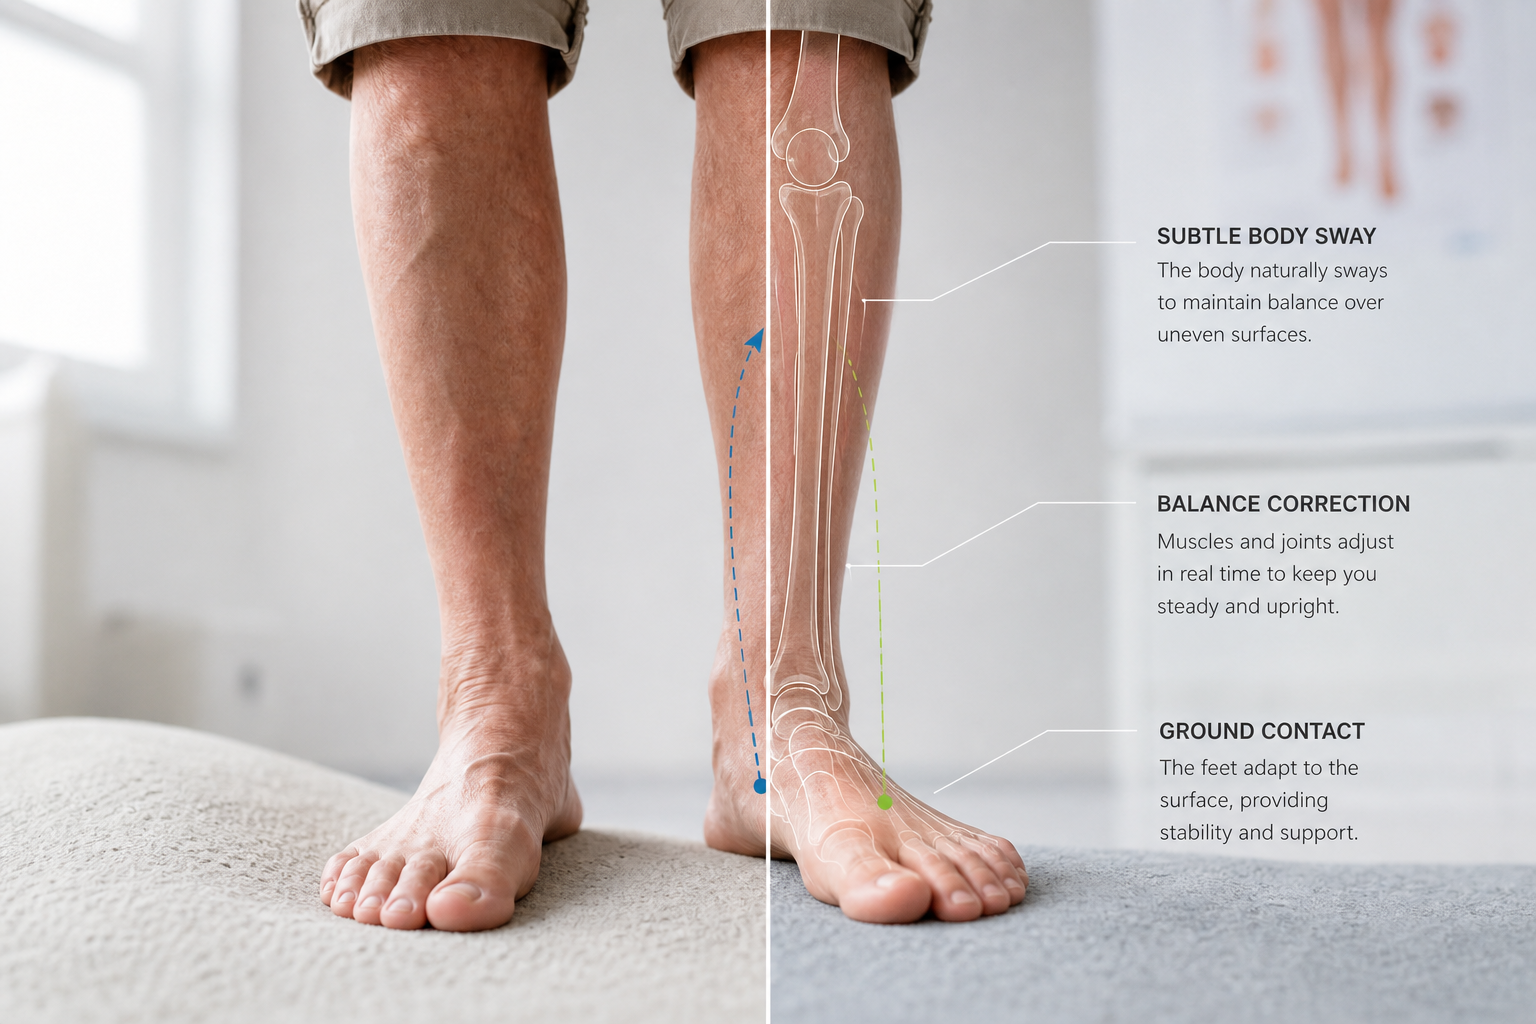
Balance relies on three systems working together: your vision, your vestibular system (inner ear), and your proprioception (your body’s sense of where it is in space). After 65, all three begin to decline. Reaction time slows down. Muscle strength, especially in the ankles and hips, decreases. And many common medications can affect coordination and blood pressure responses.
If you take blood pressure medication, it’s worth reviewing our article on blood pressure medication and exercise precautions before starting any new routine. Some medications cause orthostatic hypotension, a sudden drop in blood pressure when you stand up, which can feel like dizziness and increase fall risk significantly.
The encouraging part is that your nervous system and muscles respond to balance training at any age. Studies consistently show that older adults who train balance regularly can reduce fall risk by 20 to 30 percent.
Essential Equipment (Without Breaking the Bank)
You don’t need a gym full of gear to train balance effectively. A few affordable tools make a real difference as you progress.
A sturdy chair with no wheels is your most important piece of equipment for the beginner phase. A kitchen chair or dining chair works perfectly. As you advance, a balance board or wobble board adds an unstable surface challenge that builds proprioception quickly.
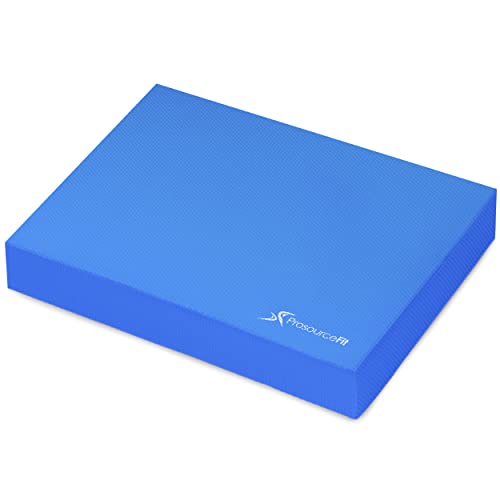
Balance Pad for Balance Training
A thick foam balance pad adds instability underfoot to challenge your ankle and hip stabilizers without requiring expensive equipment.
Resistance bands are also useful for the strengthening exercises that support balance work. Ankle and hip strength are foundational to good stability, and bands let you train those muscles in a standing position. Check out our budget-friendly home gym setup for seniors for more ideas on building an effective space without a lot of expense.

Resistance Bands for Seniors
Light to medium resistance bands are ideal for hip and ankle strengthening work that directly supports your balance training progress.
The Progressive Standing Balance Routine
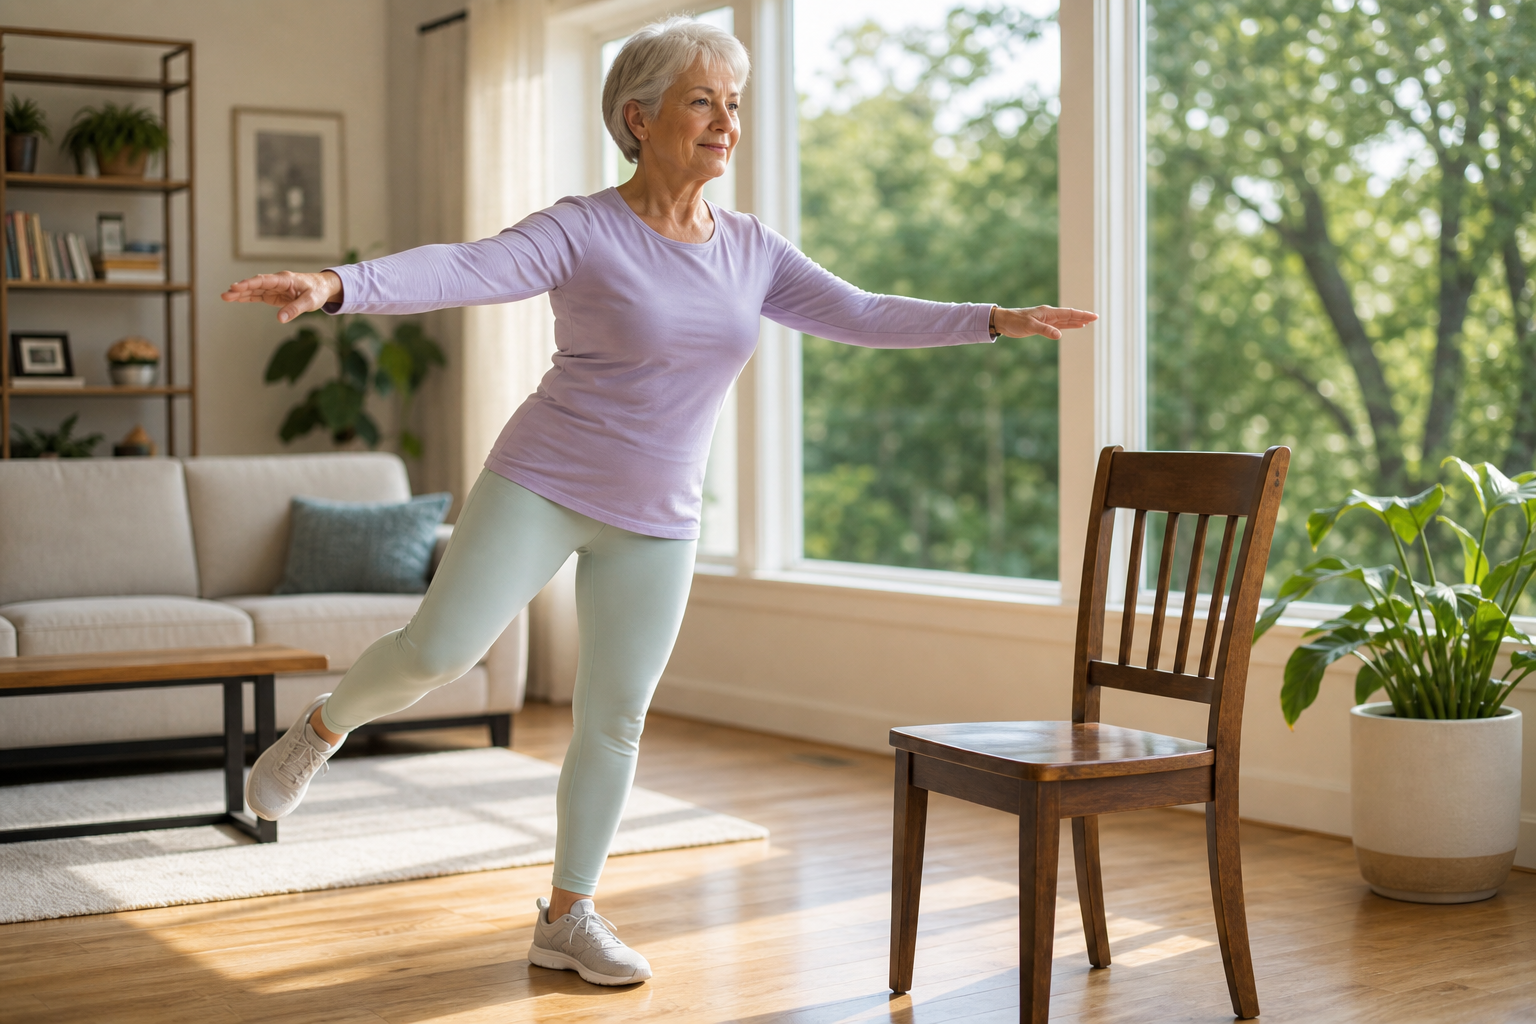
This routine is divided into three phases. Work at Phase 1 until you feel genuinely comfortable before moving to Phase 2. There’s no rush, and spending extra time in an earlier phase isn’t a setback.
Phase 1: Supported Balance (Weeks 1 to 3)
In this phase, you’ll keep one or both hands lightly touching a support at all times. The goal isn’t to hold on tightly, it’s to have support available if you wobble.
Two-Foot Stand: Stand with both feet hip-width apart, hands resting on the back of a chair. Hold for 30 seconds. Focus on feeling your weight distributed evenly across both feet. Repeat three times.
Heel-to-Toe Stand: Place one foot directly in front of the other so your heel touches the toes of your back foot. Hold the chair lightly. Hold for 20 seconds per side. This narrow stance is surprisingly challenging for most beginners.
Single-Leg Stand: Lift one foot just an inch or two off the floor while holding the chair. Hold for 10 seconds per leg. Work up to 30 seconds over the course of two to three weeks.
Phase 2: Fingertip Balance (Weeks 4 to 6)
Now you’re reducing support to just your fingertips touching the chair or wall, not gripping. If you feel yourself gripping, that’s feedback that you need more time in Phase 1 or the specific exercise is too challenging.
Single-Leg Stand with Fingertip Touch: Same as before, but now only one or two fingertips rest lightly on the support. Work toward 30 to 45 seconds per leg.
Clock Reach: Standing on your left foot, imagine a clock face on the floor around you. Reach your right foot out to 12 o’clock, then 3 o’clock, then 6 o’clock, returning to center each time. Use fingertip support. Switch sides. This builds dynamic balance, which is what actually prevents falls.
Heel Raises: Stand with fingertips on the chair. Rise slowly onto your toes, hold for two seconds, lower slowly. Do 10 to 15 repetitions. Strong calves are critical for balance recovery when you start to tip forward.
Phase 3: Hands-Free Balance (Weeks 7 and Beyond)
At this stage, the support is still nearby but your arms are free. Keep the chair or wall within reach. The transition to hands-free can feel uncomfortable at first, and that’s normal. Your nervous system is recalibrating.
Hands-Free Single-Leg Stand: Arms out to the sides for balance, or crossed over your chest for an added challenge. Work toward 60 seconds per leg. When 60 seconds feels manageable, try closing your eyes for five-second intervals, which significantly increases difficulty by removing visual input.
Tandem Walk: Walk in a straight line, placing each foot directly in front of the other, heel to toe. Keep arms slightly out for balance. Do 10 steps forward and 10 steps back.
Step-Up Balance: Using a low step or a dedicated exercise step platform, step up with your right foot and bring your left knee up to hip height. Hold for two seconds, then step down. Do 8 to 10 repetitions per leg. This mimics real-world movements like climbing stairs.
Building the Strength That Supports Your Balance
Balance training works best when it’s paired with targeted strength work. Your ankles, hips, and core are the three muscle groups that matter most for fall prevention.
For ankle strength, heel raises and toe raises (lifting your toes while standing flat) done daily make a noticeable difference within a few weeks. For hips, side-lying leg raises or standing hip abductions with a resistance band build the lateral hip strength you need to recover from an off-center stumble.
Core strength isn’t about crunches. It’s about stability. Exercises like standing marches (lifting alternate knees while keeping your torso still) and seated trunk rotations are more functional than any floor-based core exercise for balance purposes. If you want a more complete strength program to run alongside this balance work, our 12-week progressive resistance training program pairs very well with what you’re doing here.
Nutrition That Supports Your Balance Training
This part often gets overlooked, but what you eat directly affects how well your training pays off. Muscle and bone health are both nutrition-dependent, and both are essential to balance.
Vitamin D is critical. Low vitamin D levels are consistently linked to increased fall risk, both because of its role in muscle function and its effect on neuromuscular coordination. Our article on vitamin D for senior bone and muscle health covers the research in detail and explains what to look for in a supplement.
Adequate protein supports the muscle-building response to your balance and strength training. Many older adults don’t get enough. Aim for 1.2 to 1.6 grams of protein per kilogram of body weight daily, and consider eating a protein-rich snack within an hour of your workout. Our guide on post-workout recovery meals for seniors has practical meal ideas that make this easy.
Calcium intake also matters for the bone health that protects you if you do stumble. If dairy isn’t your thing, our article on calcium sources beyond dairy for seniors lists some excellent plant-based alternatives.

Vitamin D3 + K2 Supplement
Combining D3 with K2 helps direct calcium to your bones rather than arteries, making this combination particularly valuable for older adults focused on bone and muscle health.
Tracking Your Progress and Staying Motivated
Progress in balance training can feel slow because the improvements are subtle. Keeping a simple log helps. Write down how long you held each exercise, whether you needed support, and how confident you felt. Over six to eight weeks, the improvement is usually striking when you look back at where you started.
A free balance self-test called the Four Stage Balance Test (used by the CDC’s STEADI fall prevention program) gives you a quick objective measure. It’s just a series of timed stance progressions, and you can repeat it monthly to track improvement. Ask your doctor about it at your next visit.
Fitness tracking apps can also help you stay consistent. A few good options designed with older adults in mind are covered in our fitness tracking apps for seniors guide.
Frequently Asked Questions
How long before I see real improvement in my balance?
Most people notice meaningful improvement within four to six weeks of consistent practice. The key word is consistent. Doing the routine two to three times per week produces much better results than sporadic daily sessions followed by a week off. Your nervous system adapts through repetition, so frequency matters more than duration.
Is it safe to do balance exercises if I have neuropathy in my feet?
It depends on the severity, but many people with mild to moderate neuropathy can do adapted balance training safely. The main consideration is that reduced foot sensation makes the exercises harder and slightly riskier. Always keep your support nearby, work on a non-slip mat, and consider reading our guide to neuropathy-safe exercises for seniors before starting.
Can I do these exercises if I’ve had a hip or knee replacement?
In most cases, yes, once you’ve completed your post-surgical rehabilitation. Balance training is actually a recommended part of long-term recovery after joint replacement. That said, check with your physical therapist or surgeon before starting. Our post-hip replacement exercise guide has specific guidance that may apply to your situation.
Should I exercise balance every day, or do I need rest days?
Balance training is lower intensity than strength training, so you can practice more frequently without the same recovery demands. Three to five days per week is a good target. You won’t need dedicated rest days from balance work alone, but if you’re also doing strength training, listen to how your body feels and take breaks as needed.
A Few Final Thoughts
Reducing your fall risk isn’t about being careful or slowing down. It’s about building the physical capacity to move through the world with confidence. The progression from holding a chair to standing hands-free on one leg might seem modest, but it represents a genuine change in how your nervous system and muscles communicate.
Start where you are, not where you think you should be. Phase 1 is not a beginner’s phase to be rushed through. It’s where your foundation gets built. Take your time, stay consistent, and the hands-free balance you’re working toward will come.
This article contains affiliate links. We may earn a small commission at no extra cost to you.
