Walking is the most recommended exercise for adults over 70, but the advice to “just go for a walk” ignores the real challenges: uneven sidewalks that increase fall risk, weather that’s too hot, too cold, or too icy, neighborhoods without sidewalks, the need to use the bathroom during a longer walk, and the anxiety of being far from home if something goes wrong. A home walking program eliminates these barriers by creating a safe, controlled walking environment inside your own house.
This approach delivers real cardiovascular benefits without requiring you to navigate traffic, dodge ice patches, or worry about finding a restroom. Research shows that walking 150 minutes per week at moderate intensity reduces the risk of heart disease, stroke, and type 2 diabetes by 30-40%, regardless of whether those minutes happen on a sidewalk or through your living room. The surface under your feet matters far less than the consistency of the habit.
Before starting any new exercise program, talk with your doctor, especially if you have heart conditions, lung disease, osteoporosis, balance issues, or any medical concern that affects your ability to exercise safely. Your doctor can help you determine an appropriate starting point and identify any modifications you might need.
Setting Up an Indoor Walking Route
Map Your Home Loop
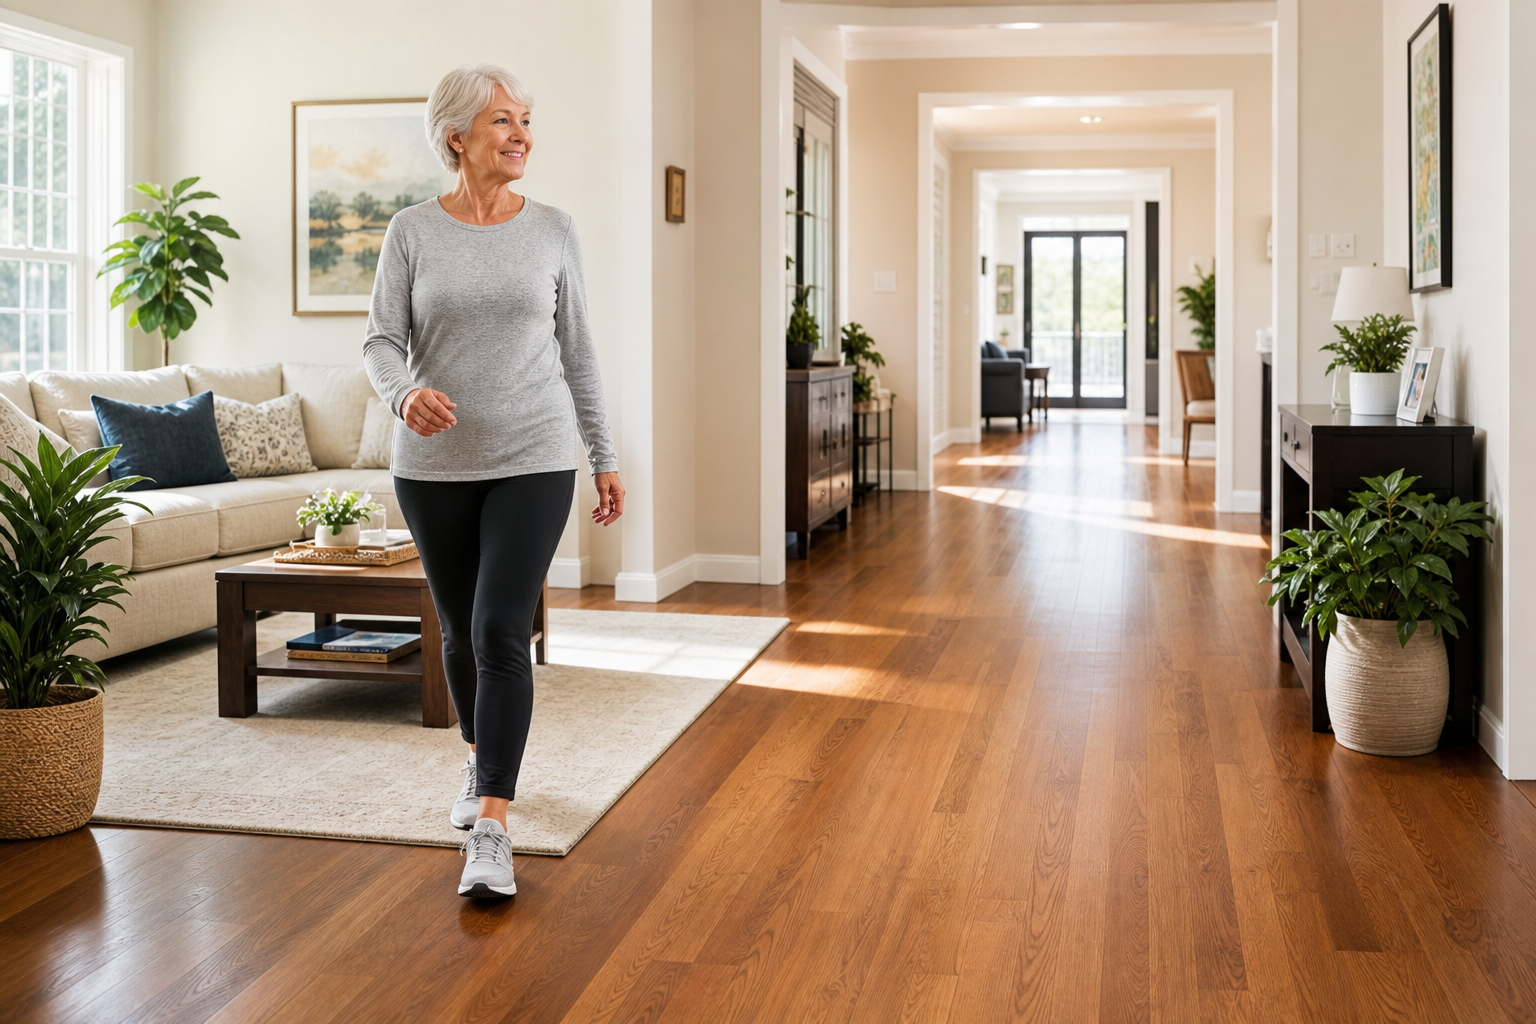
Walk through your house and identify the longest loop that connects rooms without dead ends. A typical loop through a living room, dining room, kitchen, and hallway might be 60-100 feet. Walk this loop continuously for your walking sessions. Ten laps of a 100-foot loop covers 1,000 feet (nearly a fifth of a mile). Twenty minutes of indoor walking at a moderate pace covers roughly half a mile, which provides genuine cardiovascular benefit.
Single-story homes typically offer easier routes. If you live in a two-story home, stick to one floor for your walking program unless your doctor has cleared you for stair climbing as part of your routine. Stairs add intensity quickly and change the exercise profile significantly.
Measure your loop accurately. Use a measuring tape or pace it off (most adults cover about 2.5 feet per step). Knowing the exact distance helps you track progress week to week. Write down the measurement and keep it visible so you can calculate total distance after each session.
Clear the Path
Remove every obstacle from your walking route: loose rugs (the number one tripping hazard in homes), electrical cords crossing the path, small furniture that narrows the walkway, pet toys, shoes, and anything that could catch your foot. The path should be at least 36 inches wide throughout, well-lit, and free of items on the floor.
Secure area rugs with non-slip rug pads underneath. Better yet, remove throw rugs from your walking path entirely. The few seconds saved by having a rug in place isn’t worth the fall risk. Tack down or reroute electrical cords along baseboards using cord clips. If a cord must cross your path, use a flat cord cover that lies flush with the floor.
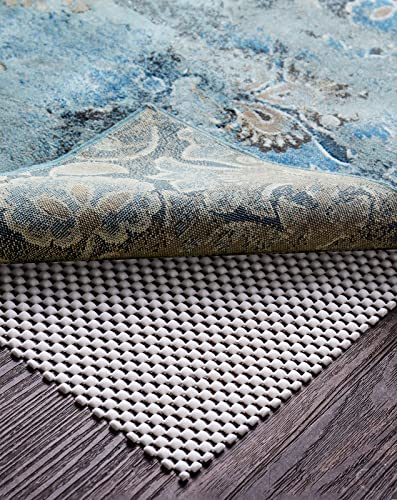
Non-Slip Rug Pads
Essential for preventing trips and falls from loose rugs throughout your walking path
Check your route at floor level. Get down on your hands and knees (if able) or ask someone else to do it, and look along the floor surface. You’ll spot things you miss from standing height: the edge of a rug that curls up, a nail head sticking up from a floorboard, a threshold strip between rooms that’s higher than you realized.
Address slippery surfaces. If your route crosses tile or hardwood floors, consider your footwear carefully. Rubber-soled walking shoes with good tread provide better grip than socks or smooth-soled slippers. Some seniors prefer walking barefoot for better sensory feedback from the floor. Try different options and use what feels most stable.
Add Handholds
If any section of your route passes through a narrow area or near a turn, ensure that a wall, counter, or sturdy furniture is within arm’s reach. Install a grab bar in hallways where support is needed. Knowing you can catch yourself at any point along the route reduces anxiety and allows you to walk with confidence.
Test furniture stability before relying on it for support. A lightweight side table or a bookshelf that isn’t anchored to the wall won’t help if you stumble. If a piece of furniture wobbles when you push on it, it’s not suitable as a handhold.
Position sturdy chairs at strategic points along your route. A dining chair or heavy armchair can serve as a rest stop if you need to catch your breath or sit for a moment. Knowing these checkpoints exist gives you permission to walk longer because you’re never far from a seat.
Ensure Good Lighting
Every section of your walking route needs adequate lighting. Add night lights in hallways, a floor lamp in dim corners, and overhead lighting in rooms. Walking in dim conditions increases trip risk because you can’t see the floor surface clearly.
Install motion-sensor night lights in hallways and bathrooms. They illuminate your path automatically without requiring you to fumble for switches. This matters particularly for early morning walks before the sun comes up or late evening sessions.
Natural light from windows counts, but don’t rely on it exclusively. Cloud cover, time of day, and seasonal changes make natural light inconsistent. Have artificial lighting available for every section of your route.
Consider Temperature and Ventilation
Your home environment should support comfortable walking. Open windows for fresh air if weather permits. Use a fan to create airflow if your home tends toward warm. In winter, dress in layers you can shed as your body warms up during the walk.
Cold homes present a challenge too. Muscles work best when warm. If your house is cold, do a brief warm-up before starting your walk: march in place for a minute, do gentle arm circles, roll your shoulders and ankles. This prepares your body for movement and reduces injury risk.
For more detailed guidance on adjusting your routine based on temperature, check out our guides on hot weather workout safety and cold weather exercise tips.
A Progressive Home Walking Program
Weeks 1-2: Establishing the Routine
Walk your home loop for 10 minutes at an easy pace, 4-5 days per week. This establishes the daily habit and familiarizes your body with the routine. Play music, a podcast, or an audiobook to make the time pass. Note how many laps you complete in 10 minutes (this is your baseline).
Easy pace means you can hold a conversation without getting winded. If you were walking with someone, you’d be able to talk in full sentences. You’re not strolling slowly, but you’re not pushing hard either. Find the middle ground where movement feels sustainable.
Pick consistent times for your walks. Morning walkers often find it easier to maintain the habit because the walk happens before other demands compete for attention. Others prefer afternoon or early evening walks as a break from sedentary time. The best time is whichever time you’ll actually do consistently.
Track your walks on a calendar. Put an X on each day you complete your session. This simple visual feedback reinforces the habit and gives you a sense of accomplishment. After two weeks of consistent walking, the routine starts feeling automatic rather than requiring willpower.
Weeks 3-4: Building Duration
Increase to 15 minutes per session. Maintain an easy-to-moderate pace (you should be able to talk in complete sentences). Add arm swings to involve your upper body: swing arms naturally with each step, or hold light hand weights (1-2 pounds) for added resistance.
Natural arm swing happens automatically when you walk with good posture. Let your arms swing from the shoulder joint, not just the elbow. The opposite arm swings forward as each leg steps forward. This cross-body pattern helps with balance and engages core muscles.
If you add hand weights, start with one pound in each hand. Soup cans work if you don’t have dumbbells. Hold them loosely rather than gripping tightly. The weight should feel present but not strenuous. If your shoulders fatigue or you can’t maintain good form, the weight is too heavy.
Some people find that pumping their arms more vigorously (bending elbows to 90 degrees and driving arms forward and back with purpose) increases intensity enough without adding weight. Experiment with both approaches and use what feels right for your body.
Weeks 5-6: Adding Intervals
Walk at your normal pace for 3 laps, then walk at a brisk pace for 1 lap. Repeat throughout a 20-minute session. The brisk intervals elevate your heart rate and improve cardiovascular fitness faster than steady-pace walking alone.
Brisk pace means you’re breathing harder but can still talk (though you might prefer shorter sentences). You’re working, but you’re not gasping. If you use a fitness tracker or heart rate monitor, brisk pace typically puts you at 60-70% of your maximum heart rate.
Intervals feel harder than steady walking, which is the point. They train your heart and lungs to handle varying demands. This translates to real life, where you sometimes need to walk faster to cross a street before the light changes or to keep up with a grandchild.
If one-lap intervals feel too long, use time instead: walk briskly for 30 seconds, then return to normal pace for 90 seconds. Adjust the ratio based on your current fitness. The pattern matters more than the specific numbers.
Weeks 7-8: Building to 25-30 Minutes
Walk 25-30 minutes with intervals. Count your total laps and compare to your Week 1 baseline. Most people cover 30-50% more distance in the same time, reflecting improved fitness and walking efficiency.
This is real progress. You’ve doubled your walking duration and added intensity variations. Your legs are stronger, your cardiovascular system is more efficient, and your balance has likely improved from the repetitive practice.
At this point, assess how you feel. If 30 minutes feels comfortable and you want to continue progressing, add more brisk intervals or extend the total time to 35-40 minutes. If 30 minutes feels like the right maintenance dose, stay there. There’s no rule that says you must always increase. A consistent 30-minute daily walk maintains cardiovascular health effectively.
What if the Program Feels Too Hard?
Slow the progression. Stay at each stage for three or four weeks instead of two. Start with 5-minute walks instead of 10. Cut back on brisk intervals or eliminate them until steady-pace walking feels comfortable.
Listen to unusual joint pain, dizziness, chest discomfort, or severe shortness of breath. These aren’t normal responses to walking and require medical attention. Muscle fatigue, mild breathlessness, and feeling tired afterward are normal. Sharp pain, feeling faint, or chest pressure are not.
If you’re recovering from knee or hip surgery, consult our guides on post-knee replacement exercises and post-hip replacement exercise before beginning any walking program.
Adding Variety to Indoor Walking
- Direction changes: Walk your loop forward for 5 minutes, then reverse direction. Backward walking (short distances, with a wall nearby) challenges different muscles and balance systems.
- Side stepping: Side step through a hallway instead of forward walking. This targets the hip abductors and adds a balance challenge.
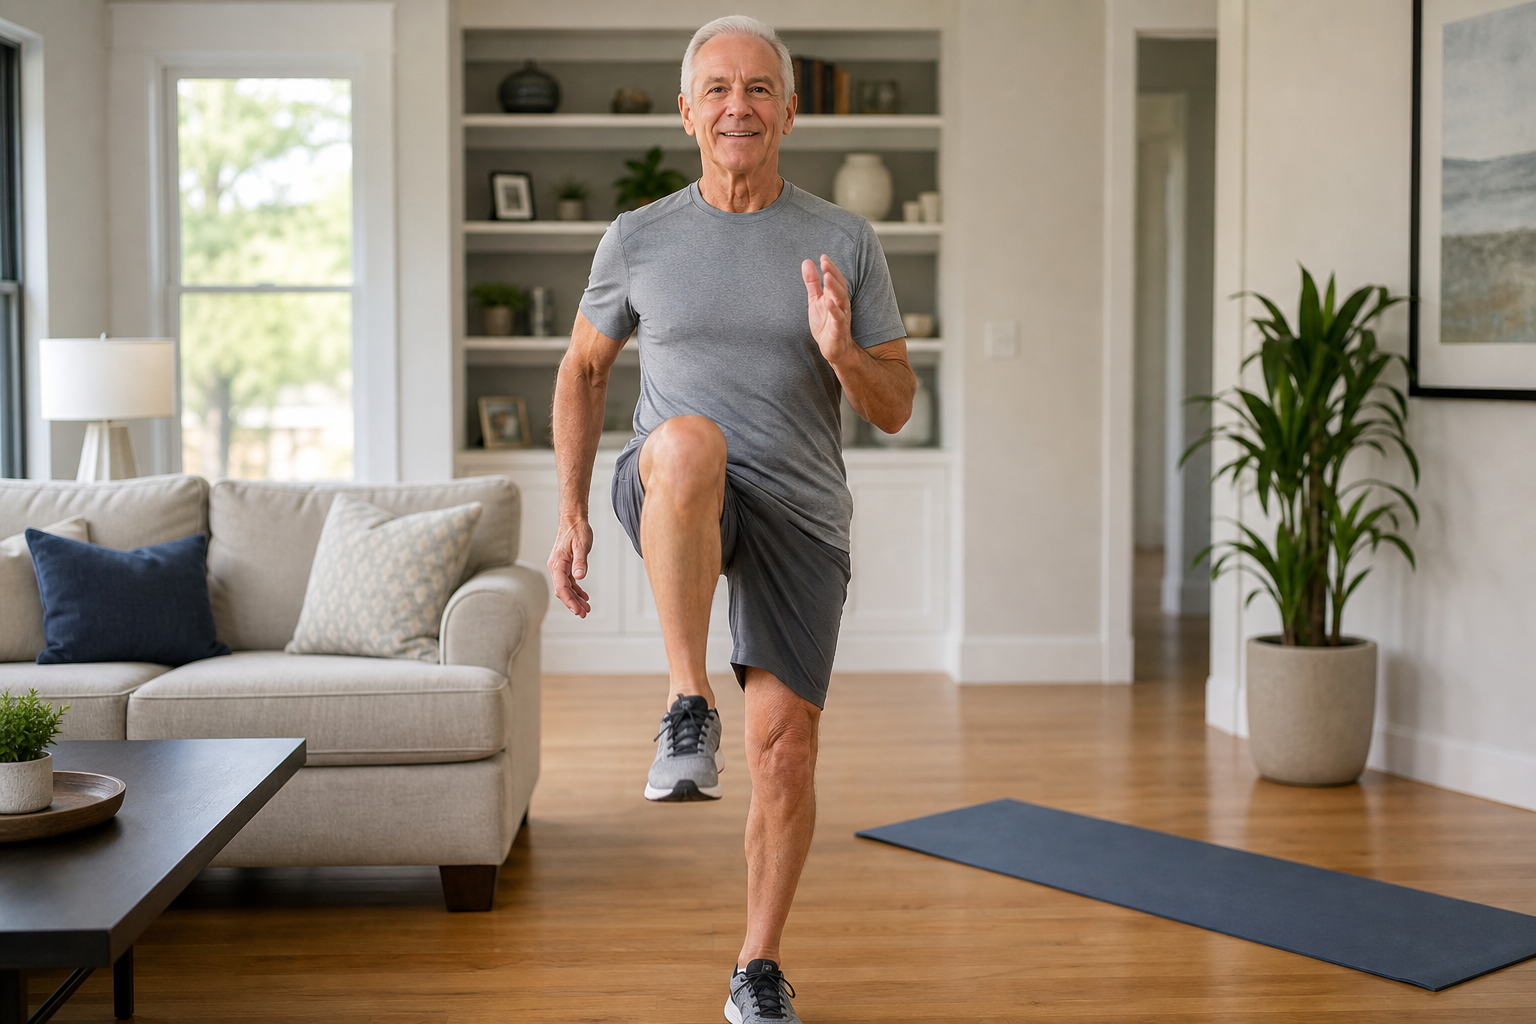
- High-knee marching: During one lap per set, lift your knees as high as comfortable while marching. Adds a cardiovascular and hip flexor component.
- Step-over obstacles: Place a pool noodle or rolled towel across your path. Step over it each lap. This trains the obstacle-clearing ability that prevents trips during real-world walking.
Backward walking demands more attention and balance than forward walking. Your brain has to work harder because you can’t see where you’re going. Start with just 20-30 steps backward while staying close to a wall you can touch for support. Don’t attempt this if you have significant balance problems.
Side stepping (also called lateral walking) works muscles that forward walking largely ignores. The muscles on the outside of your hips stabilize your pelvis when you walk, but they work harder when you move sideways. Face forward and step sideways, bringing one foot to meet the other, then stepping again. Go one direction down a hallway, then return facing the same direction (you’ll lead with the other leg coming back).
Add one variation per walk rather than trying them all at once. Do your regular laps for most of the session, then substitute one variation for a lap or two. This keeps the workout interesting without making it complicated.
Walking Games and Challenges
Create a miles-to-destination goal. Calculate the distance between your home and a meaningful location (a city you’ve always wanted to visit, your childhood home, a grandchild’s house), then track your cumulative walking distance toward that goal. Mark progress on a map.
Use playing cards as a walking game. Shuffle a deck and place it near your walking route. After each lap, draw a card. Number cards mean walk that many extra laps at the end of your session. Face cards could mean 30 seconds of high knees or side steps. Aces mean you’re done for the day (instant reward). This randomizes your workout and adds an element of surprise.
Walk during TV commercials. If you watch shows with commercial breaks, stand and walk loops during each break. A 30-minute show typically has 7-8 minutes of commercials, which is a meaningful walking session.
When to Move Outdoors
Home walking builds the endurance, strength, and confidence to eventually walk outside (if desired). When you can comfortably walk 25-30 minutes at home, you have the cardiovascular fitness for a 15-20 minute outdoor walk. Start outdoor walks on flat, familiar surfaces, ideally with a companion, and gradually extend the distance and complexity of the route as your confidence grows.
Outdoor walking introduces variables home walking doesn’t: uneven pavement, curbs, slope changes, other people, dogs, bicycles, traffic. These aren’t necessarily problems, but they require more attention and adjustment than walking through your house. Don’t assume outdoor and indoor walking are interchangeable without a transition period.
Scout outdoor routes before walking them. Drive or have someone else walk the route first. Note the sidewalk condition, places where you’ll need to step up or down, busy intersections, and potential rest spots (benches, storefronts where you could sit if needed). Knowing the terrain in advance reduces anxiety.
Carry a phone when walking outdoors. Tell someone your route and expected return time. Bring water if the walk exceeds 20 minutes or if it’s warm. Wear bright or reflective clothing if you walk near traffic.
Home walking and outdoor walking aren’t mutually exclusive. Many seniors walk inside during bad weather and outside during pleasant weather, maintaining their routine regardless of conditions. For more guidance on outdoor walking, visit our walking program for complete beginners.
Equipment That Can Enhance Home Walking
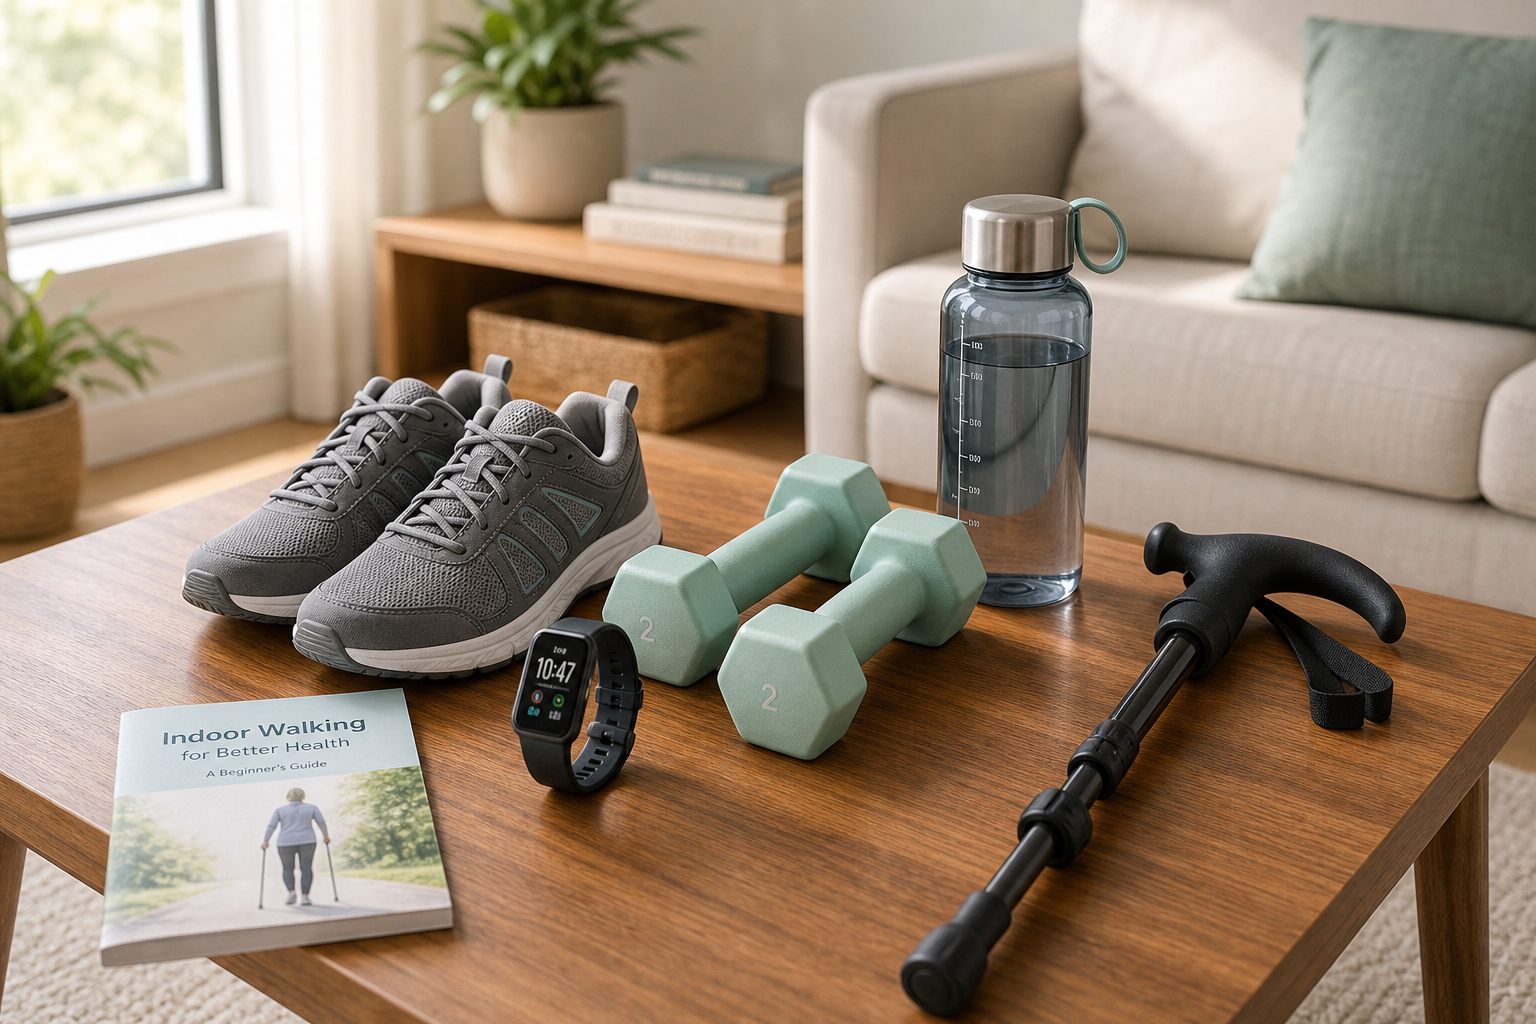
A fitness tracker or pedometer adds concrete feedback. Seeing step counts, distance, and active minutes provides motivation and helps you track progress objectively. Basic trackers are budget-friendly and clip to your waistband. Smartwatches offer more features but aren’t necessary. Check out our guide to fitness tracking apps for seniors for more options.