A doorway pull-up bar isn’t just for pull-ups. In fact, most seniors will never do a traditional pull-up, and that’s perfectly fine. What makes these bars valuable for adults over 60 is their versatility as an anchor point for resistance band exercises, a support rail for standing stretches, and a foundation for modified hanging exercises that decompress the spine and build grip strength.
The bar becomes infrastructure. It’s a fixed point your bands can attach to, a stable overhead handle for balance work, and a tool that turns a standard doorway into a mini home gym. No floor space required, no expensive monthly gym membership, and installation takes less time than making coffee.
Why Seniors Should Consider a Doorway Bar
Mounting a bar in a doorway gives you a fixed overhead anchor that enables exercises you can’t do with bands alone. Band pull-downs, assisted hangs (feet still on the ground), shoulder stretches, and overhead grip holds all use the bar as a stable attachment point. It takes up zero floor space and installs in seconds without tools or screws on most models.
The overhead anchor point is what matters. Most resistance band exercises happen at waist or chest level because there’s nowhere to attach the band higher. A doorway bar fixes that. You can now do pulling motions from above your head, which engages your back muscles completely differently than pulling from chest height. You get lat work, rear deltoid work, and rotator cuff strengthening that bands alone can’t provide.
Beyond bands, the bar serves as a safe handhold for dynamic stretches where you need to pull against resistance. Doorway chest stretches, shoulder dislocations with a towel or dowel, and gentle spinal traction all benefit from a fixed point that won’t move when you lean your weight into it.
Grip strength declines faster than most other physical capacities as we age, and it correlates strongly with overall health and longevity. Holding onto a bar, even with your feet planted firmly on the floor, forces your hands and forearms to work in ways that daily life no longer demands. That work pays dividends every time you carry bags, open a stubborn lid, or catch yourself from a stumble.
Types of Doorway Bars
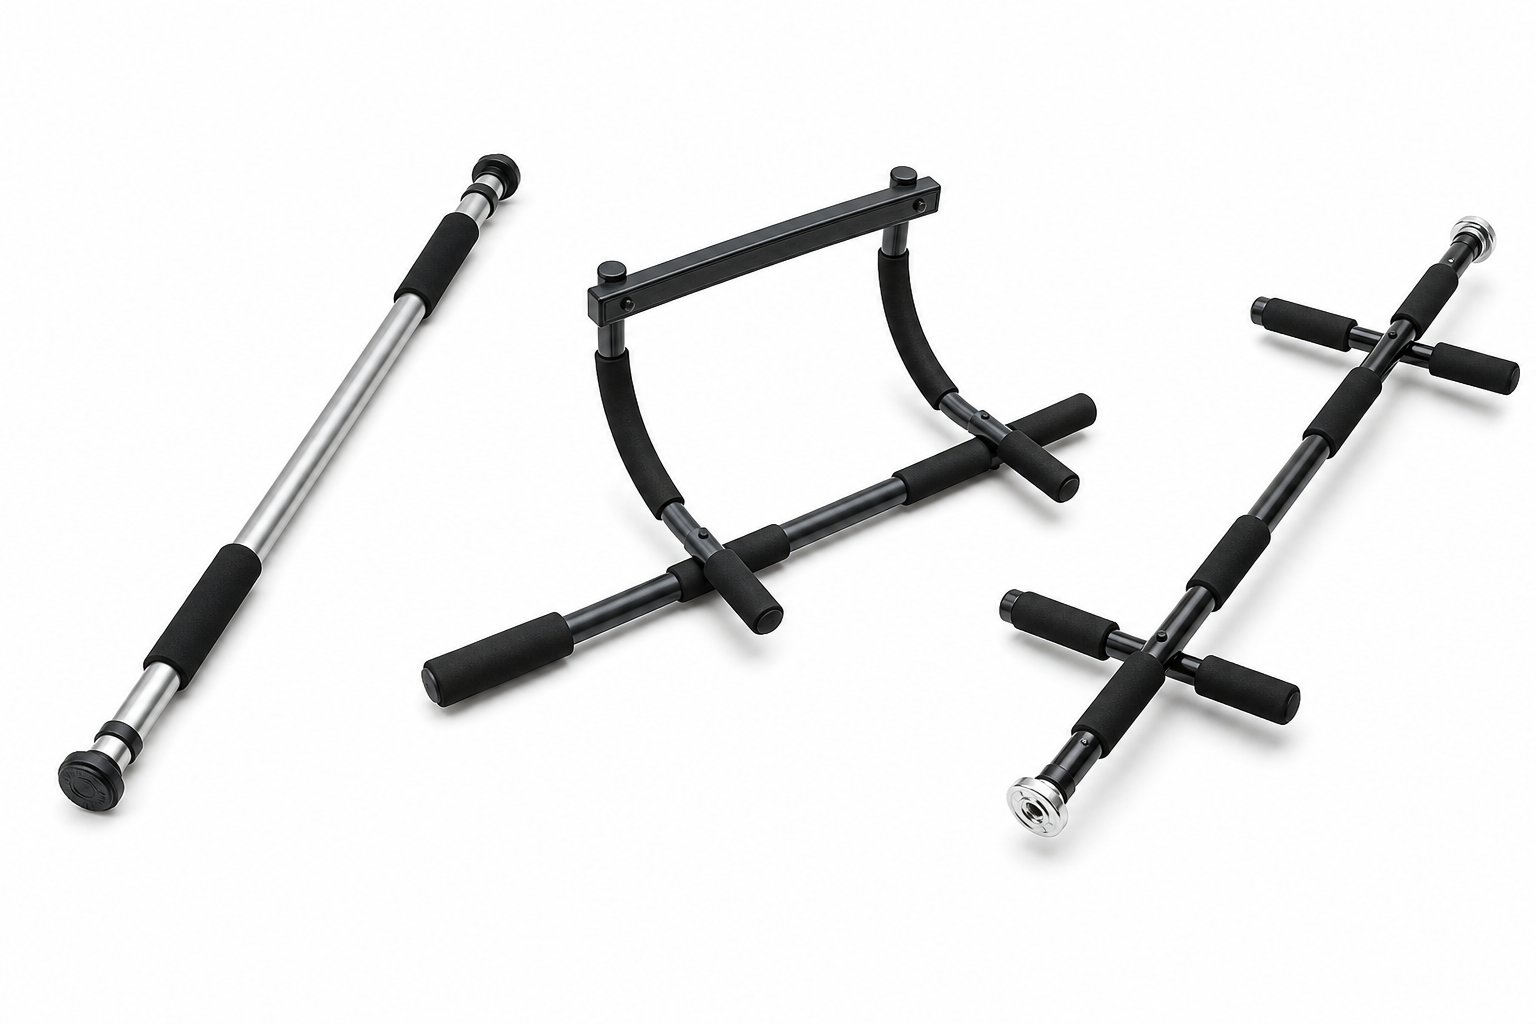
Tension-Mounted (Telescoping) Bars
These bars extend to fit inside a door frame and lock in place using tension against the frame. They require no screws, leave no marks, and install in under a minute. The downside: they can slip if the door frame is worn, painted with glossy paint, or not perfectly level. Always test with a firm push before putting weight on a tension-mounted bar.
Tension bars work by friction. The telescoping mechanism inside the bar extends outward until the rubber or foam end caps press hard enough against the frame walls that friction holds everything in place. When the bar is properly tensioned, it’s secure. When it’s not, it drops.
The problem is that tension weakens over time. The rubber compresses, the frame flexes slightly with temperature and humidity changes, and what felt rock-solid last week might wiggle today. You have to check it before every use, and you have to retighten it regularly.
These bars are fine for light use like hanging resistance bands or doing doorway stretches where your feet stay on the ground. They’re not appropriate for exercises where you’re putting significant body weight on the bar, even with your feet partially supporting you. A slip mid-exercise can lead to a fall, a twisted shoulder, or worse.
Leverage-Mounted Bars
These bars hook over the top of the door frame and brace against the frame above and below. They’re more secure than tension bars because your body weight actually pushes the bar harder into the frame (more weight equals more secure). Most include padded contact points that protect the door frame from damage.
Best for seniors: Leverage-mounted bars are safer because they become more stable under load rather than less. For any exercise that puts significant weight on the bar, this type is the recommended choice.
The physics here work in your favor. When you grip the bar and lean back or let your arms extend, your weight presses the bar’s bottom hooks harder into the bottom of the door frame while simultaneously pulling the top hooks tighter over the top edge. The bar self-tightens as you use it.
This makes leverage bars far more predictable than tension bars. If the bar is seated correctly, it stays seated. There’s no gradual loosening, no surprise shifts mid-set. The trade-off is that leverage bars require a standard door frame with a flat top edge and enough clearance above the door for the mounting brackets. Not every doorway works, but most standard interior doors do.
Padding on the contact points matters. Bare metal or hard plastic will dent softer wood frames over time. Look for bars with thick foam or rubber pads at every point where the bar touches the frame. Some models include extra adhesive pads you can stick on the frame itself for added protection.
Screw-In Mounted Bars
Permanent bars that bolt directly into the door frame or wall studs. They’re the most secure option but require tools, leave permanent holes, and can’t be moved. These make sense if you have a dedicated exercise space and want maximum security.
Installation requires locating studs (or using the door frame’s vertical supports), drilling pilot holes, and driving lag bolts or heavy-duty screws through the bar’s mounting brackets. It’s a half-hour job with a drill and a stud finder. The result is a bar that will not move under any reasonable load.
Screw-in bars are overkill for most senior fitness applications, but they’re worth considering if you have specific concerns about frame integrity, if you’re significantly over 200 pounds, or if you plan to eventually progress to full pull-ups or other advanced movements. They’re also the right choice if your home has non-standard door frames, older construction with questionable frame strength, or metal door frames that won’t support other mounting types.
The permanence is the main drawback. When you move, the bar stays or leaves holes. When you want to rearrange furniture, the bar dictates where things go. But if you’re committed to long-term home exercise and you have the right space for it, a screw-in bar eliminates every other concern.
Top Doorway Bars for Senior Use
Iron Gym Total Upper Body Workout Bar

Iron Gym Total Upper Body Workout Bar
The original leverage-mounted bar with three grip positions and 300-pound capacity, doubles as floor push-up bar
The Iron Gym is the original leverage-mounted doorway bar and still one of the best. It hooks over standard door frames (up to 35 inches wide) and provides three grip positions. The padded contact points protect your frame. Weight capacity is 300 pounds, and it doubles as a floor-based push-up bar when removed from the door.
The Iron Gym’s three grip positions give you options: wide grip for targeting lats, narrow grip for biceps and upper back, and neutral (vertical) grips for a shoulder-friendly middle option. Most seniors will use the neutral grips most often because they reduce strain on the rotator cuff compared to wide overhand grips.
The curved design distributes pressure across multiple contact points on the door frame rather than concentrating it in two spots like simpler bars do. That reduces denting and spreads the load for better stability. The foam padding is thick enough to matter but not so thick that it compresses too much under load.
The push-up bar function is a nice bonus. Flip the bar upside down on the floor and you have angled handles that reduce wrist strain during push-ups. If floor push-ups are part of your routine, this dual-use design saves space and money.
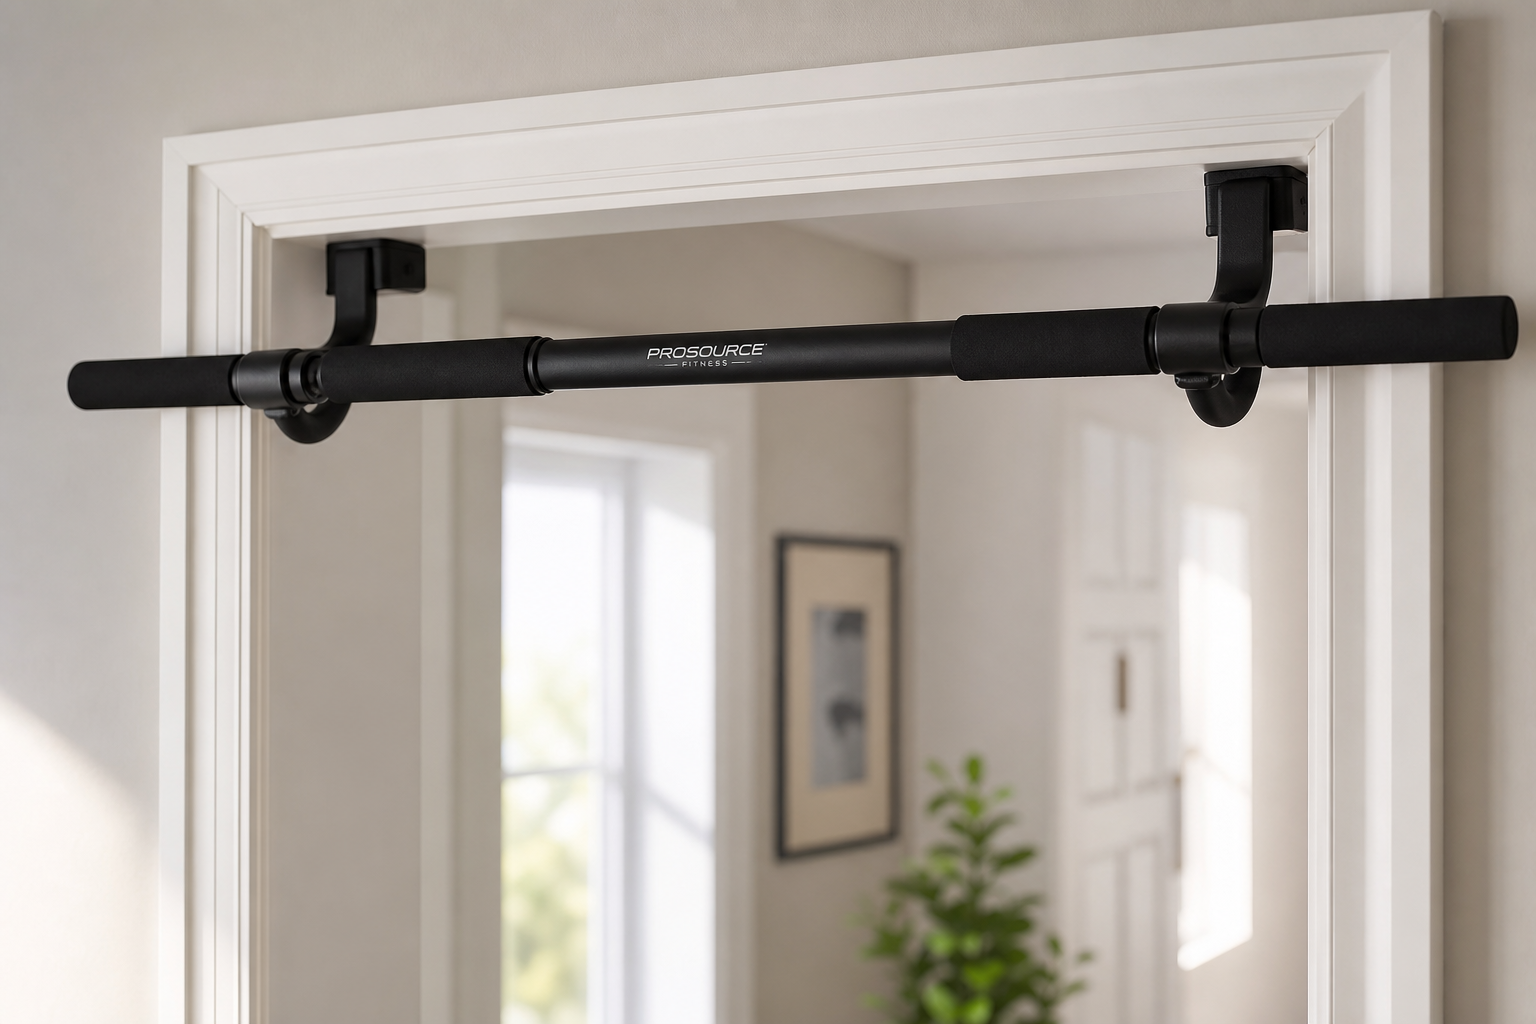
ProsourceFit Multi-Grip Pull-Up Bar

ProsourceFit Multi-Grip Pull-Up Bar
Features 12 grip positions including neutral grips ideal for seniors with shoulder issues
The ProsourceFit offers 12 different grip positions, including neutral (palms facing each other) grips that are more comfortable for seniors with shoulder impingement. The foam-padded grips reduce hand fatigue. It fits frames 24-32 inches wide and supports up to 300 pounds.
Twelve grip positions sounds excessive until you realize that subtle hand position changes can make the difference between a painful exercise and a productive one. If you have arthritis in your thumbs, the angled grips reduce thumb pressure. If you have limited shoulder internal rotation, the wider neutral grips let you work your back without forcing your shoulders into uncomfortable positions.
The foam grips are softer than the Iron Gym’s bare metal, which matters for hands that tire easily or have thin skin prone to blistering. The trade-off is that foam wears out faster than metal, but replacement grips are inexpensive and the bar itself will last for years.
This bar fits narrower frames than the Iron Gym, which makes it compatible with more doorways. Check your frame width before ordering. A frame that’s too wide will leave the bar loose and unstable. Too narrow and the bar won’t mount at all.
Perfect Fitness Multi-Gym Doorway Pull Up Bar
The Perfect Fitness bar uses a similar design to the Iron Gym but adds wider door frame compatibility (up to 36 inches) and contoured grips that reduce pressure points. It comes with a workout guide that includes modifications for beginners, though the guide skews younger and more intense than most seniors need.
The main advantage here is the extended width capacity. If your home has wider-than-standard door frames, this bar might fit where others won’t. The contoured grips feel more ergonomic than straight bars, though some users find them too sculpted, forcing your hands into positions that don’t match your natural grip.
Installation is identical to other leverage-mounted bars: hook it over the door frame, adjust the lower brackets until they sit tight against the bottom of the frame, test it, and use it. Total time under two minutes.
Senior-Adapted Exercises Using a Doorway Bar
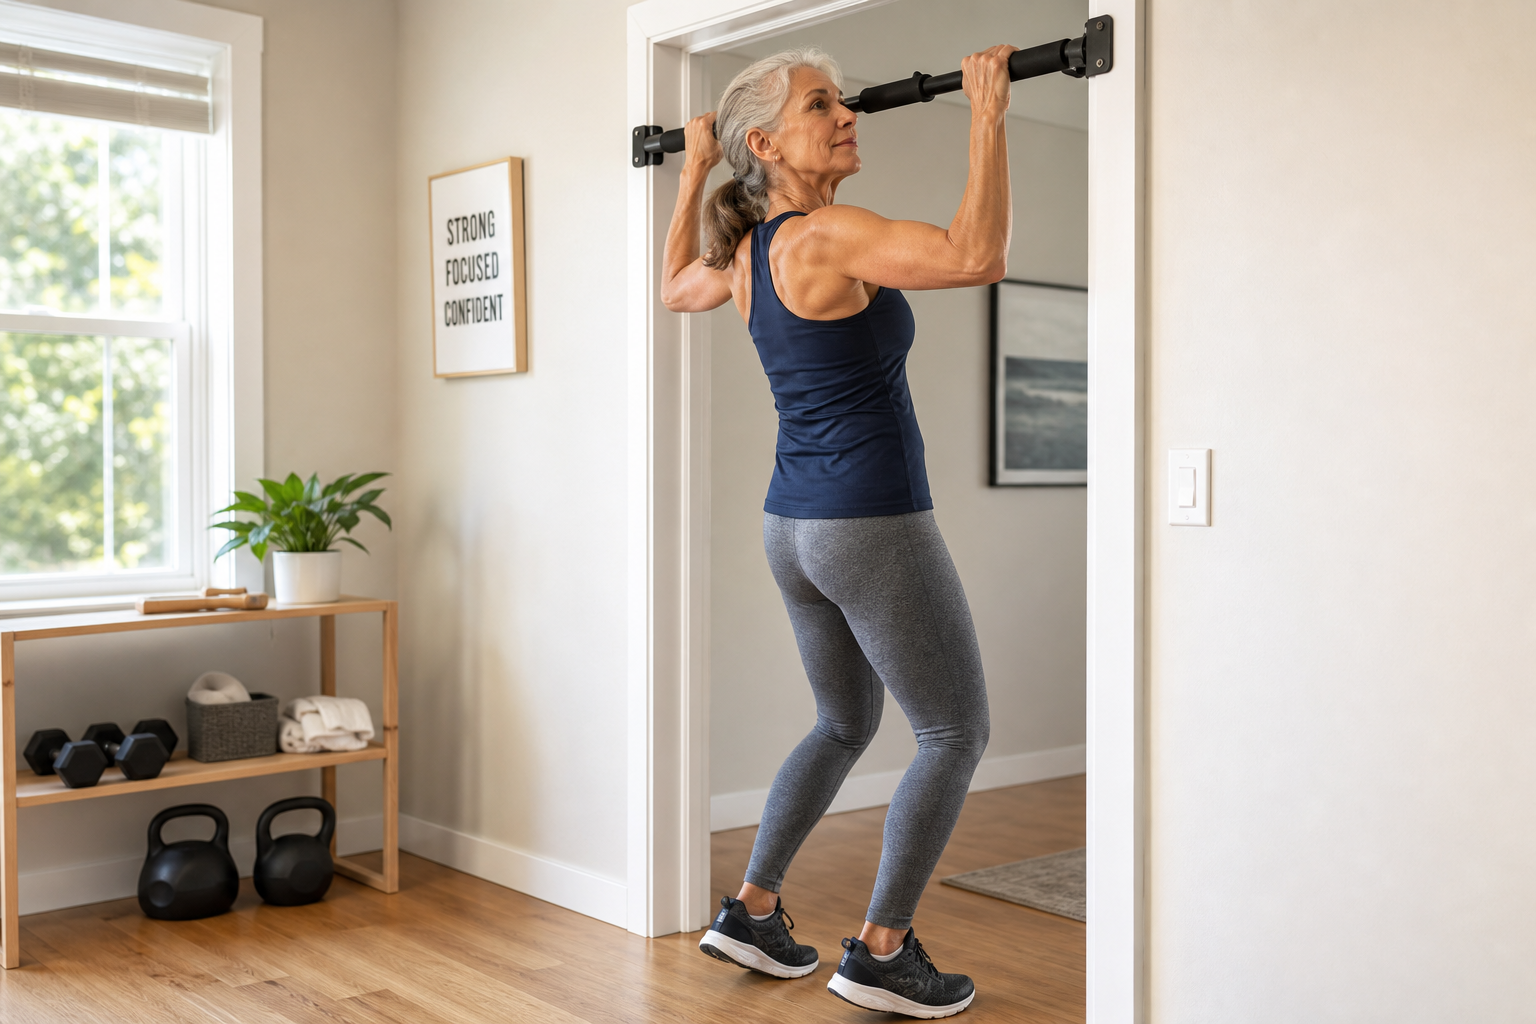
Assisted Dead Hang
Grip the bar with both hands and let your arms extend fully while keeping your feet on the floor (or a step stool). Let your body weight stretch your shoulders and decompress your spine. You’re not hanging with your full weight; you’re just sagging slightly to create traction. Hold 15-30 seconds, rest, repeat 3 times. This is one of the best exercises for shoulder mobility and spinal decompression.
The dead hang stretches the lats, opens the chest, and gently pulls the vertebrae apart, creating space that relieves pressure on the discs. Over time, consistent dead hangs improve overhead shoulder mobility, which translates to easier reaching, better posture, and less shoulder pain during daily activities.
Start with your feet flat on the floor and only let your arms take enough weight that you feel a gentle stretch. As you get stronger and more comfortable, you can shift more weight onto your hands by bending your knees slightly or stepping one foot forward so less weight rests on your feet. Never progress to full bodyweight hanging without clearance from your doctor, especially if you have glaucoma, uncontrolled high blood pressure, or a history of shoulder dislocation.
If gripping the bar for 15 seconds is hard, start with 5-second holds and build up. Grip strength improves quickly with regular practice. If your shoulders feel pinched or painful during the hang, you’re either gripping too wide or hanging with too much weight. Narrow your grip and keep more weight on your feet.
Band Pull-Downs
Loop a long loop resistance band over the bar. Kneel or sit on a chair below the bar and pull the band down to your chest, squeezing your shoulder blades together. This replicates the lat pulldown machine at the gym. 3 sets of 12.
Sit far enough from the doorway that the band has tension even at the top of the movement. If there’s slack, you lose resistance in the range of motion where your shoulders are most vulnerable. The band should feel taut when your arms are fully extended overhead.
Pull the band down in front of your body, not behind your neck. Behind-the-neck pulldowns stress the rotator cuff unnecessarily. As you pull down, focus on squeezing your shoulder blades together and pulling your elbows toward your ribcage. The motion should feel like you’re trying to tuck your elbows into your back pockets.
Pause at the bottom for a one-count, then let the band pull your arms back up in a controlled motion. Don’t let it snap back. The eccentric (lengthening) phase of the movement is where much of the strength gain happens.
If 12 reps feels too easy, use a thicker band or double up the band by looping it over the bar twice. If it’s too hard, use a lighter band or sit farther back to reduce the stretch. There’s no virtue in struggling with a weight that’s too heavy. Progressive overload happens by adding reps, then adding resistance, then adding sets. Not by grinding through bad reps.
Band Rows
Loop the band over the bar at chest height (using the bar’s lower grip position if it has one, or just wrapping the band around the bar). Face the bar, hold one end of the band in each hand, and step back until there’s tension. Pull both hands toward your ribs, squeezing your shoulder blades together. This works your mid-back and rear shoulders. 3 sets of 12.
Rows are pull-downs’ horizontal counterpart. Pull-downs work your back in a vertical pulling pattern. Rows work it in a horizontal pulling pattern. You need both to build balanced back strength and good posture.
Keep your elbows close to your body as you pull. If your elbows flare out wide, you shift the work from your back to your rear shoulders, which isn’t wrong but changes the focus of the exercise. For posture and upper back strength, elbows-in rows are more effective.
Stand with a slight bend in your knees, core engaged, and chest up. Don’t let your lower back round. If you feel strain in your lower back, you’re either leaning too far forward or using a band with too much resistance. Lighten the load or stand more upright.
Doorway Chest Stretch
Stand in the doorway and grip the bar at shoulder height (or lower, using the bar’s lower grip position or the door frame itself). Step one foot forward through the doorway and lean gently until you feel a stretch across your chest and the front of your shoulders. Hold 30 seconds. This counteracts the rounded posture that develops from sitting.
The chest stretch is less about strength and more about reversing the forward shoulder position that comes from computer work, reading, driving, and every other activity where your hands
