Falls are one of the leading causes of injury among older adults, and the frustrating part is that many of them are preventable. Your balance system weakens gradually over the years, often without you noticing until one unsteady moment catches you off guard. The good news is that targeted drills can meaningfully reverse that decline, and tandem walking, commonly called heel-to-toe walking, is one of the most effective tools in that toolkit.
This drill looks almost too simple to be useful. You walk in a straight line, placing one foot directly in front of the other so that your heel touches your toes with each step. But that narrow base of support challenges your brain and body in ways that ordinary walking simply doesn’t. Done consistently, it rebuilds the neural pathways and muscle coordination that keep you steady on your feet.
Why Heel-to-Toe Walking Works
Balance isn’t just about having strong legs. It’s a three-way conversation between your eyes, your inner ear, and the sensory receptors in your muscles and joints. When you walk normally, your feet are spread apart enough that your body rarely has to work very hard to stay upright. Tandem walking narrows your stance dramatically, forcing all three systems to work harder and communicate more precisely.
The drill also trains your proprioception, which is your body’s sense of where it is in space. This is exactly the kind of sensory feedback that deteriorates with age and with conditions like peripheral neuropathy. If you’re managing nerve-related balance issues, it’s worth reading about neuropathy-safe exercises for seniors before adding this drill to your routine, since some modifications may apply.
Regular practice also strengthens the small stabilizer muscles around your ankles and hips that don’t get much attention during conventional exercise. Think of those muscles as your body’s shock absorbers. The stronger they are, the more forgiving your balance becomes when the ground is uneven or when you’re caught off guard.
Setting Up Safely Before You Start
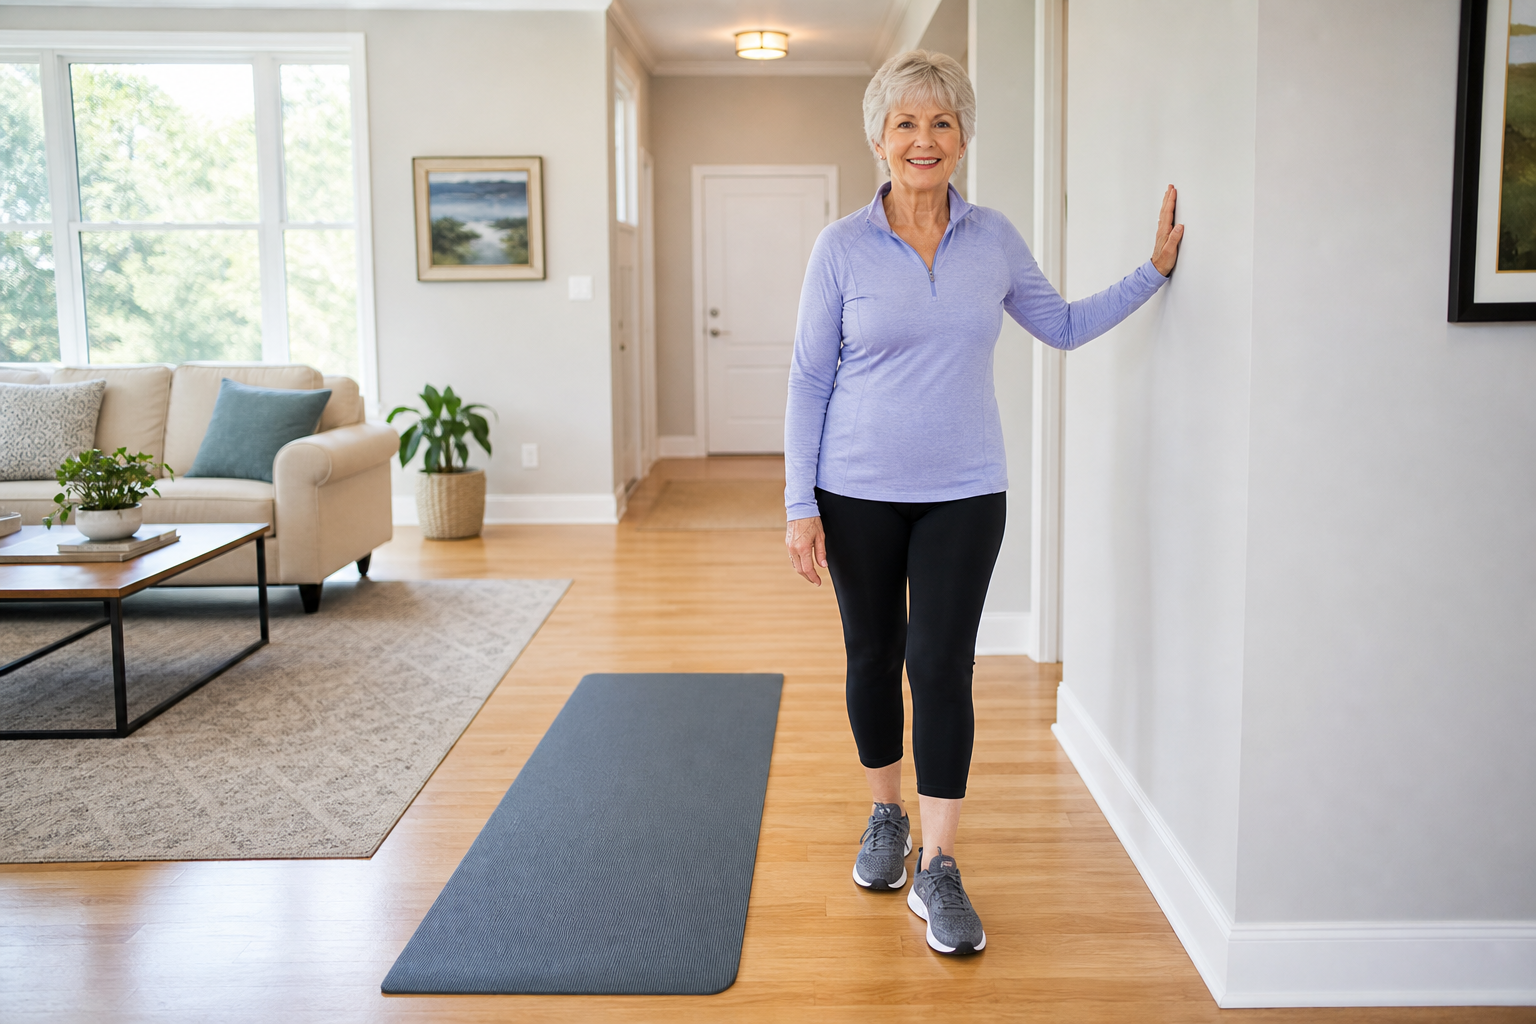
Safety setup is non-negotiable, especially in the beginning. You’ll need a clear stretch of wall or a sturdy counter at least eight to ten feet long. A kitchen counter or hallway wall both work well. The surface should be firm and continuous, nothing you might grab that could shift or tip.
Wear shoes with a flat, non-slip sole. Thick-soled athletic shoes with a lot of cushion can actually make this harder by reducing your ground feedback. Socks on hardwood floors are not safe for this exercise. Also make sure the floor ahead of you is clear of rugs, pet beds, or anything else that could trip you up.
Position yourself with one hand lightly touching the wall or counter. You’re not gripping it for support yet, just hovering with your fingertips so you can catch yourself if needed. Think of the wall as a safety rail, not a crutch.
How to Do the Heel-to-Toe Walk Step by Step

- Start position: Stand at one end of your wall or counter. Feet together, posture upright, eyes looking straight ahead at a fixed point on the wall. Pick a spot and keep your gaze there throughout the walk.
- First step: Lift your right foot and place it directly in front of your left so that your right heel touches or nearly touches your left toes. Don’t rush this. Take a full second to feel steady before moving again.
- Continue forward: Bring your left foot forward and place it so the left heel touches the right toes. Keep going for the full length of your wall or counter, aiming for 8 to 12 steps per pass.
- At the end: Use the wall to help you turn around carefully. Don’t try to pivot quickly. Take small steps to reposition yourself, then walk back.
- Repeat: Do 2 to 3 passes in each session to start.
Move slowly and deliberately. Speed is not the goal. The goal is precision and controlled movement. If you feel yourself veering to one side or grabbing the wall frequently, that’s useful information, not a sign of failure. It just means your balance system is being appropriately challenged.
Common Form Mistakes to Avoid
- Looking down at your feet: This shifts your center of gravity forward and removes the visual challenge. Keep your eyes forward.
- Widening your stance between steps: If you’re placing your feet six inches apart instead of heel-to-toe, you’re reducing the difficulty and limiting the benefit.
- Holding your breath: It’s easy to tense up during this drill. Breathe steadily throughout.
- Leaning heavily on the wall: Light fingertip contact only. If you’re putting real weight on the wall, slow down and take smaller steps.
How to Progress Over Time
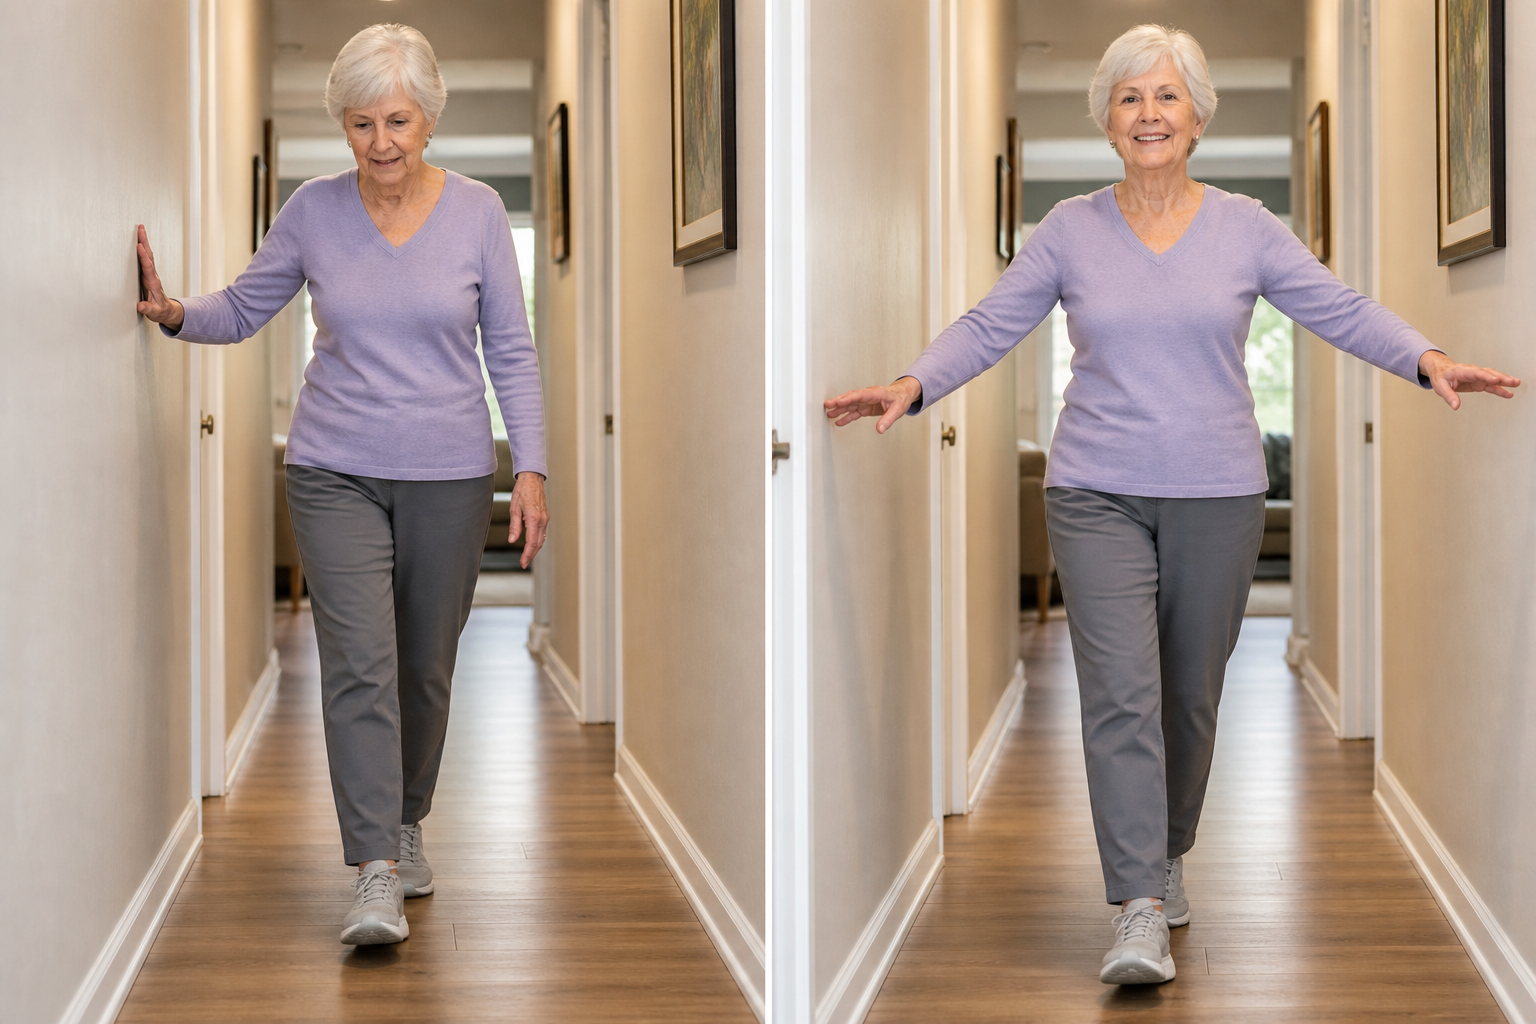
Once you can do 3 passes in each direction without touching the wall more than once or twice, it’s time to make the drill harder. Progress gradually, and don’t rush to the next level before you’ve genuinely mastered the current one.
Level 2: Eyes Closed (Briefly)
Try closing your eyes for just two or three steps in the middle of a pass. This removes visual input and forces your inner ear and proprioception to do more of the work. Always have one hand near the wall when attempting this.
Level 3: Move Away from the Wall
Once you’re stable with the wall as backup, try walking along a clear hallway floor with the wall nearby but not touching it. Having the security of knowing the wall is there can help you build confidence without actually needing it.
Level 4: Add a Head Turn
While walking heel-to-toe, slowly turn your head left and right as if you’re watching traffic cross the street. This mimics real-world conditions where you often have to look around while walking. It also challenges the vestibular system specifically, which is valuable if you’ve dealt with dizziness. For more on that topic, the article on vertigo and balance exercises for seniors offers some excellent complementary techniques.
Level 5: Carry a Light Object
Carry a small, lightweight object in one hand, like a cup of water (not full). This introduces a dual-task challenge and mimics the kind of distraction that often leads to real-world stumbles.
If you’re also working on a broader balance and strength program, pairing this drill with a progressive resistance training plan can significantly speed up your progress. Stronger legs make everything about balance easier.
How Often and When to Practice
Aim for 5 days a week. Each session only takes 5 to 10 minutes, which makes it easy to attach to an existing habit like brewing your morning coffee or brushing your teeth. Consistency matters far more than duration with balance training.
If you exercise in the morning, consider doing your tandem walk first, before your body is fatigued. Balance training requires mental focus, and you’ll get more out of it when you’re fresh. Speaking of morning routines, if you’re wondering about the best time to schedule your various workouts, there’s a detailed breakdown in this article on morning vs evening exercise for seniors.
After your session, don’t skip recovery. Your muscles and nervous system both need nutrients to adapt. A well-chosen post-workout recovery meal helps your body consolidate the gains from your balance work, just as it does after strength training.
Frequently Asked Questions
Is heel-to-toe walking safe if I have Parkinson’s disease?
Tandem walking can be appropriate for some people with Parkinson’s, but it depends heavily on the stage of the disease and your current balance status. Parkinson’s affects gait and balance in specific ways, and you’ll want to clear any new balance drill with your neurologist or physical therapist first. The Parkinson’s disease exercise program article covers safe movement strategies in more detail.
How long before I start noticing improvements?
Most people notice meaningful improvement within three to four weeks of daily practice. You might first notice that you’re touching the wall less frequently, or that you feel steadier during everyday tasks like stepping off a curb or walking on grass. The nervous system adapts relatively quickly when you train it consistently.
What if I can’t place my heel right against my toes? Is a small gap okay?
A small gap is completely fine, especially when you’re starting out. The goal is to narrow your base of support enough to challenge your balance, not to achieve a perfectly rigid heel-to-toe alignment. As your strength and coordination improve, you can gradually close that gap. Push only to the point where you feel challenged but controlled.
One Last Word
Heel-to-toe walking isn’t a glamorous exercise. It won’t burn many calories or build big muscles. But it directly trains the system that keeps you upright and independent, and that makes it one of the most practical things you can do for your long-term health. Set up your space safely, start slow, and trust the process. Your balance can absolutely improve at any age.
