You don’t need to get down on a mat to enjoy the benefits of yoga. Chair yoga brings all the flexibility, stress relief, and mindfulness of traditional yoga to anyone who prefers or needs to stay seated. Whether you’re dealing with balance concerns, joint pain, or simply want a gentler practice, seated yoga offers a complete workout without ever leaving your chair.
This practice goes beyond simple stretching. By incorporating breath work, meditation, and yoga philosophy, you’ll discover a routine that benefits both body and mind. Let’s explore a complete seated yoga session that you can start today.
Understanding the Foundation of Yoga Philosophy
Traditional yoga isn’t just about physical postures. It’s built on principles that remain relevant regardless of how you practice. The concept of ahimsa, or non-harm, reminds you to honor your body’s limits. When you’re practicing from a chair, this means moving mindfully and never forcing a stretch.
Another key principle is pranayama, the practice of breath control. Your breath serves as a bridge between your body and mind. Throughout your seated practice, you’ll return to your breath again and again. It anchors you in the present moment and helps release tension you didn’t even know you were holding.
The beauty of chair yoga is that it makes these ancient principles accessible to everyone. You’re not compromising the practice by sitting. You’re adapting it to meet your needs, which is exactly what yoga has always been about.
Beginning Your Practice: Breath Awareness and Centering
Start by sitting comfortably in a sturdy chair with your feet flat on the floor. Choose a chair without wheels for stability. Place your hands on your thighs and close your eyes if that feels comfortable.
Begin with three-part breath, also called dirga pranayama. Inhale slowly through your nose, first filling your belly, then your ribcage, and finally your chest. Exhale in reverse order, releasing from chest to ribs to belly. Practice this for five full breath cycles. This breathing pattern activates your parasympathetic nervous system, signaling your body to relax.

Yoga Block Set for Chair Support
These provide excellent support for positioning and can help you maintain proper alignment during seated poses
Once you’ve established your breathing rhythm, set an intention for your practice. This doesn’t need to be elaborate. It might be as simple as “I practice with patience” or “I honor my body today.” This intention gives your practice purpose beyond just physical movement.
Seated Yoga Poses for Flexibility and Strength
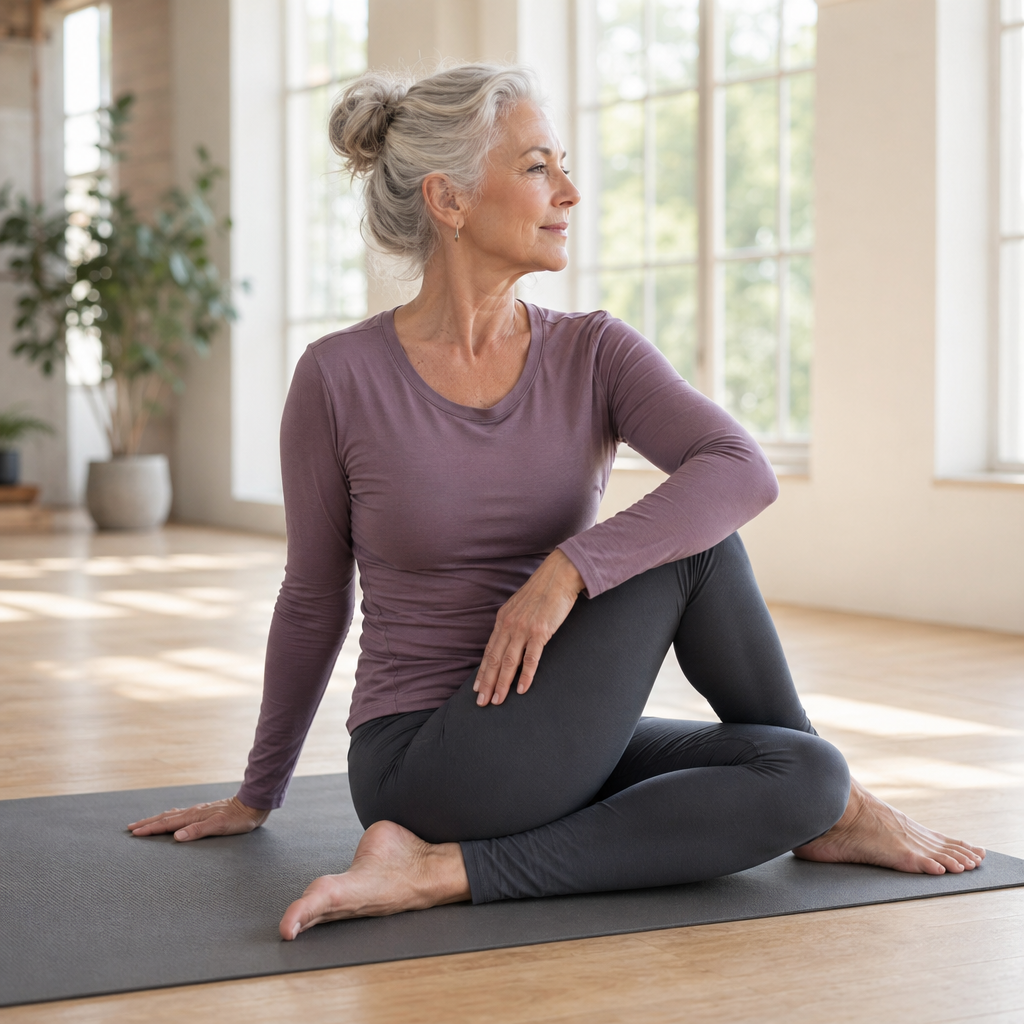
Mountain Pose (Tadasana) Variation
While traditionally a standing pose, seated mountain pose establishes proper alignment. Sit tall with your spine lengthened and your shoulders relaxed. Press your feet firmly into the floor and imagine a string pulling the crown of your head toward the ceiling. Hold for 5-10 breaths while maintaining this active posture.
This seemingly simple pose builds postural awareness. You’re training your body to recognize what proper alignment feels like, which carries over into your daily activities.
Seated Cat-Cow Stretch
Place your hands on your knees. As you inhale, arch your back gently, lifting your chest and looking slightly upward (cow pose). As you exhale, round your spine, tucking your chin and drawing your navel toward your spine (cat pose). Flow between these two positions for 8-10 rounds, moving with your breath.
This movement mobilizes your entire spine and helps relieve tension in your back and neck. The coordination of breath and movement is a core element of vinyasa, the flowing style of yoga.
Seated Twist (Ardha Matsyendrasana)
Sit sideways in your chair with the backrest on your right side. Place both hands on the backrest and gently twist to the right, using your hands for light assistance but not forcing the twist. Keep your hips facing forward and your spine tall. Hold for 5-8 breaths, then switch sides.
Twists are wonderful for spinal mobility and are thought to aid digestion. They also provide a gentle massage to your internal organs, promoting circulation.
Seated Forward Fold
Sit toward the front edge of your chair with feet hip-width apart. Inhale to lengthen your spine, then exhale as you hinge forward from your hips. Let your upper body drape over your thighs, with your hands resting on your legs or hanging toward the floor. Stay here for 8-10 breaths.
This calming pose stretches your entire back body while encouraging introspection. Forward folds are naturally soothing to the nervous system.
Seated Warrior II
Turn to face the right side of your chair, extending your right leg out to the side with your foot flat on the floor. Keep your left foot pointed forward. Extend your arms out to the sides at shoulder height, gazing over your right hand. Hold for 5-8 breaths, then switch sides.
This pose builds strength in your legs and core while opening your hips. It embodies the warrior spirit of courage and determination that yoga philosophy celebrates.

Resistance Bands for Seated Yoga
These bands add gentle resistance to deepen stretches and can help you reach your feet in forward folds
Seated Side Stretch
Sit tall and raise your right arm overhead. Lean gently to your left, feeling the stretch along your entire right side. Your left hand can rest on the chair seat for support. Hold for 5-8 breaths, then repeat on the other side.
Side stretches open the intercostal muscles between your ribs, improving breathing capacity and relieving tension in your torso.
Closing Your Practice: Meditation and Relaxation
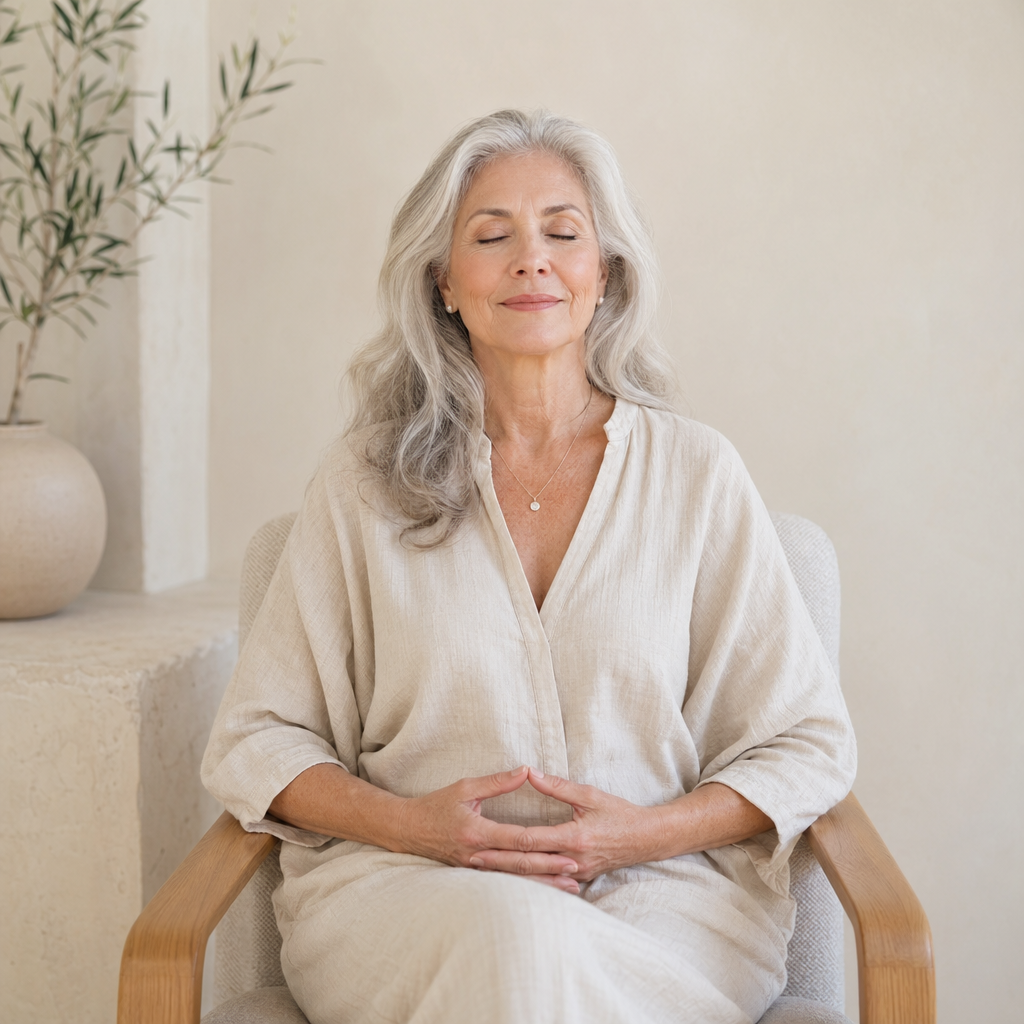
After completing your physical poses, return to a comfortable seated position for a brief meditation. This doesn’t need to be complicated. Simply bring your attention back to your breath, noticing the natural rhythm of inhaling and exhaling.
When your mind wanders (and it will), gently guide it back to your breath without judgment. Start with just three minutes. You can gradually extend this time as meditation becomes more comfortable.
Consider using a simple mantra or phrase during meditation. “I am calm” or “I am present” works well. Repeat it silently with each breath cycle. This gives your mind something to focus on, making it easier to avoid getting caught up in thoughts.
End your practice with seated savasana. Rest your hands on your thighs, palms facing up in a receptive position. Close your eyes and simply be still for 2-3 minutes. This final relaxation allows your body to integrate all the benefits of your practice.
Creating a Consistent Practice
The real benefits of yoga come from regular practice, not from perfection. Aim for 15-20 minutes most days of the week rather than an occasional long session. Consistency matters more than duration.
Keep your practice space simple. You need a sturdy chair, comfortable clothing, and maybe a yoga strap for poses where you need extra reach. Some people appreciate having cushions for added comfort during the meditation portion.
Track how you feel before and after your practice. Notice changes in your flexibility, stress levels, and overall sense of well-being. These small observations help maintain motivation and show you the real-world impact of your efforts.
Frequently Asked Questions
How long before I notice improvements in flexibility?
Most people notice some improvement within 2-3 weeks of regular practice. You might feel looser after just one session, but lasting changes take consistency. The combination of movement, breath work, and mindful attention accelerates progress compared to passive stretching alone. Remember that flexibility varies day to day based on factors like hydration, temperature, and stress levels. For best results, try to avoid common flexibility mistakes that can slow your progress.
Can I practice chair yoga if I have arthritis or joint pain?
Yes, chair yoga is often recommended for arthritis management. The gentle movements help maintain joint mobility without excess impact. Always work within a pain-free range of motion. Some discomfort from stiff muscles is normal, but sharp or shooting pain means you should back off. Consult with your doctor before starting any new exercise routine, especially if you have specific medical conditions. If you’re also experiencing low back discomfort, chair yoga can be particularly helpful.
Do I need any special equipment to get started?
All you really need is a stable chair without wheels. Everything else is optional but can enhance your practice. A non-slip mat under your chair prevents sliding on smooth floors. Blocks and straps help you modify poses to match your current flexibility level. But don’t let the absence of props stop you from starting today with just a chair. You may also want to explore other beneficial yoga poses as you build your practice.
This article contains affiliate links. We may earn a small commission at no extra cost to you.