The most common reason seniors skip exercise isn’t laziness or lack of motivation. It’s fear of falling. When your balance isn’t reliable and there’s nothing to grab if you wobble, every standing exercise feels like a calculated risk. Installing proper safety equipment in your home exercise area transforms it from a danger zone into a confidence zone, letting you challenge your balance knowing that a safety net is within arm’s reach.
This guide covers the grab bars, mats, chairs, and other equipment that reduce fall risk during home workouts. You’ll learn what to install, where to put it, and how to create an exercise space that supports progressive training rather than limiting it.
Essential Safety Equipment for Home Exercise
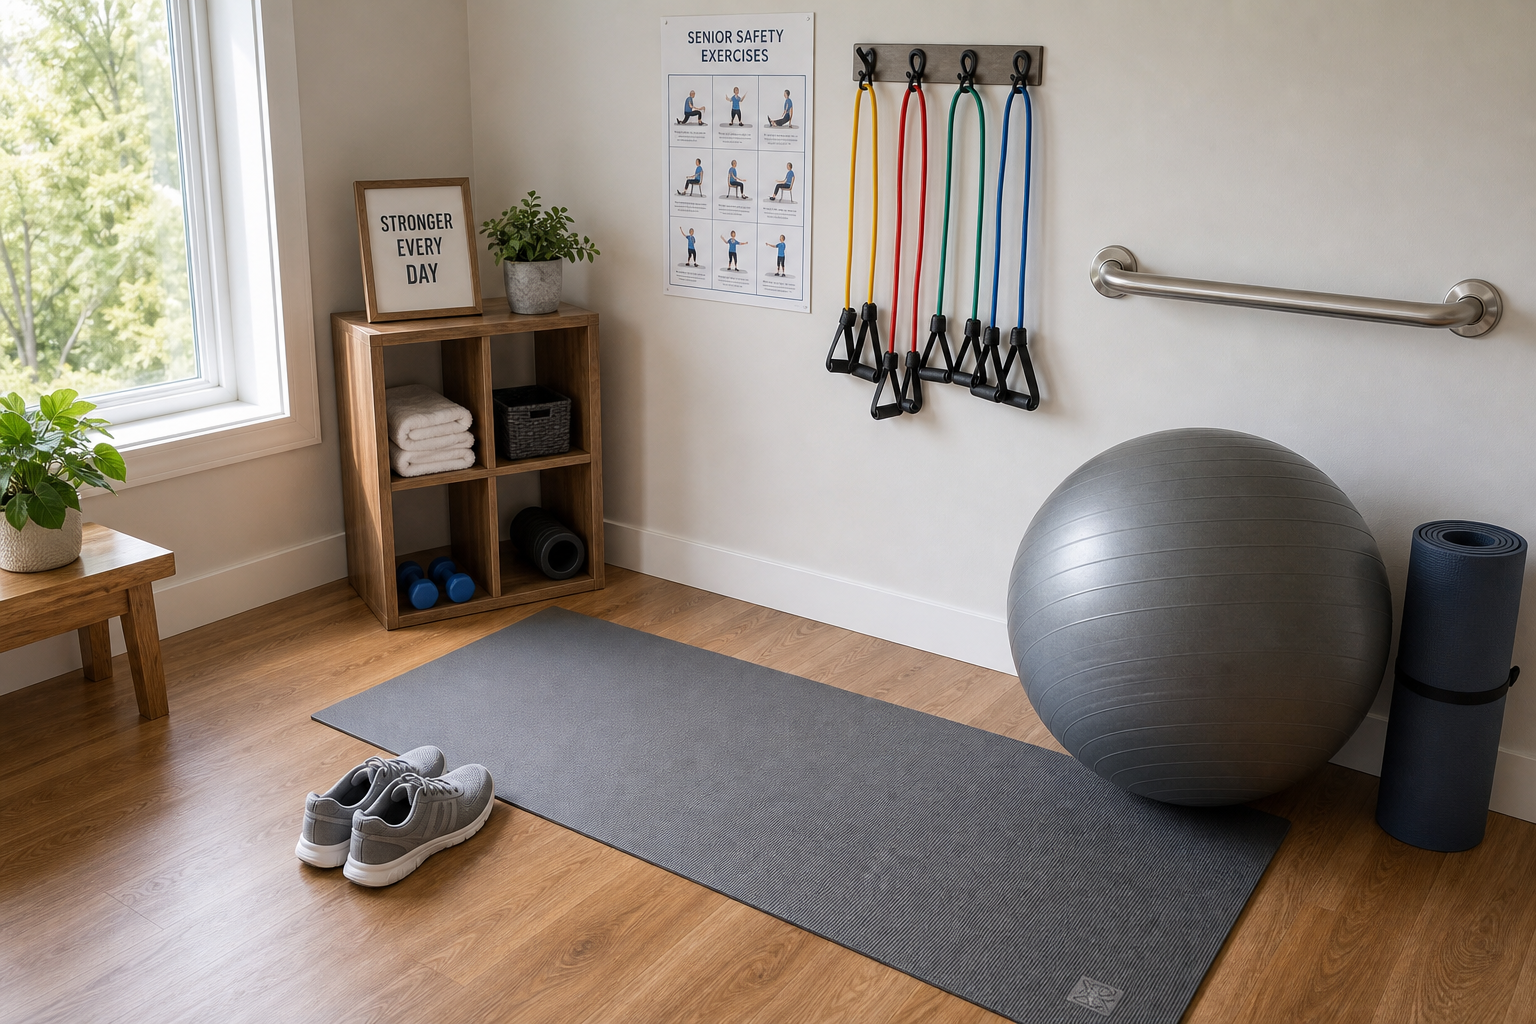
Wall-Mounted Grab Bars
A grab bar mounted to the wall at hip height (about 33-36 inches from the floor) provides a secure handhold during standing exercises, balance training, and transitions from seated to standing. Unlike furniture, which can slide or tip, a properly installed grab bar is anchored to wall studs and supports 250-500 pounds of force.

Stainless Steel Wall Mount Grab Bar
Most durable option with textured grip surface, available in 24-36 inch lengths
Stainless steel grab bars (24-36 inches long) are the most durable and easiest to clean. Textured surfaces (knurled or ridged) provide grip even with sweaty hands. Mount the bar horizontally for general exercise support or at a 45-degree angle for sit-to-stand assistance.
The 24-inch length works in tight spaces and provides support for single-hand contact during balance drills. The 36-inch bar gives you room to slide your hand along the length during walking exercises or to use a two-handed grip during transitions. Placement matters more than length. A bar positioned where you actually exercise beats a longer bar mounted in the wrong spot.
Look for bars with a 1.25 to 1.5-inch diameter. Thinner bars are harder to grip securely. Thicker bars feel awkward and require more hand strength to hold. The ADA-recommended diameter (1.25-1.5 inches) accommodates most hand sizes and grip strengths.
Installation note: Grab bars MUST be anchored into wall studs (not just drywall) using the lag bolts provided. A bar mounted only into drywall will pull out under body weight. If you’re not comfortable with installation, hire a handyman. The cost is minimal compared to the cost of a fall-related injury.
Use a stud finder to locate the studs behind your drywall. Mark the stud locations with painter’s tape. Position the bar so at least two mounting brackets anchor into studs. Each lag bolt should penetrate at least 1.5 inches into solid wood. Test the installation by pulling down on the bar with your full body weight before relying on it during exercise.
If your walls are tile or plaster over masonry, standard toggle bolts won’t work. You’ll need masonry anchors rated for 500+ pounds. This is a job for a professional unless you have experience drilling into tile without cracking it.
Portable Grab Bar / Clamp-On Rail
If you can’t mount bars to your walls (rental apartment, limited wall space), a clamp-on safety rail that attaches to a door frame or furniture provides temporary support. These are less secure than wall-mounted bars but better than no support. Check the weight rating and test the clamp’s grip before relying on it during exercise.
Clamp-on rails work best on door frames with trim that creates a lip for the clamp to grip. Flat walls won’t provide enough purchase. The rail should feel rock-solid when you pull on it. If there’s any give or the clamps shift, don’t use it for support.
Some models include rubber pads between the clamp and the door frame to prevent damage. This is important in rentals where you can’t leave marks. Test the rail weekly. Clamps can loosen over time, especially if you lean on the rail repeatedly during workouts.
Portable rails have limitations. They’re not appropriate for dynamic balance exercises where you might fall heavily against the support. Use them for light stability assistance, not full body weight support in unexpected falls.
Non-Slip Exercise Mat
A thick, non-slip exercise mat (6-8mm thick) provides cushioning for kneeling, lying, and seated floor exercises while preventing your feet from sliding during standing work. Place it on hard floors (tile, hardwood, laminate) where your exercise area is located. The mat should be large enough that you can stand, step, and move without stepping off the edge (at least 2×6 feet).
Mats thinner than 6mm don’t provide enough cushioning for knee-supported exercises like modified planks or quadruped positions. Your knees will hurt, and you’ll avoid floor work. Mats thicker than 10mm create an unstable surface that makes standing balance exercises harder. The 6-8mm range balances cushioning and stability.
The non-slip bottom surface keeps the mat from sliding on hard floors during step exercises or lateral movements. The textured top surface prevents your feet from slipping during standing work. Avoid smooth-topped yoga mats. They’re designed for bare feet, not athletic shoes, and can be slippery when wearing footwear.
PVC and TPE mats are easiest to clean. Wipe them down with a damp cloth after sweaty workouts. Fabric-topped mats absorb sweat and are harder to maintain. They can also develop odors over time.
Test the mat before buying if possible. Stand on it in your exercise shoes. Twist your foot side to side. Your shoe shouldn’t slide. Jump lightly. The mat shouldn’t shift on the floor.
Sturdy Exercise Chair
A chair used for chair exercises, sit-to-stands, and as a balance support must be sturdy, non-wheeled, non-rocking, and heavy enough that it won’t slide or tip. A standard wooden dining chair works well. Test it: can you lean on the back with full body weight without it tipping? Can you push against the seat without it sliding? If either answer is no, choose a heavier chair or place it against a wall.
Armless chairs are more versatile for seated exercises. You can twist, reach to the side, and perform seated leg lifts without armrests blocking your movement. Chairs with arms work fine if the armrests are low enough that they don’t interfere with your range of motion.
Seat height matters for sit-to-stand exercises. Your thighs should be parallel to the floor or slightly higher when sitting. Too low and you’ll struggle to stand without excessive forward lean. Too high and you won’t work through the full range of motion that builds leg strength. Standard dining chair height (17-19 inches) works for most people.
The chair back should be straight or slightly angled backward. Forward-tilting backs make you lean too far forward during seated exercises. Curved lumbar-support backs can interfere with proper posture during core work.
Avoid folding chairs for regular exercise use. The joints loosen over time, creating an unstable base. Office chairs with wheels are out for obvious reasons. The wheels will slide during any exercise that involves pushing or leaning.
Adequate Lighting
Poor lighting is an underappreciated fall hazard during home exercise. Your balance system relies on vision, and dim lighting degrades your visual balance input. Exercise in well-lit rooms. If your exercise area has insufficient lighting, add a floor lamp or overhead light. The difference between exercising in dim lighting and bright lighting is measurable in balance test performance.
Aim for at least 50 foot-candles of light in your exercise space. That’s roughly equivalent to a well-lit office. You should be able to clearly see the floor, any equipment on the ground, and the edges of your exercise mat without squinting or leaning closer.
Natural daylight is ideal when available. Position your exercise area near a window if possible. Morning and early afternoon workouts benefit from natural light that supports circadian rhythm and mood.
Avoid creating shadows on the floor where you’re exercising. A single overhead light directly above you can cast your body’s shadow onto the mat, creating visual confusion during balance exercises. Multiple light sources from different angles eliminate shadows and provide even illumination.
LED bulbs rated 60-75 watts equivalent (800-1100 lumens) provide sufficient brightness without generating heat. The cooler color temperature (4000-5000K) mimics daylight and enhances alertness during morning workouts. Warmer temperatures (2700-3000K) create a relaxing environment but can feel too dim for exercise.
Clear Space
Your exercise area should have at least 6×8 feet of clear floor space with no furniture, rugs, cords, or obstacles that could trip you during standing exercises. Remove loose rugs (the number one household tripping hazard for seniors) from the exercise area. Push small furniture to the walls. Secure any electrical cords against the baseboard.
Six by eight feet accommodates most standing exercises including side steps, forward/backward walking, and arm circles. Smaller spaces force you to modify movements or skip exercises that require lateral movement.
Tape down or secure electrical cords running across the floor. Use cord covers designed for floor use or run cords along walls where they won’t cross your walking path. Phone chargers, lamp cords, and fan cords are common culprits.
If you exercise in a multi-purpose room, establish a consistent setup routine. Move the same furniture pieces to the same spots before each workout. Consistency eliminates the mental load of navigating a changing environment and reduces trip hazards from furniture in unexpected locations. For a detailed guide on optimizing each room in your home for safe exercise, check out our room-by-room safety modifications guide.
Check the floor for small objects before exercising. Pet toys, dropped pens, and coins become slip hazards when stepped on during dynamic movements.
Bathroom Safety for Exercise-Adjacent Activities
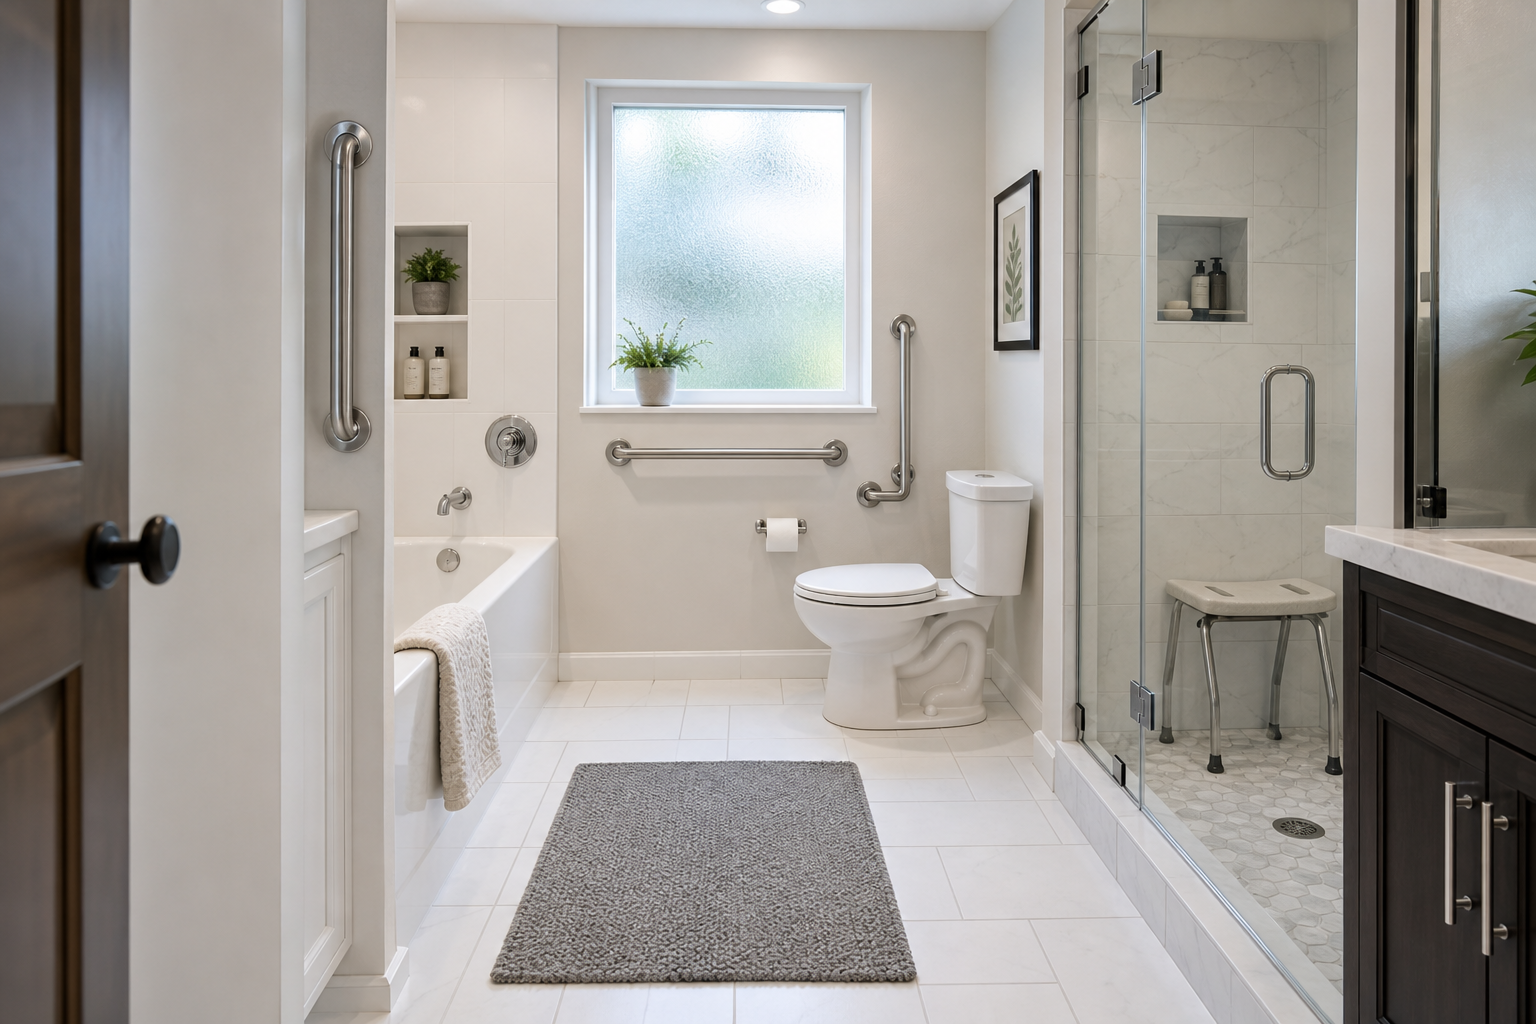
The post-exercise shower is one of the highest fall-risk moments because you’re fatigued, potentially lightheaded, and stepping onto a wet surface.
Shower grab bars: Shower-rated grab bars inside the shower/tub (both vertical for entry/exit and horizontal for standing support during bathing) reduce fall risk during the most vulnerable part of your exercise routine. Mount a vertical bar near the entrance for support when stepping over the tub edge. Mount a horizontal bar on the back wall for standing stability while bathing.
Suction cup bars work as temporary solutions in rentals or if you can’t drill into tile. Press them firmly onto smooth tile surfaces and test them before each use. They won’t support full body weight during a fall, but they provide light stability assistance during normal movement.
Permanent mounted bars are safer. Use tile anchors or drill into the studs behind the tile. This requires precision and the right tools. Professional installation is worth the cost in high-use bathrooms.
Non-slip bath mat: Inside the shower/tub and outside on the bathroom floor. Look for mats with strong suction cups that grip tile or acrylic surfaces. Replace mats when the suction cups lose grip. A mat that slides defeats the purpose.
The mat inside the tub should cover the entire standing area, not just a small section near the drain. You move around while showering, and the edges of a small mat become trip hazards.
Place a second mat on the bathroom floor outside the tub. Step directly from the tub onto the mat, not onto bare tile. Bare feet on wet tile are slippery even for people with excellent balance.
Shower chair or bench: If post-exercise fatigue or lightheadedness makes standing in the shower risky, a shower chair lets you sit while bathing. Adjustable height chairs accommodate different tub and user heights. Look for models with non-slip rubber feet and drainage holes in the seat.
Shower chairs aren’t just for people with severe mobility limitations. They’re appropriate for anyone who experiences fatigue after workouts or feels unsteady in wet environments. There’s no shame in sitting while you shower after a hard leg workout.
Some benches span the tub edge, letting you sit while transferring into the tub rather than stepping over the edge. These are helpful if stepping over the tub wall challenges your
