A fall can happen in seconds, and suddenly you’re on the floor wondering what to do next. For many older adults, the fall itself isn’t the most dangerous part. Lying on a hard floor for an extended period, sometimes called a “long lie,” can lead to hypothermia, dehydration, pressure injuries, and muscle breakdown. Knowing how to get up safely, and knowing when not to get up, is one of the most important skills you can build for independent living.
This guide walks you through the step-by-step floor recovery technique, explains when you should stay put and call for help instead, and gives you a practice routine so the method feels natural before you ever need it in a real emergency.
First: Should You Try to Get Up at All?
Before you attempt to rise from the floor, take a moment to assess yourself. Moving too quickly after a fall, especially if there’s a fracture or head injury, can make things significantly worse.
Stay on the floor and call for help if you have:
- Severe pain in your hip, leg, wrist, or spine
- Inability to move or bear weight on a limb
- Dizziness, confusion, or blurred vision
- Loss of consciousness, even briefly
- Signs of a head injury such as headache, nausea, or a bump on the skull
If any of those apply, call 911 or use a personal emergency response device. Try to stay warm by pulling a blanket or coat toward you, and shift your position slightly every few minutes to reduce pressure on bony areas while you wait.
If you’re shaken but not injured, meaning you can move all limbs and there’s no sharp or severe pain, then a controlled floor recovery is possible. Take a few slow breaths first. Rushing leads to a second fall.
The Step-by-Step Floor Recovery Technique
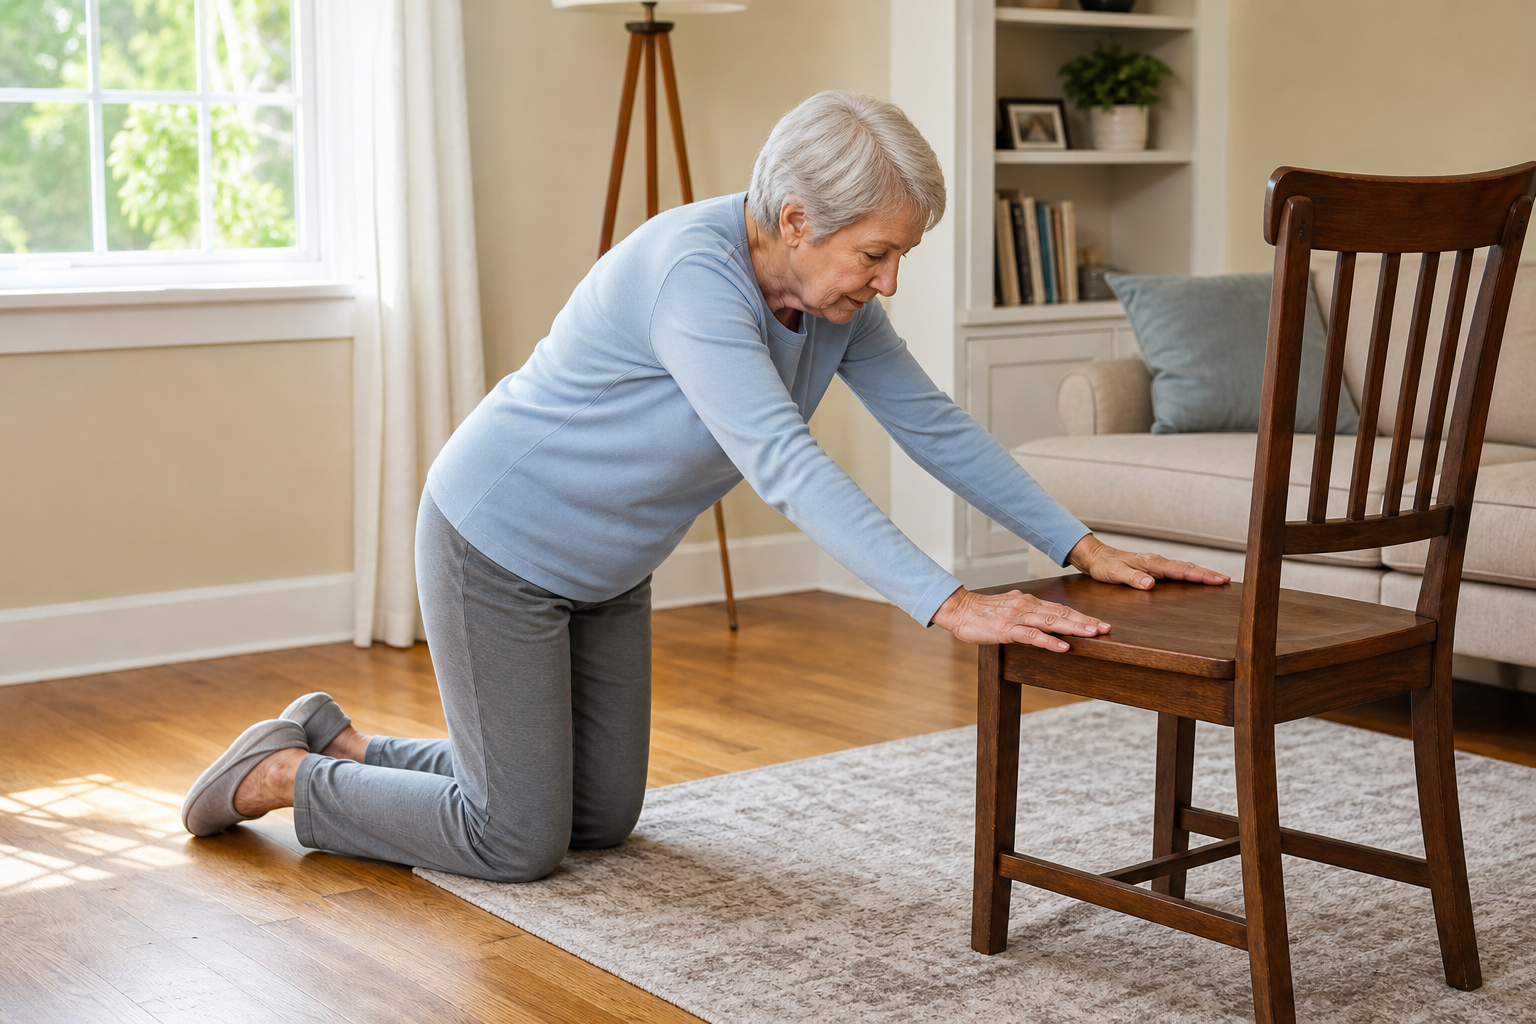
This method uses a sturdy chair as an anchor. It’s the standard technique recommended by physical therapists and fall prevention specialists, and it works for most adults regardless of strength level. Practice it when you’re healthy so it becomes muscle memory.
Step 1: Roll Onto Your Side
From your back, bend your knees and slowly roll onto your stronger side. Use your arms to control the movement rather than flopping over. Take a breath and pause here for a moment.
Step 2: Push Up to a Side-Lying Position
Using the arm closest to the floor, push your upper body up. You’ll end up resting on your forearm first, then your hand. Keep your movements slow and deliberate. There’s no rush.
Step 3: Get to All Fours
From the side-lying position, use both arms to push up and get onto your hands and knees. If your knees are tender, crawl toward a sturdy chair or low, stable surface. A non-slip kneeling pad kept nearby can make this step more comfortable if you practice regularly.
Step 4: Position Yourself Next to the Chair
Crawl until you’re alongside a heavy, sturdy chair. Avoid wheeled chairs, lightweight folding chairs, or anything that could tip. A dining chair or a dedicated step stool with a handle works well. Place both hands on the seat of the chair.

Sturdy Step Stool With Handle
A step stool with a built-in grab handle gives you a stable anchor for both the floor recovery technique and everyday tasks around the home.
Step 5: Bring Your Stronger Leg Forward
While keeping both hands on the chair seat, bring your stronger leg forward so the foot is flat on the floor. You’re now in a half-kneeling position, like a low lunge. This is the most important position in the whole sequence because it sets you up for a safe push to standing.
Step 6: Push Up to Standing
Press through the flat foot and push down on the chair seat at the same time. Rise slowly to a standing position, keeping your weight centered over the chair. Once upright, hold the chair and stand still for at least 15 to 20 seconds before moving. Let your blood pressure stabilize before you try to walk.
If you feel dizzy when you stand, sit in the chair immediately and wait. Positional dizziness is common and worth taking seriously. For more guidance on managing balance problems that contribute to falls, the exercises covered in our article on vertigo and balance exercises for seniors are a practical next step.
The Right Equipment Makes a Real Difference
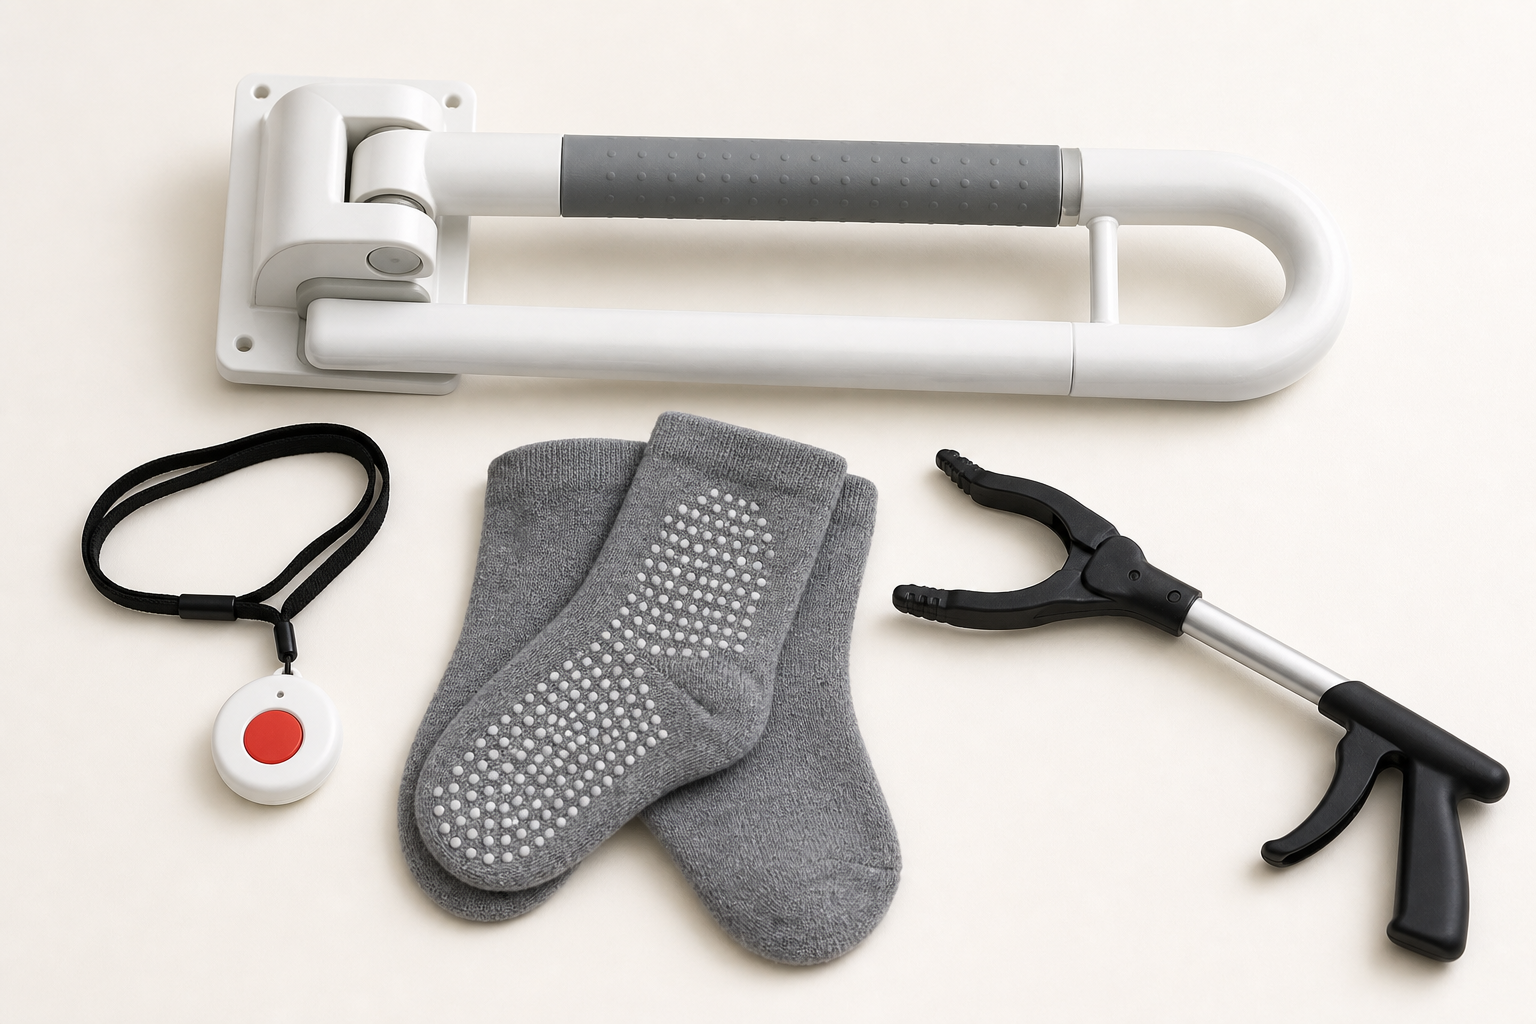
The technique above works best when you have the right support tools in your home. You don’t need a lot, but you do need the right things in the right places.
A raised toilet seat with handles near the bathroom is worth considering since the bathroom is the most common site for household falls. A wall-mounted grab bar provides an anchor point when getting up from a low surface.

Bedside Safety Rail Handle
A bedside safety rail gives you a solid handhold for getting in and out of bed, which uses the same push-to-standing mechanics as floor recovery.
For your bedroom, a bedside safety rail attaches under your mattress and gives you a grab point when transitioning from lying to standing. This is especially helpful if you practice the floor technique from a low surface like a yoga mat or thick carpet.
Keep at least one chair without wheels in every room where you spend significant time. That one habit alone reduces your scrambling distance if you ever end up on the floor.
How to Practice So You’re Actually Ready
Reading about a technique and being able to execute it under stress are very different things. Physical therapists recommend practicing the floor recovery method at least once a month, with a spotter nearby the first few times.
Here’s a simple practice routine:
- Place a yoga mat or folded blanket on the floor next to a dining chair.
- Lower yourself to the floor slowly using the chair as support, reversing the technique.
- Rest for a moment, then go through all six steps back to standing.
- Do this two to three times per session so the movement sequence feels familiar.
If getting to the floor and back feels genuinely difficult, that’s important feedback. It likely means your leg strength, grip strength, or both need attention. A progressive resistance training program can build the functional strength that makes floor recovery much easier. Similarly, working on grip strength specifically gives you a more reliable push off the chair seat during step six.
Bone health also matters here. If you’ve been diagnosed with osteoporosis or have concerns about your bone density, pairing this technique with an osteoporosis exercise plan can reduce the severity of any future fall-related fractures.
Prevention: Reducing Your Fall Risk at Home
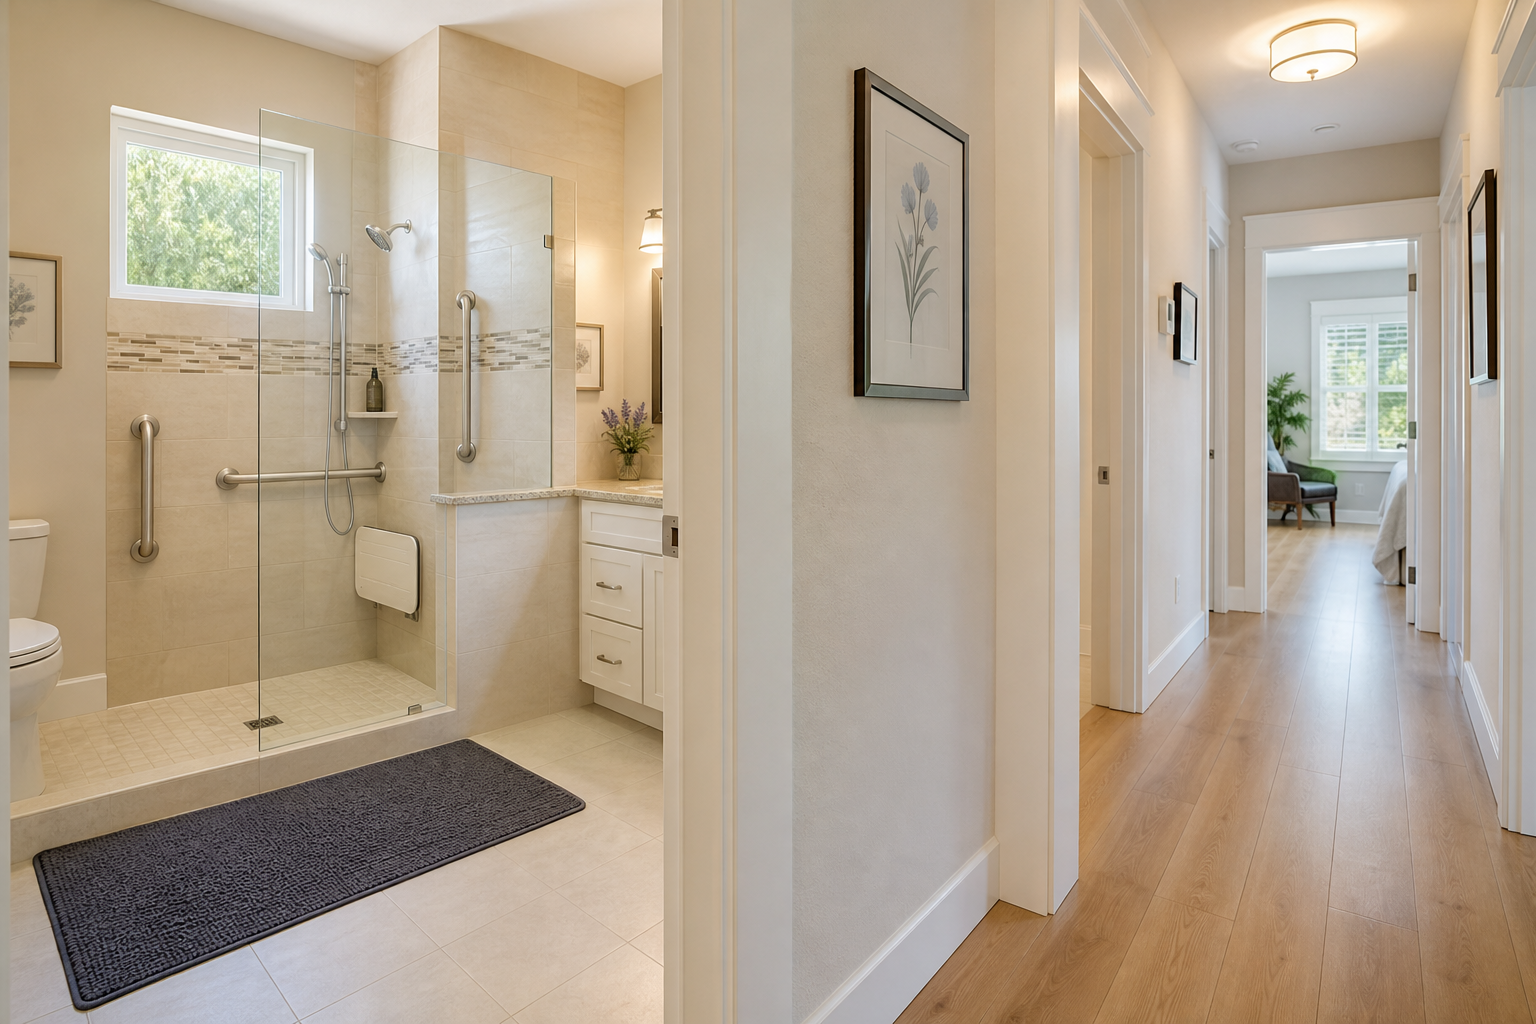
The best use of this technique is to rarely need it. A few targeted changes cut fall risk dramatically.
- Remove loose rugs or secure them with non-slip backing.
- Improve lighting in hallways and bathrooms, especially at night.
- Wear supportive footwear inside the house. Socks on hardwood floors are a genuine hazard.
- Review your medications with your doctor. Blood pressure medications and sedatives are among the most common contributors to falls. Our article on blood pressure medication and exercise precautions covers this topic in more detail.
- Stay physically active. Regular exercise builds the leg strength and balance that prevent falls in the first place.
Frequently Asked Questions
What if I can’t get onto my hands and knees because of knee or hip pain?
If kneeling is painful or not possible, you can modify the technique by staying on your side and using two chairs, one for each hand, to push up to a seated position on a low surface first. Ask a physical therapist to show you a variation suited to your specific limitations. For those managing recovery after surgery, our post-hip replacement exercise guide includes mobility tips that are relevant here.
How long is it safe to stay on the floor if I can’t get up?
Try to get help within 30 to 60 minutes if possible. Lying on a hard surface for more than an hour increases the risk of pressure sores and a condition called rhabdomyolysis, where compressed muscles break down and release proteins into the bloodstream. Keep a phone or medical alert device within reach at all times, ideally on your person rather than across the room.
Is there a device that can help me get up from the floor on my own?
Yes. Portable floor-to-stand assist devices are available and work by giving you a series of progressively higher grab points to push against. Search for floor-to-stand assist devices for seniors on Amazon to see current options. Some are simple angled handles, while others are padded multi-level frames. If you live alone and have any mobility concerns, one of these devices near your bed or living area is a worthwhile investment.
This article contains affiliate links. We may earn a small commission at no extra cost to you.
