The ability to get up from the floor is one of the most important functional skills you can have after 60. If you fall and can’t get up independently, you may lie on the floor for hours waiting for help, which dramatically increases the risk of hypothermia, dehydration, pressure injuries, and psychological trauma.
Research shows that the inability to rise from the floor is independently associated with increased mortality in older adults.
If you currently can’t get up from the floor, this progressive plan will build the specific strength, flexibility, and technique you need. If you can get up but it’s difficult, this plan makes it easier and more confident.
Before starting this program, talk to your doctor, especially if you have a history of falls, balance problems, joint replacements, or cardiovascular conditions. What follows is a training progression, not medical advice.
Why Getting Up Becomes Difficult
Rising from the floor requires a specific combination of upper body pushing strength (to lift your torso), hip and knee flexibility (to transition between positions), leg strength (to push up to standing), and balance (to maintain stability during each transition). Weakness in any one of these creates a bottleneck.
Most people who can’t get up have adequate strength in some areas but critical weakness in one or two.
The half-kneeling transition is often the hardest part. It demands hip flexor flexibility many older adults lose through years of sitting. Tight hip flexors lock your hip in a bent position, preventing you from bringing your knee forward into the half-kneeling stance that sets up the final push to standing.
Upper body pushing strength also declines sharply if you don’t use it regularly. You’re not doing push-ups in daily life. Without deliberate training, the triceps and shoulder muscles needed to push your torso off the floor can weaken significantly.
Leg strength alone isn’t enough. You can squat well and still struggle to get up from the floor if you can’t maneuver into the right position to use that leg strength effectively. The transitions between positions matter as much as raw strength.
Phase 1: Building the Foundation (Weeks 1-4)
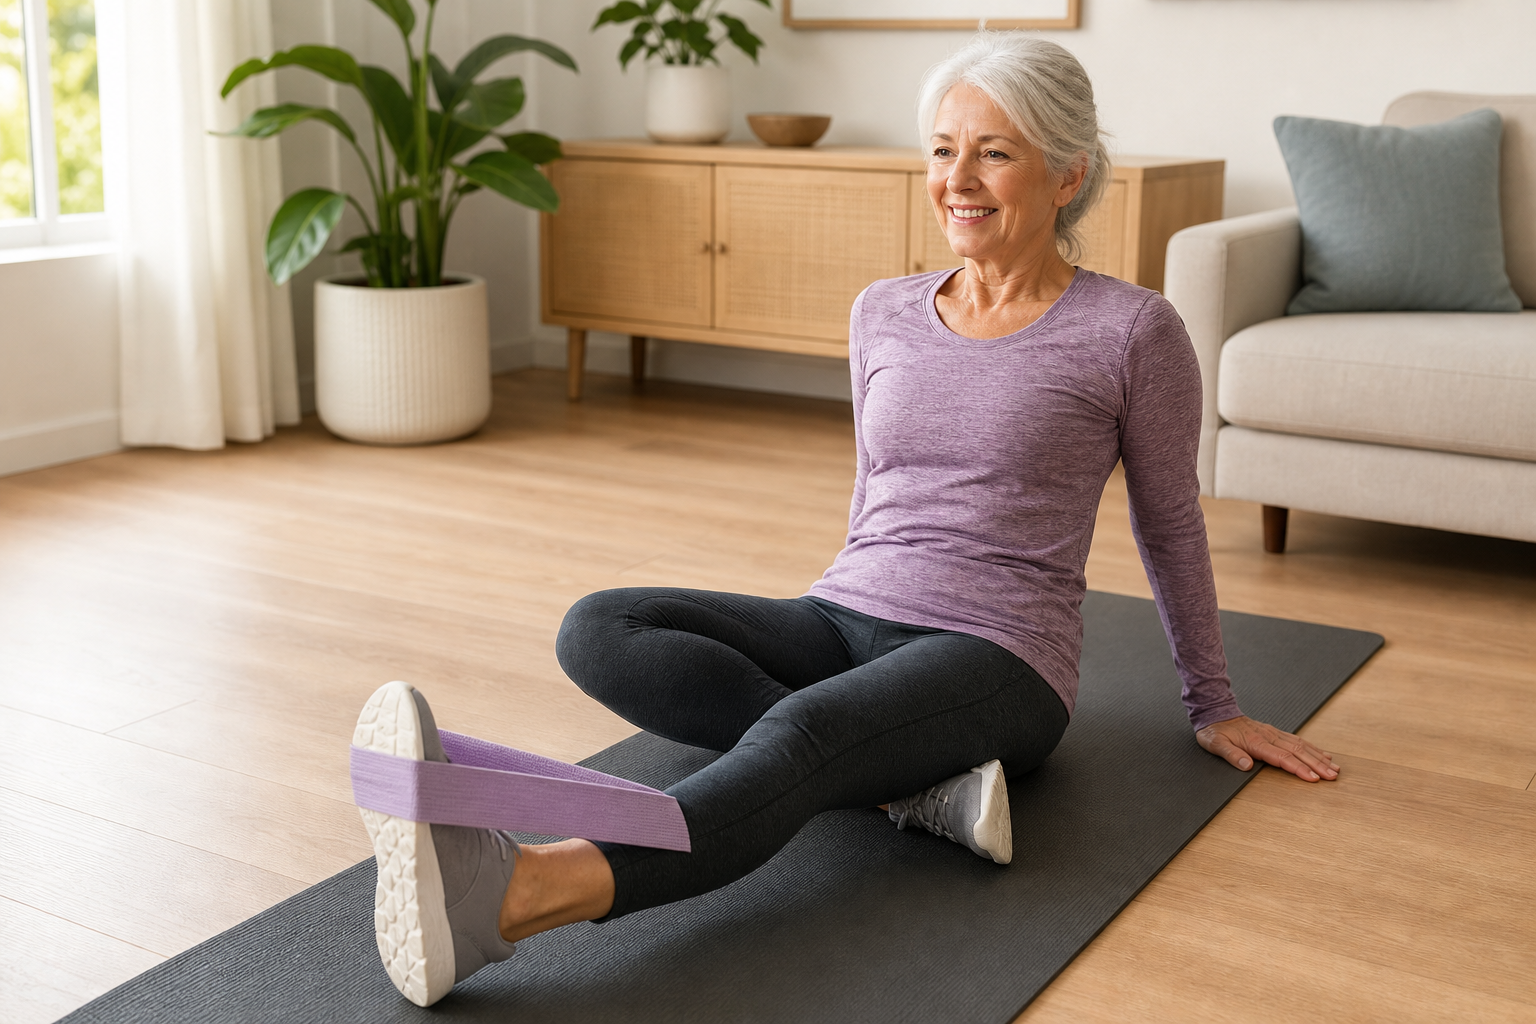
These exercises build the specific strength needed for floor-to-standing without actually requiring you to get on the floor yet. Do these 3-4 times per week with at least one rest day between sessions.

Thick Exercise Mat
Provides essential cushioning for knee comfort during kneeling exercises
Chair Push-Ups (Upper Body Pushing Strength)
Place your hands on the seat of a sturdy chair. Straighten your arms to push your body up, then lower slowly. 3 sets of 8.
This builds the arm and chest strength needed to push yourself up from the floor. If 8 is too many, start with 5 and add reps as you get stronger. Lower yourself slowly (3 seconds down) to build strength through the full range.
Chair Squats to Low Surface (Leg Strength)
Practice sitting down onto and standing up from progressively lower surfaces. Start with a standard chair, progress to a low stool or ottoman, and eventually to a stack of firm cushions on the floor. 3 sets of 5 at each height.
Each height level should feel manageable before progressing lower. When you sit, control the descent. Don’t just drop.
When you stand, push through your heels and keep your chest up. Use your arms on the armrests or seat for assistance if needed, but try to do more of the work with your legs as you get stronger.
Kneeling to Half-Kneeling (Transition Strength)
Start on both knees on a padded surface (carpet or thick exercise mat). Step one foot forward into a half-kneeling position (one knee on the ground, one foot flat). Then step the other foot forward and push to standing using a chair for support. 3 sets of 3 per leading leg.
This movement is the exact transition you’ll use to get up from the floor. The more comfortable it feels now, the easier the full sequence becomes later.
Hip Flexor Stretch
Tight hip flexors prevent you from getting into the half-kneeling position needed for the transition. Kneeling hip flexor stretch (one knee down, other foot forward, lean gently forward). Hold 30 seconds per side, twice daily.
You should feel the stretch in the front of the hip of your back leg, not in your knee or lower back. If you feel it in your knee, add more padding. If you feel it in your lower back, you’re leaning too far forward.
Keep your torso upright and just shift your hips forward slightly.
Daily Standing Balance Work
Stand near a counter with fingertip contact for safety. Practice standing on one foot for 10 seconds, then switch. Work up to 30 seconds per side.
Balance is critical during the final push to standing. You’ll be in an unstable position briefly, and good balance prevents you from toppling backward.
Phase 2: Floor Transitions with Support (Weeks 5-8)
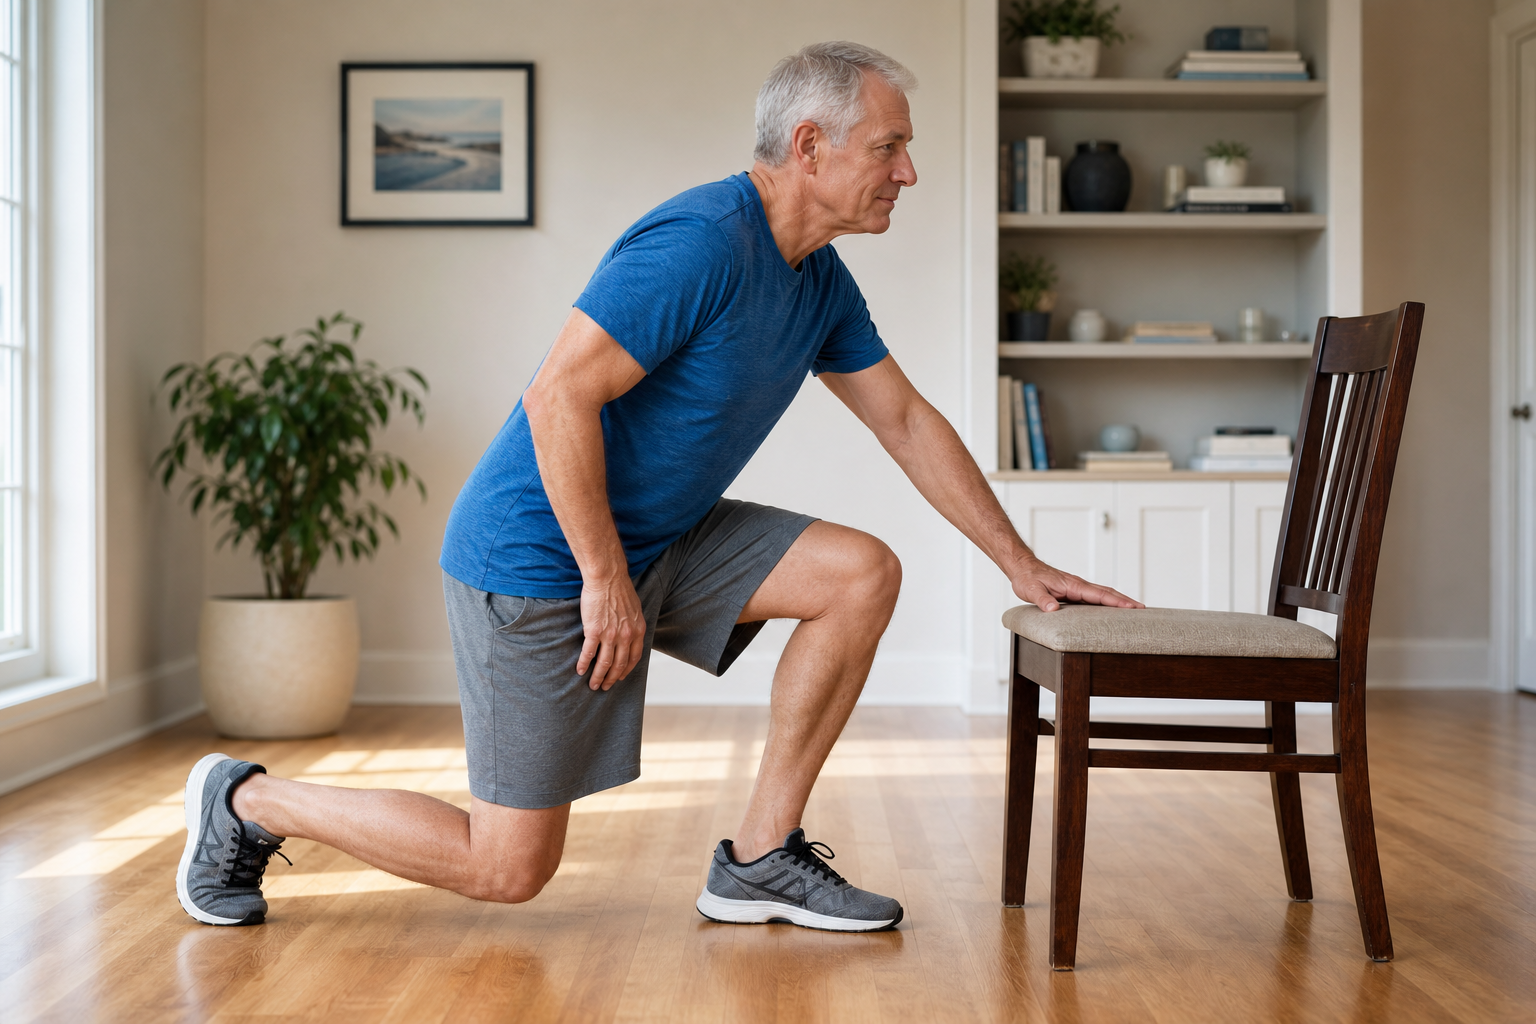
You’ll practice the actual floor-to-standing sequence using a chair or couch for support. By now, your pushing strength and leg strength should be noticeably better. You’re ready to put the pieces together.
The Sequence
Roll to your side. From lying on your back, bend your knees and roll onto your side (either direction). Pick whichever side feels more natural. Most people find one direction easier than the other.
Push up to hands and knees. Use your top arm to push your body up while swinging your knees under you. You should now be on all fours. This step uses the upper body pushing strength you’ve been building. If this part is hard, spend another week on chair push-ups before moving forward.
Crawl to a sturdy surface. Move on hands and knees to a couch, chair, or low table. Pick something heavy that won’t slide when you push on it. A couch is better than a dining chair.
Half-kneeling. Place both hands on the furniture surface. Step one foot forward into a half-kneeling position. Your front foot should be flat on the floor, knee bent about 90 degrees. Your back knee stays on the ground. This is the position you’ve been practicing in Phase 1.
Push to standing. Press down on the furniture and push up through your front leg to standing. Drive through your front heel. The furniture provides balance support, but your front leg does most of the lifting work.
Practice this sequence 3 times per session, 3-4 sessions per week. Use a thick mat for knee comfort. Always practice near a phone in case you need assistance during the learning phase.
Common Mistakes at This Stage
Trying to stand up from both knees instead of transitioning to half-kneeling first. That’s much harder and doesn’t work for most people. The half-kneeling position lets you use the big muscles in your front leg to drive upward. Skipping that step makes the movement nearly impossible.
Don’t place your front foot too close to your body in the half-kneeling position. Your shin should be roughly vertical, not angled forward. If your knee is way out past your toes, you’re too far forward and you’ll have trouble pushing up.
Phase 3: Independent Floor Rising (Weeks 9-12)
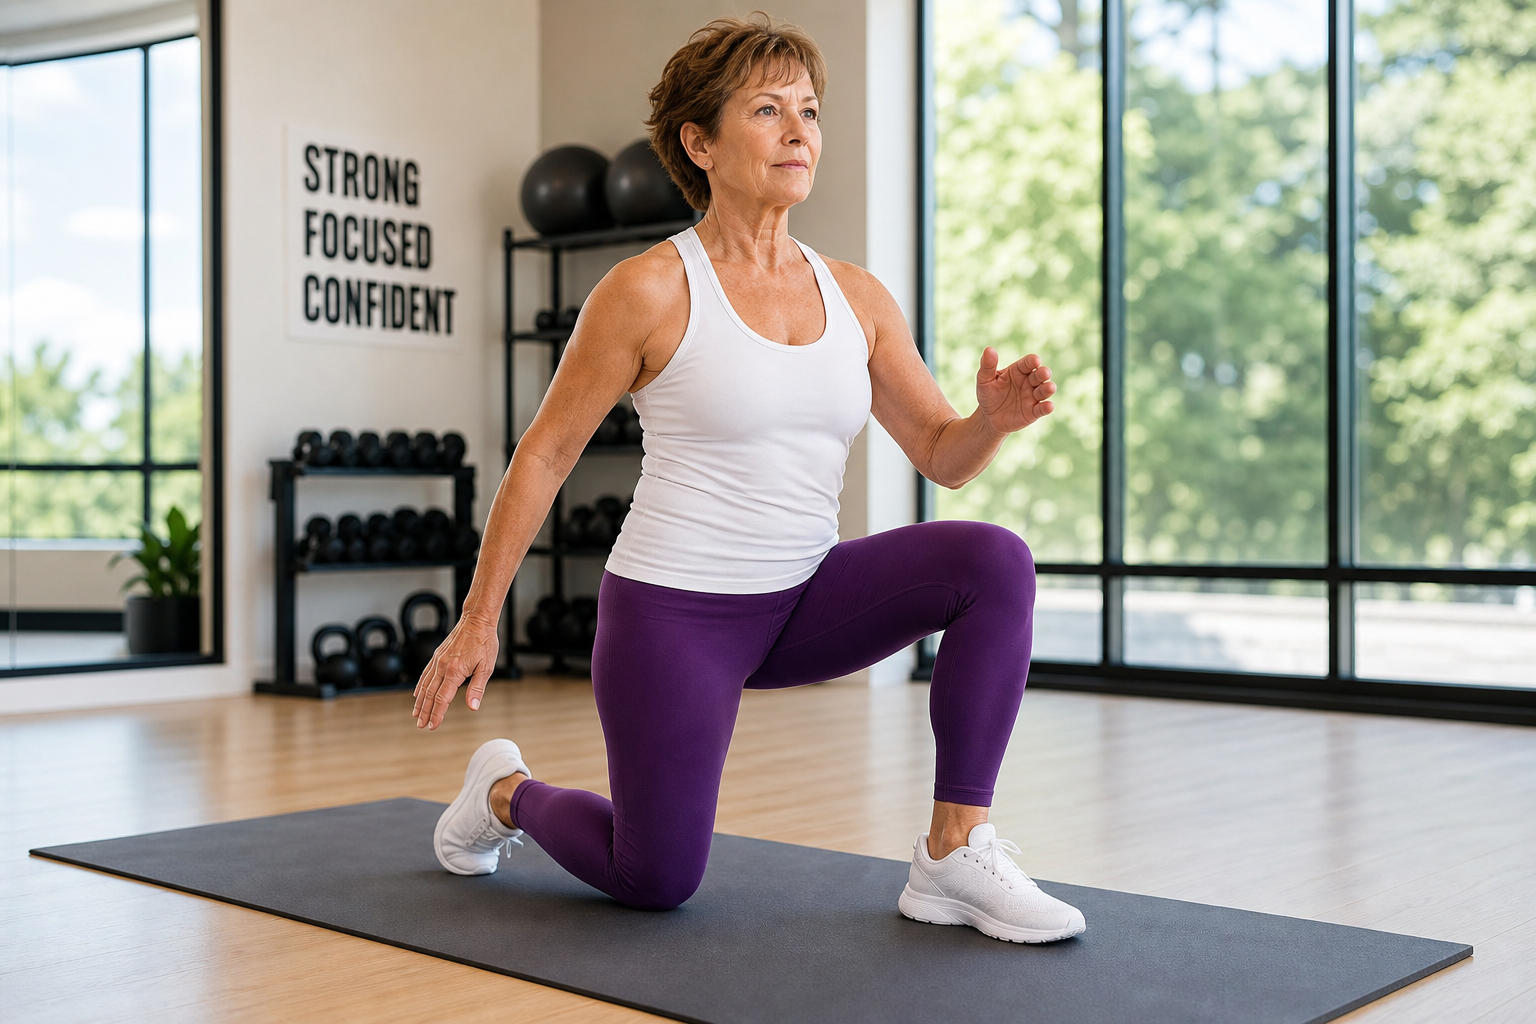
Gradually reduce your reliance on the furniture until you can perform the sequence independently. The furniture remains nearby for safety, but you’ll use it less and less.
Weeks 9-10: Use the furniture for balance only (fingertip contact) rather than pushing up with your arms. Your legs do the work. Place your hands lightly on the couch or chair, but don’t press down. If you start to lose balance, the furniture is there. Otherwise, your front leg lifts you.
Weeks 11-12: Perform the entire sequence without touching the furniture. It’s nearby for safety, but you complete each step using only your body. Some people like to place their hands on their front thigh during the half-kneeling-to-standing transition for a little extra push. You’re not using external support.
Once you can get up independently, practice the full sequence at least once per week to maintain the skill. Like any physical ability, it degrades without practice. Monthly practice isn’t enough. Weekly keeps it sharp.
What If the Standard Sequence Doesn’t Work for You
The method described above works for most people, but bodies vary. If you have severe knee arthritis, hip replacements, or other joint limitations, you may need modifications.
The Furniture Slide Method (No Kneeling Required)
Sit on the floor with your back against a couch or sturdy chair. Bend your knees and place your feet flat on the floor. Put both hands on the couch seat behind you and push yourself up backward onto the couch, then pivot and stand.
This avoids kneeling entirely and relies more on upper body strength and core control. It’s a good alternative if kneeling is off the table.
The Tripod Method
Instead of going to half-kneeling, stay on hands and knees but bring one foot forward and one hand up. You’re now in a three-point stance (two hands, one foot, one knee). Push up from there. This splits the difference and works for some people who struggle with the full half-kneeling transition.
When a Physical Therapist Should Be Involved
If you’ve tried this progression for 8 weeks and still can’t get past Phase 1, a physical therapist can identify the specific limiting factor. You may have a strength imbalance, flexibility issue, or technique problem that needs individual attention.
There’s no shame in getting expert help. For those recovering from surgery, our guide on post-surgery exercise provides additional considerations for safely returning to activity.
What If You Fall and Can’t Get Up
Even while building this skill, know the emergency protocol.
Stay calm. Panic increases heart rate and blood pressure and wastes energy. Lying on the floor is uncomfortable and scary, but in most cases, it’s not immediately dangerous if you stay composed.
Assess for injury. Move each limb gently before attempting to get up. If anything hurts severely, stay still and call for help. A hip fracture or serious head injury means you shouldn’t try to move. If everything moves without sharp pain, proceed.
Crawl to a phone if you can’t get up and no one is nearby. Call 911 or press your medical alert button if you have one. Crawling burns energy, but getting help is the priority.
Stay warm. Pull a blanket, coat, or rug over yourself if you expect to wait. Hypothermia on a cold floor is a real risk, especially in winter or if you’re on tile or hardwood. Even a light blanket helps. If nothing is within reach, try to roll onto carpet instead of hard flooring.

Medical Alert System
Fall detection can automatically call for help, essential for seniors living alone
A medical alert device with fall detection can automatically call for help if it senses a fall followed by immobility. This is one of the most valuable safety tools for seniors who live alone. The monthly fee is small compared to the risk of lying on the floor for hours.
Tracking Your Progress
Keep a simple log. Write down which phase you’re in, how many reps you completed, and how each session felt. This gives you concrete evidence of improvement, which matters when progress feels slow.
After four weeks, you should notice your chair push-ups feel easier and you can lower yourself onto progressively shorter surfaces without hesitation. After eight weeks, the full floor-to-standing sequence with furniture support should feel manageable, not terrifying. After twelve weeks, you should be able to get up independently at least some of the time.
If progress stalls, look at consistency. Are you doing 3-4 sessions per week? Skipping sessions derails progress fast. One session per week isn’t enough to build strength.
For tracking your workouts and progress, consider using one of the fitness tracking apps designed for seniors to monitor your improvement over time.
Frequently Asked Questions
What if I can’t kneel due to knee pain?
Use a thick cushion or folded blanket under your knee for padding. If kneeling is impossible, practice the “furniture slide” method: sit on the floor with your back against a couch or sturdy chair, place your hands on the seat behind you, and push yourself up backward onto the furniture, then stand. This avoids kneeling entirely.
Some people find a kneeling pad (sold for gardening) provides enough cushioning that kneeling becomes tolerable. It’s thicker and firmer than a yoga mat.
How long before I can get up independently?
Most people who follow this progressive plan can get up from the floor (with furniture nearby) within 6-8 weeks and independently within 10-12 weeks. Progress depends on your starting strength and consistency. Don’t skip phases because each builds on the last.
If you’re starting from a very weak baseline, it may take longer. The timeline isn’t a pass/fail test. It’s a guideline.
Should I practice falling safely too?
Yes. Learning to fall (tucking your chin, rolling to your side, avoiding reaching out with straight arms) reduces fracture risk. A physical therapist can teach safe falling technique in a controlled environment. This skill pairs perfectly with the floor-rising program.
Many senior centers and physical therapy clinics offer fall prevention classes that include safe falling drills. It feels strange to practice falling on purpose, but it’s one of the best investments you can make.
What if I live alone and I’m nervous about practicing?
Practice when someone is home or when you have a scheduled phone check-in with a friend or family member. Tell them you’re doing floor exercises and you’ll call them in 20 minutes. Set a timer. If you don’t call, they call you. This gives you a safety net during the learning phase.
You can also practice in a room with your phone in your pocket or right next to you on the floor. If something goes wrong, help is one button press away.
Can I do this if I’ve had a hip or knee replacement?
Check with your surgeon first. Most joint replacements are stable enough for floor work after the initial recovery period, but your surgeon knows your specific case.
Hip flexor tightness can be more pronounced after hip replacement, so the stretching component of Phase 1 becomes even more important. For detailed guidance on exercising after joint replacement, see our 