Yoga props aren’t crutches for people who can’t do “real” yoga. They’re tools that make yoga accessible, effective, and safe for bodies that don’t bend the way they used to. For seniors with stiff joints, limited range of motion, or balance concerns, props bridge the gap between what a pose requires and what your body can currently do. The right props let you hold poses long enough to get the flexibility benefit without the strain, pain, or fall risk that unaided attempts produce.
Props also allow you to practice longer. Without them, you might bail out of a pose after 10 seconds because your arms are shaking or your knee hurts. With a block under your hand or a blanket under your knee, you can hold that same pose for 30-60 seconds, which is where flexibility gains actually happen. This is particularly important for older adults, whose connective tissue needs more time under gentle tension to lengthen.
Talk to your doctor before starting any new exercise program, especially if you have existing joint conditions, balance issues, or cardiovascular concerns. Props make yoga safer, but individual ability varies widely.
Essential Yoga Props for Seniors
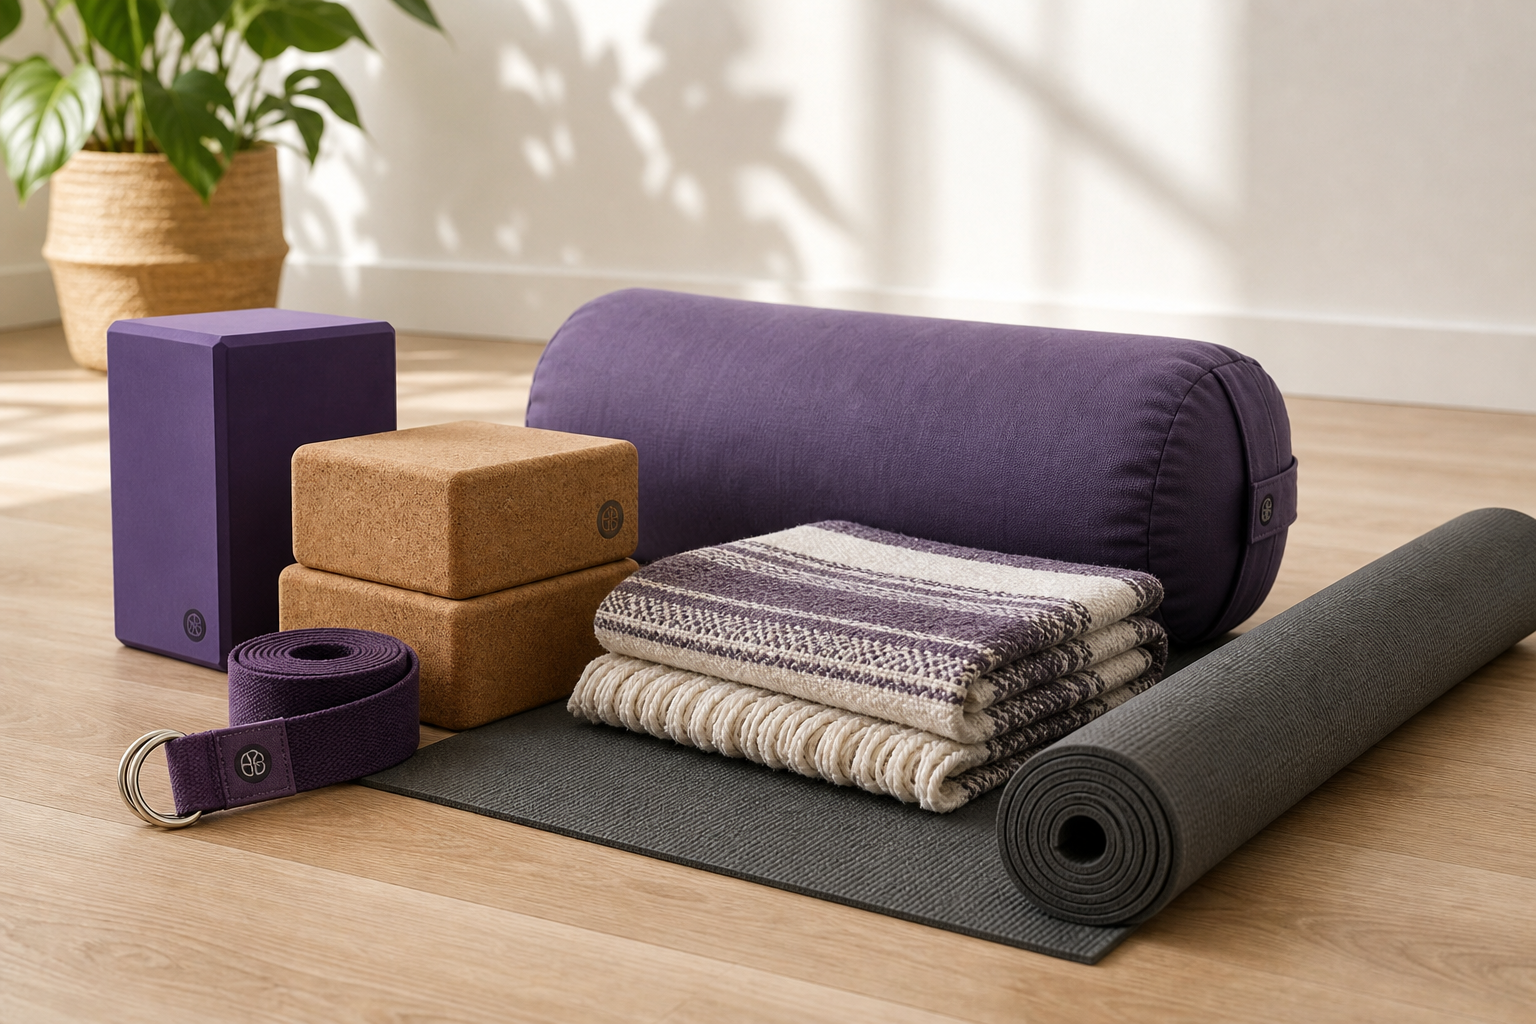
Yoga Blocks
Blocks bring the floor closer to you. If you can’t reach the floor during a forward fold, a block under each hand provides a stable surface at a height you can comfortably reach. Blocks come in foam (lightest, most forgiving), cork (heavier, more stable), and wood (heaviest, firmest). Foam blocks are the best choice for seniors because they’re light, won’t hurt if they fall, and provide enough cushion for kneeling and sitting.

Foam Yoga Blocks (Set of 2)
Lightweight and forgiving, perfect for seniors who need adjustable support at three different heights
A set of two foam blocks covers most needs. Use them on three different heights (tall, medium, flat) to match your flexibility at each pose. As your range improves over weeks, switch to a shorter height.
Standard blocks measure 9 x 6 x 4 inches. On their tallest setting (9 inches), they’re about the height of a stack of three hardcover books. On medium (6 inches), they’re roughly the height of a thick dictionary. Flat (4 inches), they’re about as tall as a smartphone standing on end. Most seniors start with blocks on the tall setting for standing forward folds and gradually work down.
Blocks also serve as seats. Sitting on a block during cross-legged poses elevates your hips above your knees, which reduces hamstring strain and lets your spine stay upright without effort. If your hips are very tight, stack two blocks for even more elevation.
Yoga Strap
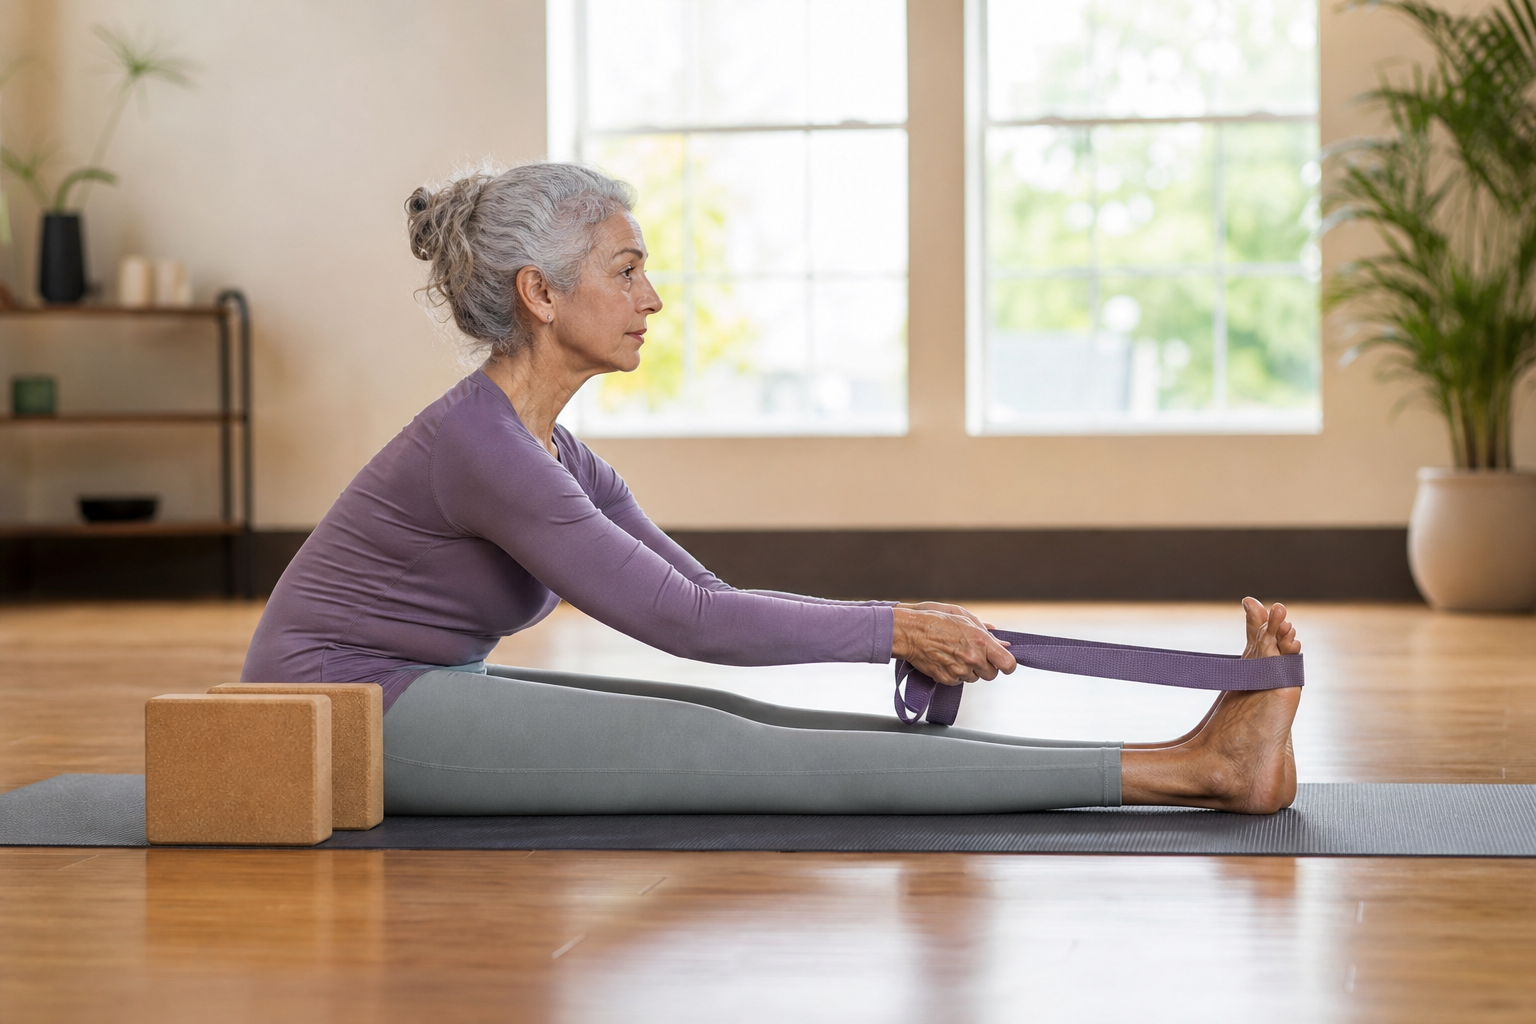
A strap extends your reach. If you can’t reach your toes in a seated forward fold, a strap looped around the balls of your feet lets you hold the position and get the hamstring stretch without rounding your back. Straps are also used for shoulder stretches (holding the strap behind your back when your hands can’t meet) and for gently pulling yourself deeper into poses.

Cotton Yoga Strap with D-Ring
Cotton is more comfortable and less slippery than nylon, with a buckle that creates fixed loops for passive stretching
A 6-8 foot cotton yoga strap with a metal D-ring buckle is the standard. Cotton is more comfortable and less slippery than nylon.
The buckle lets you create loops of specific sizes, which is useful for poses where you need to hold the strap in a fixed position. For example, in a reclined leg stretch, you loop the strap around your foot, cinch it to a length that lets you straighten your leg without strain, and then just relax into the stretch. Without the buckle, you’d have to actively grip the strap the entire time, which defeats the point of passive stretching.
Eight feet is long enough for most people. Taller individuals or those with particularly tight hamstrings might prefer a 10-foot strap, which gives more adjustment room.
Bolster
A yoga bolster is a firm, cylindrical or rectangular cushion used to support your body during restorative poses. Placed under your knees during supine stretches, under your back for gentle chest openers, or between your legs during side-lying rest, a bolster allows you to relax fully into a pose without muscular effort. This passive support lets connective tissue stretch over longer holds (3-5 minutes) that active stretching can’t achieve.
A rectangular bolster is more versatile than a round one because it provides a flat, stable surface for lying on and sitting against.
Rectangular bolsters typically measure about 24-28 inches long, 6-8 inches wide, and 4-5 inches tall. That’s large enough to support your entire spine in a supine position or provide knee support without shifting around. Round bolsters (usually 8-9 inches in diameter) work well for certain poses like supported child’s pose, but they roll if you shift weight, which can be a fall risk for seniors.
Firmness matters. A bolster should compress slightly under your weight but not flatten out. Too soft and it provides no real support. Too firm and it’s uncomfortable for long holds. Most yoga bolsters use dense foam or cotton batting wrapped in a removable canvas cover. Press on the bolster before buying. It should feel supportive but not rock-hard.
Yoga Blanket
A folded yoga blanket serves multiple purposes: cushioning under your knees during kneeling poses, elevating your hips during seated poses (which reduces hamstring strain and allows a more upright spine), padding under your head during lying poses, and providing warmth during the final relaxation. A firm, woven Mexican-style yoga blanket folds neatly and provides better support than a fluffy household blanket.
These blankets are usually 80 x 50 inches, made from tightly woven cotton or a cotton-acrylic blend. They’re flat enough when folded that they don’t create an unstable surface. Household blankets tend to be too lofty and soft. They compress unevenly, which creates wobble.
You’ll fold the blanket multiple times depending on the use. For hip elevation in seated poses, fold it into thirds or quarters to create a firm, 3-4 inch lift. For knee padding, fold it once or twice for about an inch of cushion. For warmth during Savasana (final relaxation), unfold it and drape it over yourself.
Many seniors find that two blankets are more useful than one. Use one for hip elevation and another for knee padding at the same time, or stack them both for extra height if you have very tight hips.
Thick Yoga Mat
Standard yoga mats are 3-4mm thick, which provides almost no knee cushioning on hard floors. For seniors, a 6-8mm thick mat with a non-slip surface protects your knees during kneeling poses, cushions your spine during lying poses, and provides a more comfortable surface overall. The trade-off is that thicker mats are slightly less stable for standing balance poses, so use a wall or chair for support during those.

Extra Thick Yoga Mat (6-8mm)
Essential knee and spine protection for seniors practicing on hard floors
Eight millimeters is noticeably more cushioned than six. If you have any knee arthritis or sensitivity, go with the eight. If balance is a bigger concern than joint padding, stick with six.
Look for a mat labeled “non-slip” or “sticky.” Some thick mats use smooth surfaces that feel slippery when your hands or feet sweat. Textured surfaces with a slight grip prevent sliding without being so sticky that you can’t adjust your position.
Longer mats (72 inches instead of the standard 68) are worth it if you’re taller than 5’8″. Your feet or head hanging off the mat during lying poses defeats the cushioning purpose.
Chair
A sturdy, armless chair is the most underrated yoga prop. Chair yoga eliminates the need to get on the floor, provides hand support for standing balance poses, serves as a stable surface for seated poses, and makes yoga accessible for seniors who can’t safely work on a mat. Many traditional yoga poses have effective chair-based modifications.
Use a dining chair or folding chair without wheels. It needs to stay put when you press down on the seat or lean on the back. Armrests get in the way of most poses. The seat should be firm, not cushioned. A squishy seat compresses unevenly and creates instability.
For standing poses, place the chair against a wall so it can’t scoot backward when you lean on it. For seated poses, position the chair on your yoga mat to prevent sliding on smooth floors.
Chair yoga isn’t a lesser form of yoga. It’s a legitimate practice style that allows people with limited mobility, balance issues, or floor-transfer difficulty to access the same stretches, breathing work, and relaxation that mat yoga provides. Many chair yoga sequences are quite challenging.
How Props Modify Common Poses
- Forward fold: Can’t reach the floor? Place blocks under your hands at whatever height lets you fold with a straight back.
- Seated forward fold: Can’t reach your feet? Loop a strap around the balls of your feet and hold the strap ends, pulling gently to deepen the stretch.
- Pigeon pose: Too intense on the hip? Place a bolster or folded blanket under the front hip for support, reducing the depth of the stretch to a comfortable level.
- Tree pose: Can’t balance on one leg? Place one hand on a chair back or wall while your other arm reaches overhead.
- Warrior II: Knee hurts in a deep lunge? Don’t go as deep, and place a block under the front hand for additional support.
- Corpse pose (Savasana): Lower back uncomfortable lying flat? Place a bolster under your knees to flatten the lumbar curve.
Additional modifications:
- Triangle pose: If your hand hovers six inches above the floor or shin, place a block outside your front foot and rest your hand on that. This keeps your torso upright instead of collapsing sideways to force the reach.
- Downward dog: Tight hamstrings make this pose miserable. Place blocks under your hands to reduce the angle and take pressure off your shoulders and lower back. As flexibility improves, lower the block height.
- Reclined leg stretch: Lying on your back with one leg raised, loop a strap around the ball of that foot and gently pull the leg toward you. Keep the opposite leg bent with foot flat on the floor if a straight leg causes lower back strain.
- Seated spinal twist: Sitting cross-legged, if your hips are too tight to sit upright, sit on a folded blanket or block. This makes the twist easier and more effective.
- Bridge pose: If lifting your hips feels unstable or hurts your lower back, place a block under your sacrum (the flat bone at the base of your spine) and rest your weight on it. This is a supported bridge, a restorative variation.
- Cat-cow stretch: Kneeling on all fours, if your knees hurt even on a thick mat, fold a blanket and place it under your knees for extra padding.
The pattern is consistent. If something doesn’t reach, extend it with a prop. If something hurts, cushion it. If you can’t balance, support yourself. Props aren’t training wheels you graduate from. They’re tools you use as long as they improve your practice.
Building a Prop Collection
Start with: Two foam blocks and one strap. These cover 80% of prop needs and you can get started right away.
Add next: A thick mat and a blanket. These improve comfort for floor and kneeling work.
Eventually: A bolster for restorative poses. This is the luxury item that transforms yoga from a workout into a deeply relaxing practice.
You can spread purchases over several months. Start practicing with just blocks and a strap, then add the mat when your knees tell you it’s time. The bolster can wait until you’re ready to explore longer-hold restorative sequences.
Storage is simple. Blocks and bolsters stack in a closet corner. Roll the mat and stand it upright. Fold the blanket. The strap takes up almost no space. If floor space is tight, keep everything in a large tote bag.
When Props Are Especially Important
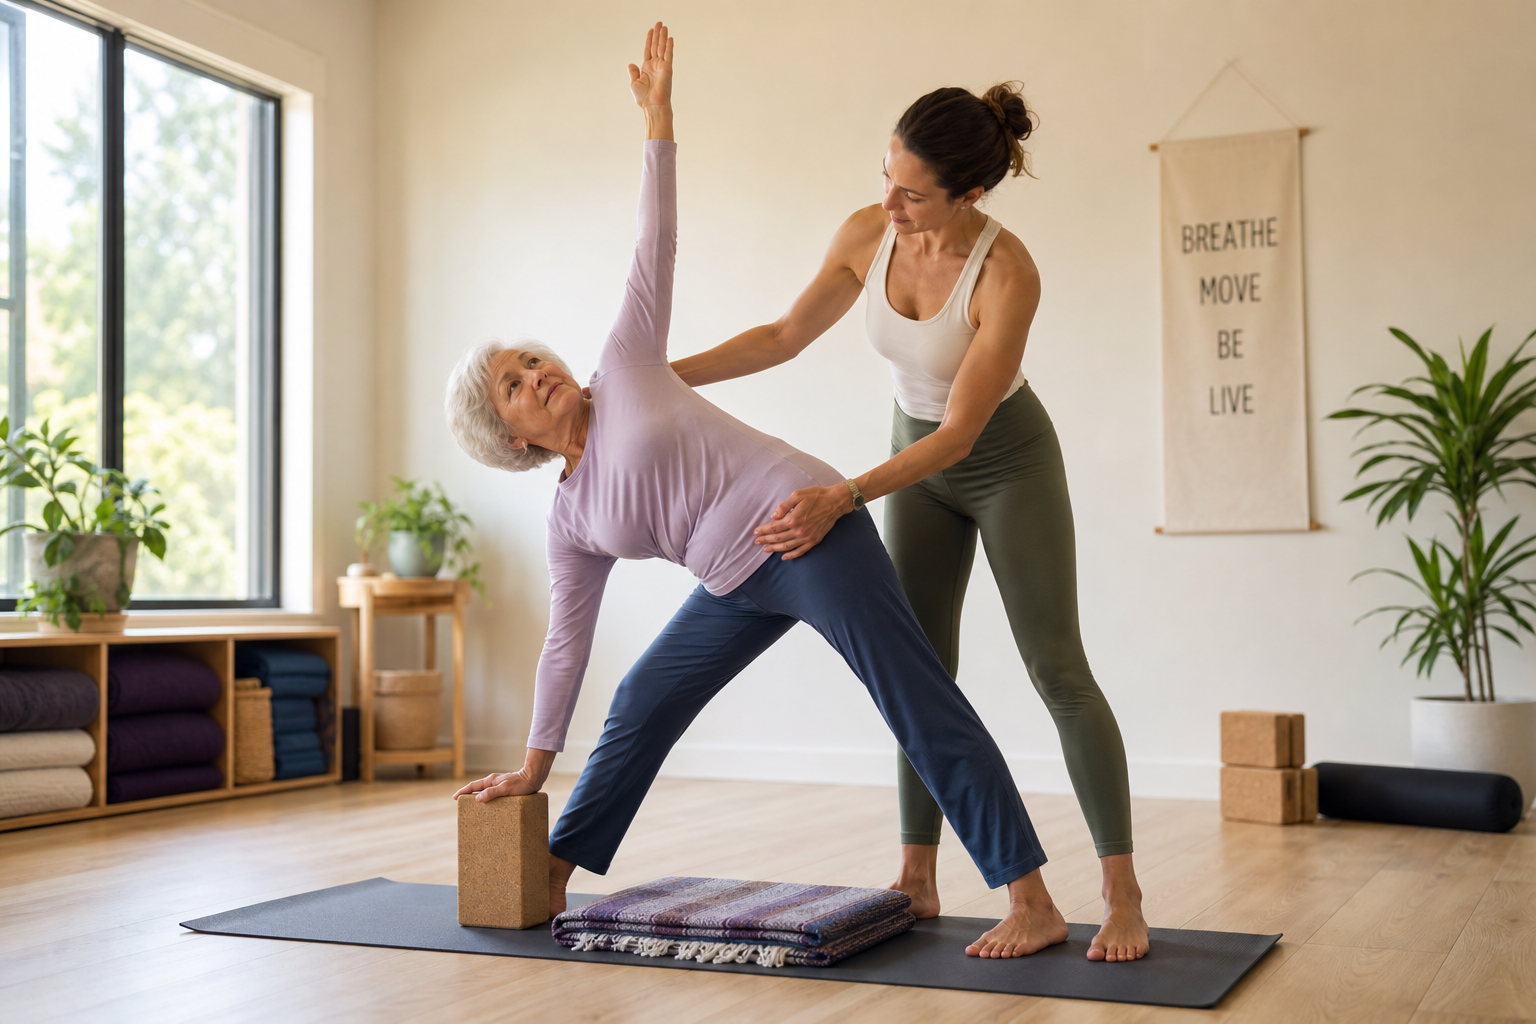
Certain conditions make props essential rather than optional:
Arthritis: Joint inflammation limits range of motion and makes weight-bearing painful. Blocks reduce how far you have to reach. Blankets cushion kneeling positions. Thicker mats protect wrists and knees during floor poses. For more ways to stay active with joint pain, see our guide on arthritis-friendly exercises for seniors.
Hip or knee replacements: Post-surgery restrictions often include no deep flexion (bending past 90 degrees). Props let you modify poses to stay within safe ranges. A physical therapist can specify which movements to avoid and how to use props for safe alternatives. Check out our post-hip replacement exercise guide and post-knee replacement exercises for specific recommendations.
Balance disorders: Even mild balance issues make standing poses risky. A chair or wall provides constant support. Start every standing pose with one hand on the chair. As balance improves, try touching the chair with just one finger, then hovering your hand near it, then moving it away entirely.
Limited mobility in shoulders or arms: Straps bridge the gap in poses that require clasping hands behind your back or reaching opposite hands toward each other. Instead of forcing a reach that could strain a shoulder, hold the strap ends and gradually walk your hands closer together over weeks.
Severe flexibility restrictions: Some seniors can’t touch their shins, let alone their toes. That’s fine. Blocks on the tall setting bring the “floor” up to mid-shin height. Straps let you stretch hamstrings without any forward folding at all (done lying on your back with one leg raised). Our article on common flexibility mistakes can help you avoid setbacks.
Props don’t fix these conditions, but they work around them so you can still practice safely.
Common Mistakes with Props
Using blocks that
