Caring for seniors often means helping them move from one place to another, whether it’s from bed to wheelchair, chair to bathroom, or assisting them up from a fall. These movements happen multiple times every day, and without proper technique, you’re putting your own body at serious risk. Back injuries are the leading cause of caregiver injury, and most happen during routine transfers that could have been done safely with the right approach.
Learning proper lifting mechanics isn’t just about protecting yourself today. It’s about ensuring you can continue providing care for months and years to come without chronic pain or injury forcing you to step back.
The Foundation: Body Mechanics That Protect Your Back
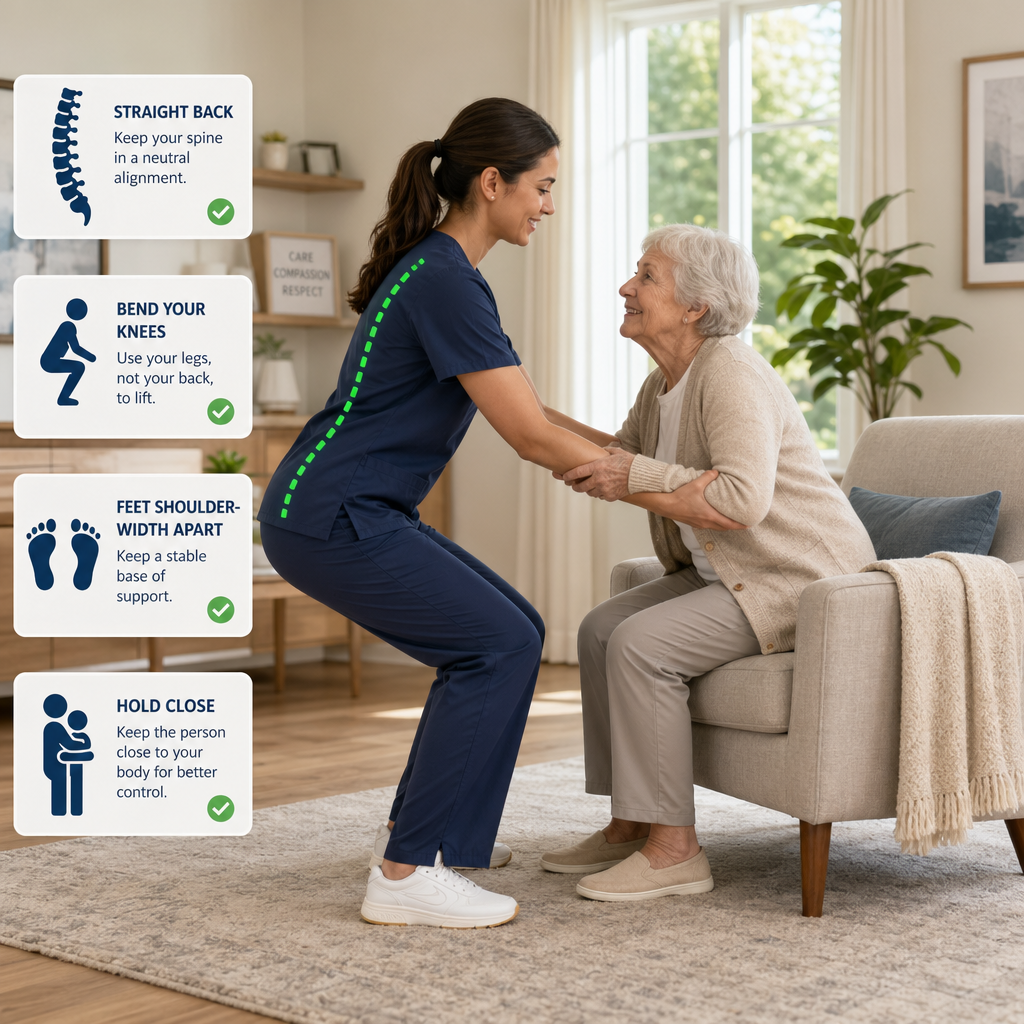
Your spine wasn’t designed to lift and twist simultaneously, yet that’s exactly what happens during most improper transfers. The key to safe lifting starts with your stance and positioning before you even touch the person you’re helping.
Always position yourself as close as possible to the person you’re assisting. The further away you stand, the more strain you place on your lower back. Your feet should be shoulder-width apart with one foot slightly ahead of the other, giving you a stable base and allowing you to shift your weight rather than twist your spine.
Bend at your knees and hips, never at your waist. Keep your back straight with its natural curve intact. Tightening your core muscles before you begin the movement provides additional support for your spine. Think of your legs as the power source for the lift, not your back.
When you lift, move smoothly without jerking motions. Keep the person close to your body and pivot with your feet rather than twisting at the waist. These fundamentals apply whether you’re doing a full transfer or just helping someone adjust position in bed. Just as improper form on exercise equipment can stress your joints, poor lifting technique creates unnecessary strain on your spine and connective tissues.
Essential Equipment That Makes Transfers Safer
Having the right tools can transform a difficult, risky transfer into a manageable one. The most versatile piece of equipment you can own is a transfer belt, also called a gait belt. This sturdy strap wraps around the person’s waist and gives you secure handholds without grabbing clothing or awkwardly gripping under their arms.

Transfer Gait Belt
Look for models with quick-release buckles for easier application and removal.
A transfer belt allows you to maintain better body mechanics because you can hold the belt at your center of gravity while keeping your back straight. Choose one that’s at least two inches wide for comfort and has a secure buckle system.
For bed transfers, a transfer board (also called a slide board) bridges the gap between bed and wheelchair. The person slides across rather than being lifted, reducing the physical demand on you significantly. These work best when the two surfaces are roughly the same height.
Bed rails and assist handles give seniors something stable to grip, allowing them to help themselves more during transfers. This independence not only reduces your physical burden but also maintains their dignity and confidence.

床欄 Assist Rail
These install without tools and provide crucial support for getting in and out of bed safely.
When to Use Mechanical Lift Assistance
There comes a point when manual transfers become unsafe no matter how perfect your technique is. Recognizing that point can prevent serious injury to both you and the person you’re caring for.
Consider mechanical assistance if the person you’re caring for weighs more than 35 pounds over your own weight, cannot bear any weight on their legs, has frequent falls, or experiences sudden drops in strength. If you’ve already experienced back pain from transfers, don’t push through it. That pain is a warning sign.
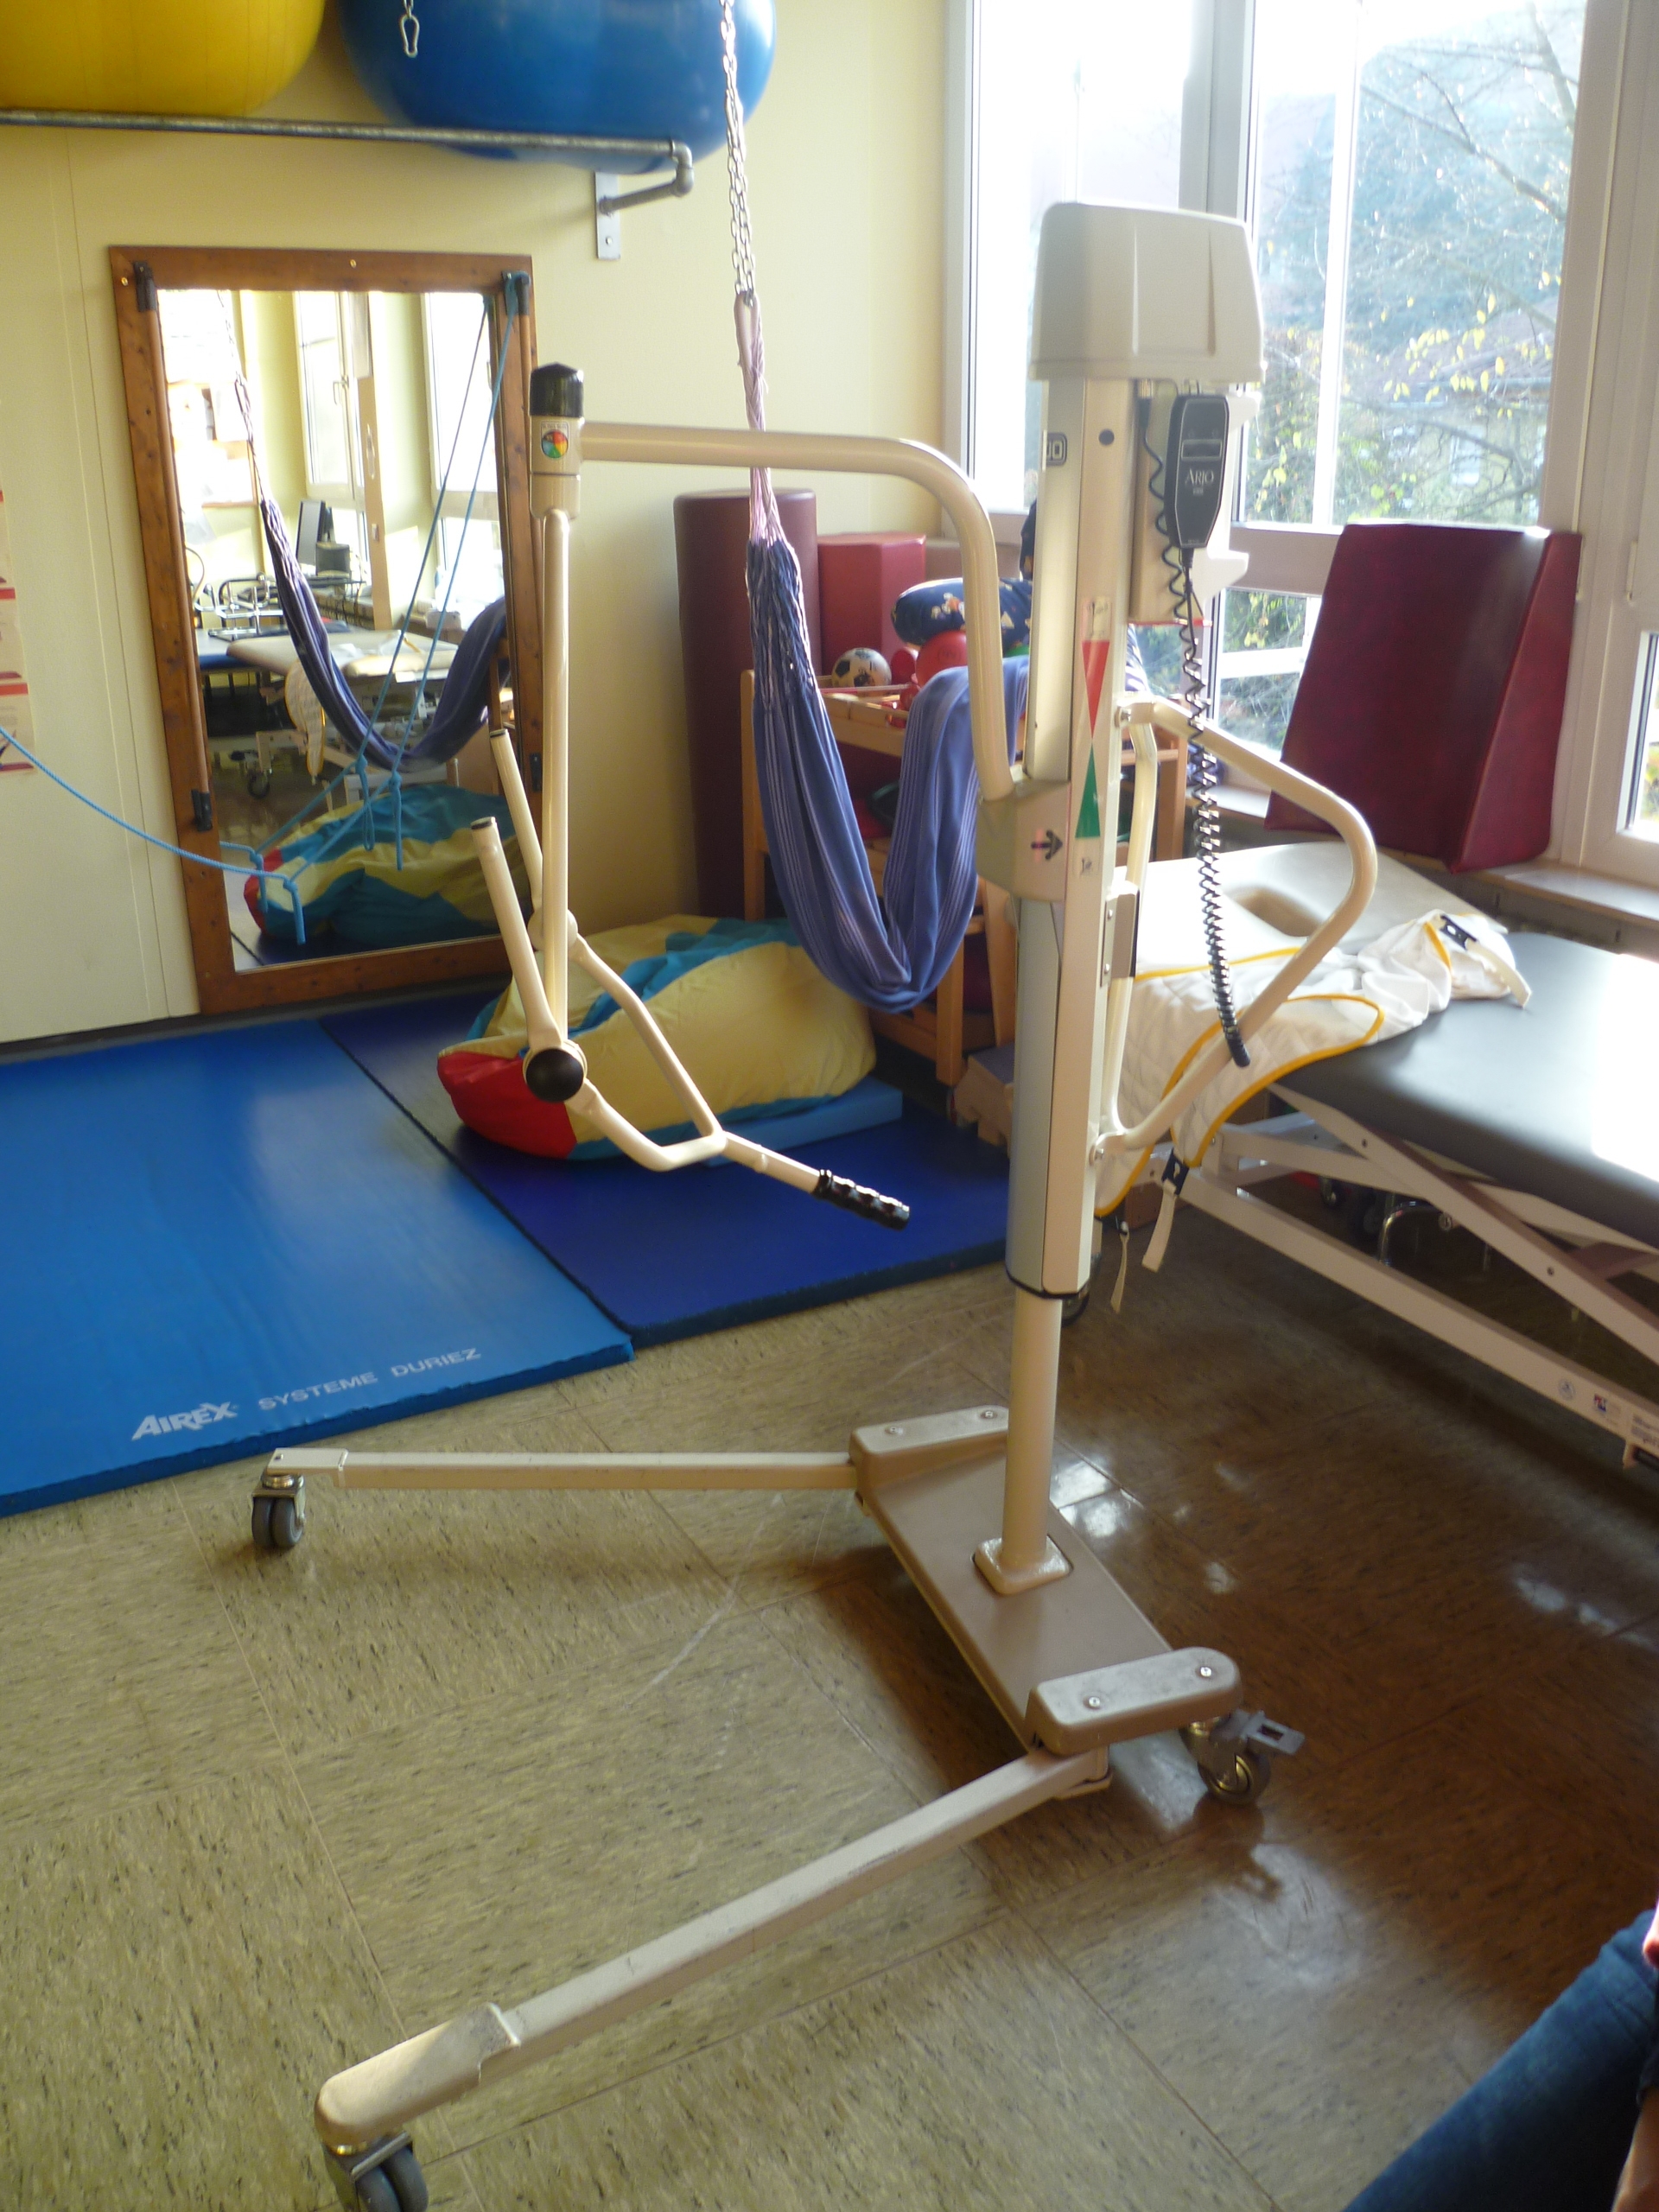
Patient lifts come in various styles, from full Hoyer lifts to sit-to-stand models. Sit-to-stand lifts work well for people who can bear some weight and follow instructions, while full sling lifts handle complete transfers for those with little to no mobility.
Ceiling-mounted track systems offer the most convenience for home settings where frequent transfers happen in the same locations. Portable floor lifts are more versatile but require storage space. Your choice depends on your specific situation, home layout, and budget.
Exercises to Build Caregiver Strength and Endurance
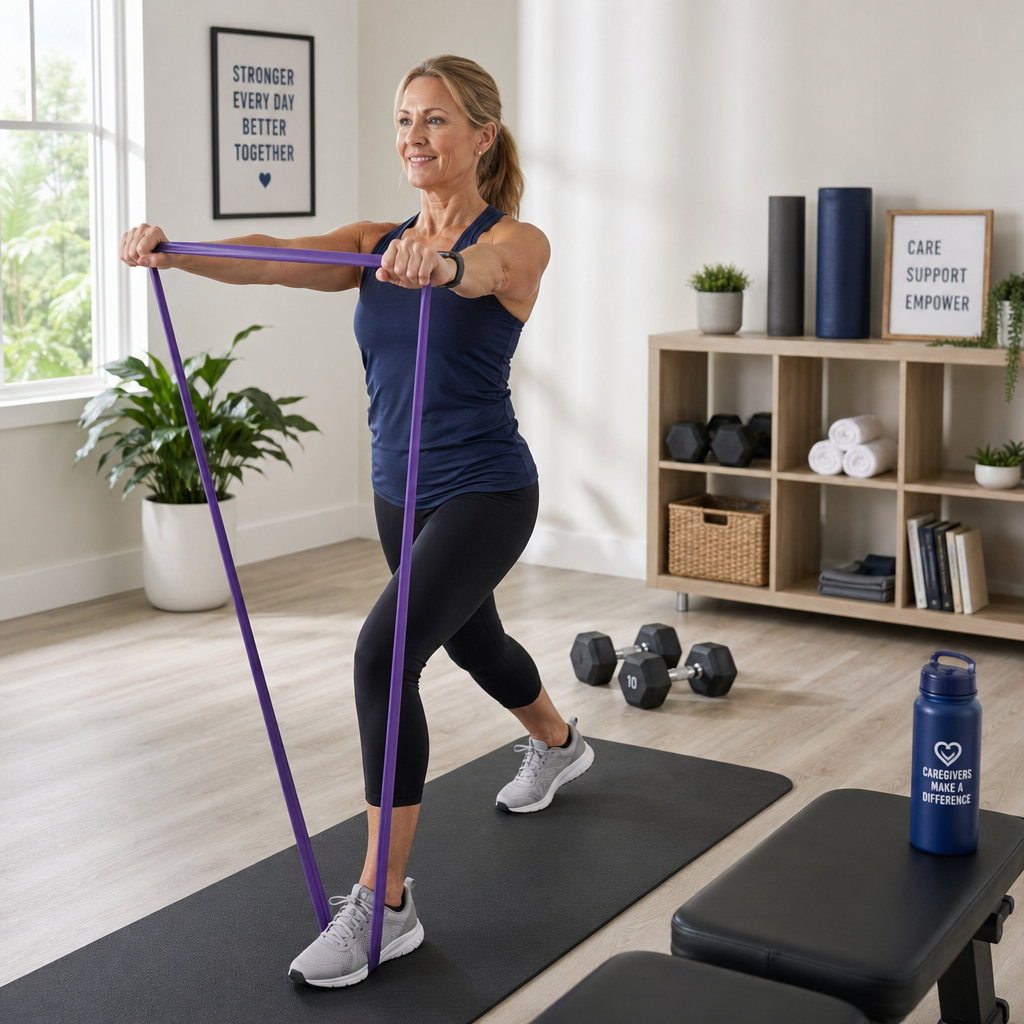
Strong legs, core muscles, and a stable back make every transfer easier and safer. You don’t need a gym membership, just 15-20 minutes a few times per week focusing on functional strength.
Squats build the leg strength you need for proper lifting. Start with bodyweight squats, keeping your chest up and lowering until your thighs are parallel to the floor. Work up to three sets of 12-15 repetitions. As you get stronger, hold dumbbells at your sides. Many of these same movements are beneficial for the seniors you care for, and simple seated exercises can even help manage blood sugar levels.
Planks strengthen your core without stressing your back. Hold a plank position on your forearms for 30-60 seconds, keeping your body in a straight line. Do this three times with short rests between. Bird dogs, where you extend opposite arm and leg while on hands and knees, improve both core strength and balance.
Lunges mimic the split stance you use during transfers. Step forward with one leg and lower your back knee toward the ground, then push back to standing. Alternate legs for 10-12 repetitions per side.
Farmers carries build grip strength and core stability. Hold a weight in each hand and walk for 30-60 seconds, maintaining good posture. This directly translates to holding transfer belts and assisting with walking. Building your own strength through resistance training also supports long-term bone health, which becomes increasingly important as you age.
Communication and Coordination During Transfers
Even perfect body mechanics can fail if you and the person you’re assisting aren’t on the same page. Clear communication before and during every transfer prevents sudden movements that cause injuries.
Explain what you’re about to do before each transfer, even if you’ve done it a hundred times before. Use a countdown (“We’ll move on three. One, two, three”) so the person can time their effort with yours. This coordination makes transfers smoother and reduces the load on your body.
Watch for signs that someone is too weak or confused to safely assist. If they can’t follow simple instructions or their legs buckle unexpectedly, it’s time to consider mechanical assistance rather than risking a fall that could injure both of you.
Never rush a transfer. Taking an extra 30 seconds to position properly and communicate clearly prevents injuries that could sideline you for weeks or months.
Frequently Asked Questions
How do I know if I need help with a transfer?
Ask for help or use mechanical assistance if you feel any strain in your back during the movement, if the person is significantly heavier than you, if they cannot bear weight or follow instructions reliably, or if you’ve noticed yourself using poor body mechanics out of necessity. Two caregivers can safely handle what one cannot, and there’s no shame in recognizing your limits.
What’s the safest way to help someone up from the floor after a fall?
The safest approach uses a sturdy chair as an intermediate step. Position the chair next to them, help them roll onto their side, then get onto hands and knees. They can then use the chair to pull up to kneeling, place one foot flat, and push up to standing while you stabilize them with a transfer belt. If they cannot participate in this process, call emergency services rather than attempting a floor lift that could injure both of you. For more information on falls prevention and safety techniques for seniors, proper planning can help reduce fall risks.
How often should I replace my transfer belt?
Inspect your transfer belt monthly for signs of wear like fraying, weakening fabric, or buckle damage. Replace it immediately if you notice any of these issues. Even without visible damage, consider replacing it every 2-3 years with regular daily use, as the material weakens over time. A belt failure during a transfer can lead to serious falls.
This article contains affiliate links. We may earn a small commission at no extra cost to you.
Related Articles